
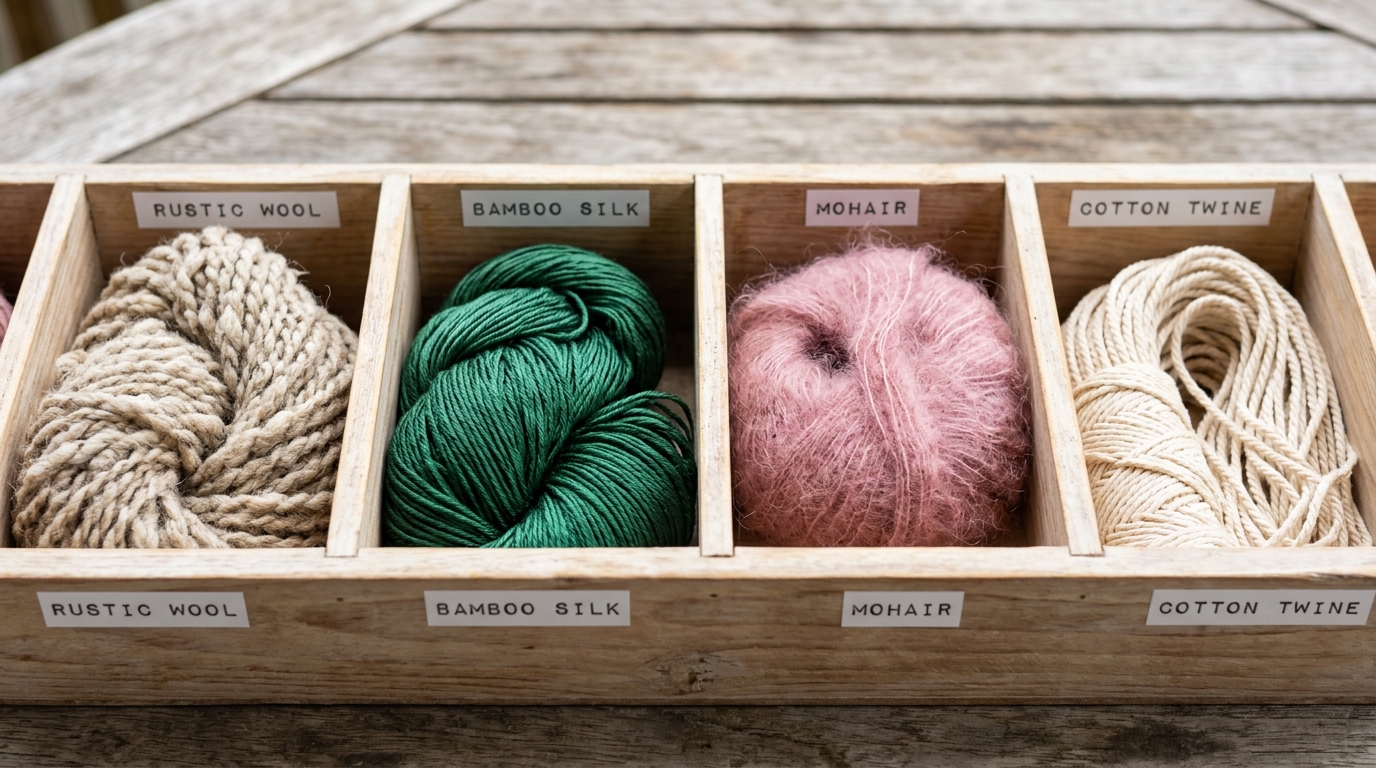
There is something truly magical about walking into a local yarn shop, surrounded by walls of soft textures and vibrant colors. Whether you are a brand-new crocheter just picking up your first hook or a seasoned maker looking to refine your craft, one of the most important decisions you will ever make is choosing the right yarn for your project. The perfect combination of fiber and weight can turn a simple pattern into a stunning, heirloom-quality piece that feels just as good as it looks.
Yarn guide crochet is an essential skill to master because your choice of material dictates everything from the drape of your clothing to the structure of your home decor. A cotton dishcloth requires a completely different approach than a cozy winter scarf, and understanding the “why” behind these choices is the key to crochet confidence. In this guide, we will explore the wonderful world of yarn, break down how to choose the right materials, and put our knowledge to the test with a beautiful, versatile project that is perfect for any skill level. Grab a cup of tea, find a comfortable spot, and let’s dive into the lovely world of yarn selection.
Quick Project Overview
For this tutorial, we will be creating the “Everday Heritage Washcloth.” This project is the gold standard for mastering yarn selection. Because washcloths are exposed to moisture and friction every day, they are the best way to understand how fiber behaves over time.
- Skill Level: Beginner-friendly.
- Estimated Time: 1 to 2 hours.
- Finished Size: Approximately 8″ x 8″ square.
- Best Use: A perfect housewarming gift, a spa-day essential, or a practice piece to master tension before jumping into larger garment work.
- Why you will love it: It works up quickly, uses only basic stitches, and results in a functional, beautiful item that you will reach for every morning.
Materials Needed
To create your Everyday Heritage Washcloth, you will need:
- Yarn: One skein of Worsted Weight (Category 4) cotton yarn. Cotton is preferred for washcloths because it is absorbent, durable, and holds its shape well.
- Crochet Hook: Size H/8 (5.0 mm).
- Tapestry Needle: For weaving in your ends.
- Scissors: Any sharp pair will do.
- Measuring Tape: To ensure your square stays true to size.
Pro-tip: If you don’t have cotton on hand, seek out a “kitchen cotton” blend, as it won’t stretch out of shape like acrylic or wool would when wet.
Stitches and Abbreviations
We will use standard U.S. crochet terminology for this pattern:
- Ch (Chain): Yarn over, pull through the loop on your hook.
- Sc (Single Crochet): Insert hook into stitch, yarn over, pull up a loop, yarn over, pull through both loops on the hook.
- Hdc (Half Double Crochet): Yarn over, insert hook into stitch, yarn over, pull up a loop, yarn over, pull through all three loops on the hook.
- St (Stitch): The individual loop you crochet into.
- Sl St (Slip Stitch): Insert hook into stitch, yarn over, pull through the stitch and the loop on your hook.
Pattern Notes Before You Start
Tension is the secret to a professional-looking finish. If your stitches are too tight, your washcloth will feel stiff; if they are too loose, the fabric won’t be durable enough for scrubbing. Aim for a relaxed grip on your hook. We will be working in rows, turning at the end of each row. If you find your edges are curling, try a slightly larger hook, or consciously keep your “turning chain” consistent.
Full Crochet Pattern
Part 1: The Foundation
Start with a slip knot on your hook. Ch 32. This provides a nice, generous width for your cloth.
Part 2: Working the Rows
Row 1: Hdc in the 3rd ch from the hook and each ch across. Ch 2, turn. (30 stitches)
Row 2: Hdc in each st across. Ensure you are working into both loops of the stitch below for added strength. Ch 2, turn. (30 stitches)
Row 3–25: Repeat Row 2 until your piece is an approximate square of 8 inches.
Part 3: The Finishing Border
We will add a simple, clean border to keep the edges uniform.
Round 1: Do not fasten off. Ch 1, and work 1 sc into each stitch and row end around the entire perimeter of the square. Work 3 sc into each corner to help the edges lay flat. Sl st into the first sc to join.
Part 4: Fastening Off
Cut your yarn, leaving a 6-inch tail. Pull the tail through the final loop on your hook and tighten. Use your tapestry needle to weave the tail back and forth through the back of the work to secure it. Repeat for the starting tail.
Step-by-Step Tutorial Explanation
When you first begin, you might notice that the foundation chain looks a bit different than the subsequent rows. Don’t panic! This is normal. As you crochet your rows, you will see the half double crochet stitch create a lovely, dense texture. If you hold the cloth up to the light, you should see a balanced grid of stitches. If you see large gaps, your tension might be a little loose, or your hook size may be slightly too large for your specific yarn. By the time you reach the border, the piece should feel sturdy and soft—the hallmark of a well-made cotton piece.
Common Mistakes to Avoid
Even experienced makers slip up! Here are a few things to watch for:
- The Twisted Chain: If your foundation chain twists before you join, your whole project will be wonky. Lay it flat on a table before you make that first row.
- Skipping the Last Stitch: A very common mistake is missing the final stitch in a row, which causes your project to shrink on one side. Always count your stitches until you are comfortable enough to “see” the edge.
- Inconsistent Turning Chains: Remember that the “ch 2” used to start your rows acts as a placeholder. Make sure it stays firm, or your edges will look loose and holey.
Pro Tips for a More Beautiful Result
The difference between a “handmade” look and a “hand-crafted” look is all in the finishing.
- Blocking: Even a simple washcloth benefits from blocking. Once finished, soak your cloth in cool water, gently squeeze out the excess by rolling it in a towel—never wring it out—and pin it into a square shape on a clean, flat surface to dry. It will look crisp and professional.
- The Power of Yarn Choice: If you are making this as a gift, consider the color. Neutral, earthy tones are very “spa” and timeless, while bright, saturated colors are excellent for kitchen decor.
- Weaving Ends: Don’t just trim your tails; weave them in through the fabric using your tapestry needle. Weaving them in multiple directions ensures they won’t poke out after a round in the washing machine.
Variations and Personalization Ideas
Once you have mastered this basic square, the world is your oyster.
- Stripe It: Use two different colors of cotton yarn to create stripes, changing colors every two rows.
- Texture Play: Substitute every other row of Half Double Crochet with a row of Single Crochet. This creates a “waffle-like” texture that is even better for scrubbing.
- Gift Sets: Make three washcloths in coordinating colors, wrap them with a piece of twine and a dried sprig of lavender for a lovely, thoughtful DIY gift.
Care Instructions
Since this is made of cotton, it is designed to be well-loved. You can machine wash your washcloths in warm water on a gentle cycle. For the best longevity, tumble dry on low or, better yet, hang them to dry in the breeze. Cotton can become a bit stiff after a wash; giving it a quick tug and a shake when it’s slightly damp will help return it to its original soft shape.
FAQ
How do I know which yarn weight is appropriate for my project?
Generally, the pattern will specify the weight. However, as a rule of thumb, thinner yarns (like lace or fingering) are for delicate shawls, while thicker yarns (worsted or bulky) are for blankets and cozy garments. Always look at the yarn ball band—it will have a number inside a yarn symbol (like a 4 for worsted) to guide you.
Can I mix different brands of yarn in one project?
You certainly can, provided they are the same weight category. The main thing to watch for is the fiber content. Mixing wool with cotton can result in different shrinkage rates when washed, so try to keep fiber types consistent within a single item.
Why does my crochet project always end up with a different stitch count than the pattern?
This is almost always due to missing the very first or very last stitch of a row. Try using a stitch marker in the first and last stitch of every row until you become more comfortable identifying them visually.
Does the hook size really matter?
Yes! The hook size is a tool to help you achieve the correct “gauge,” or number of stitches per inch. If you use a hook that is too small, your fabric will be stiff. If the hook is too large, it will be lacy and loose. Always check the recommended hook size on the yarn label to get started.
How do I stop my yarn from tangling while I work?
Keep your yarn cake or ball in a yarn bowl, a dedicated cloth bag, or even a clean mug. Keeping the yarn contained prevents it from rolling across the floor and collecting dust or getting knotted.
Conclusion
Choosing the right yarn is the first step toward a successful and enjoyable crochet journey. By understanding how different fibers behave and learning to trust your own hands, you move from simply following a pattern to truly understanding the craft. The Everyday Heritage Washcloth is more than just a quick project—it’s a foundation for everything you will create in the future.
Take your time, enjoy the rhythm of your hook, and remember that every stitch is a part of your creative story. Whether you are creating for yourself or a loved one, the care you put into selecting your materials will shine through in the final piece. Happy crocheting!