
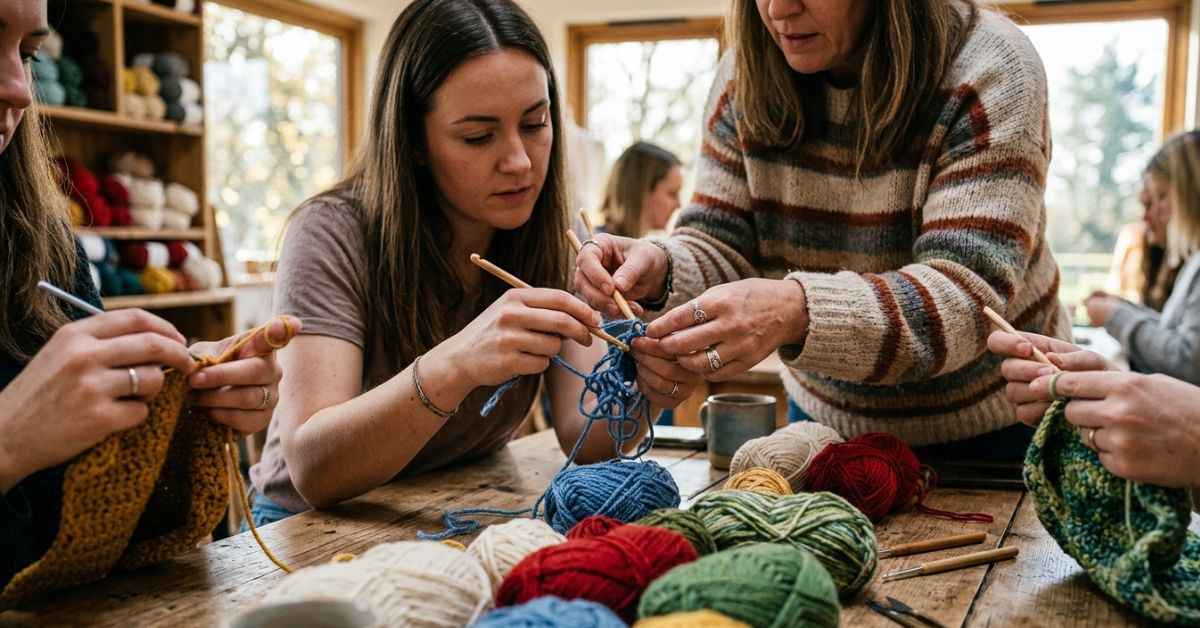
There is something truly magical about picking up a hook and a ball of yarn for the first time. Whether you have been dreaming of creating cozy handmade heirlooms for your home or simply looking for a soothing, creative hobby to unwind with after a long day, you have arrived at the perfect place. We have all been there—staring at a tangle of yarn, wondering why our edges are curling or why our stitch count seems to change mysteriously from row to row. Crochet is a journey, and every expert you admire today started exactly where you are right now: with a bit of curiosity and a few “oops” moments that taught them everything they know.
In this class, we are going to focus on the essential techniques that turn a hobby into a passion. We’ll walk through a beautiful, beginner-friendly project that serves as the perfect training ground for mastering your tension, maintaining straight edges, and reading your stitches with confidence. This tutorial is designed to be your best friend, offering gentle guidance and practical insights to help you overcome those common hurdles that frustrate so many new makers. Grab a cup of tea, find a comfortable spot in your favorite chair, and let’s start creating something wonderful together.
Quick Project Overview
For this class, we are making the “Coastal Comfort Spa Washcloth.” It is the perfect project to practice fundamental skills because it is small, manageable, and yields a high-utility item that feels luxurious in the hand.
- Skill Level: Absolute Beginner
- Estimated Time: 1 to 2 hours
- Finished Size: Approximately 8 inches by 8 inches
- Best Use: Use this as a starter project, a quick gift for a friend, or to build your confidence before moving on to scarves or blankets.
- Why You Will Love It: You will master the single crochet stitch while learning how to keep your rows perfectly square, a skill that will benefit every single project you crochet for years to come.
Materials Needed
To ensure your success, having the right tools is half the battle.
- Yarn: One skein of medium (worsted) weight, 100% cotton yarn. Cotton is best for washcloths as it is absorbent and holds up beautifully under water.
- Crochet Hook: Size H-8 (5.0 mm). This size is a “goldilocks” hook—not too big, not too small—that works perfectly with worsted weight yarn.
- Tapestry Needle: Used for weaving in your yarn tails at the end.
- Scissors: A sharp pair to keep your edges neat.
- Stitch Markers: These are optional but highly recommended for beginners to keep track of the first and last stitches of each row.
Stitches and Abbreviations
We will be using standard American crochet terminology. Familiarizing yourself with these abbreviations will make following any pattern much easier.
- ch: Chain. Yarn over and pull through the loop on your hook.
- sc: Single crochet. Insert your hook into the stitch, yarn over, pull up a loop (two loops on hook), yarn over, and pull through both loops.
- st(s): Stitch(es).
- YO: Yarn over. Wrapping the yarn over your hook from back to front.
- Turn: Turning your work to begin the next row.
Pattern Notes Before You Start
The secret to a professional-looking project lies in your preparation. Before you start, remember that tension is not about squeezing the yarn to death; it is about consistency. Try to hold your yarn with a light, relaxed grip. You want your stitches to look like little “V” shapes sitting on top of one another. If you find your work is curling, your tension might be too tight. If it looks like a loose, messy net, try going down a hook size. Gauge is not critical for a washcloth, but the habit of checking your work every ten rows is a vital practice for any future garment making.
Full Crochet Pattern
This pattern is worked back and forth in rows.
Part 1: The Foundation
Chain 33. This creates a base that will result in an 8-inch width with standard tension.
Part 2: Working the Rows
Row 1: Insert your hook into the second chain from your hook. Perform a single crochet. Continue working one single crochet into each chain across until you reach the end. You should have 32 stitches total. Turn your work.
Row 2: Chain 1 (this does not count as a stitch). Work one single crochet into the very first stitch (the same stitch your chain comes out of). Continue working one single crochet into each stitch across the row. Ensure you work into the very last stitch of the row—this is often the one new crocheters miss! Turn.
Rows 3 through 30: Repeat Row 2. Aim to keep your tension consistent throughout every row.
Part 3: Finishing
Once you have completed Row 30, chain one more time, cut your yarn leaving a 6-inch tail, and pull the tail all the way through the loop to “fasten off.” Using your tapestry needle, weave the tail back and forth through the stitches on the back side of the washcloth to hide it securely. Repeat this process for your starting tail.
Step-by-Step Tutorial Explanation
When you start your chain, notice how the loops look like a braid. When working your first row into the chains, try to work into the “back bump” of the chain; it creates a much cleaner, more professional bottom edge. As you move into subsequent rows, look for the little “V” on the top of the stitches. Always insert your hook under both legs of that “V.”
If you feel like your edges are getting wider or narrower, stop and count your stitches. In this pattern, every row must have 32 stitches. If you have 31, you missed the last stitch. If you have 33, you accidentally added an extra stitch at the end. Counting is not a sign of a beginner; it is a sign of a prepared crocheter!
Common Mistakes to Avoid
Even seasoned crocheters encounter these speed bumps. Here is how to keep them from ruining your flow:
- The Twisted Chain: When you join your first row to your foundation chain, make sure the chain is not twisted in a loop. Laying it flat on a table before you start helps.
- The “Vanishing” Last Stitch: The last stitch of a row often hides under the turn. Use a stitch marker to mark the first and last stitch of every row until your eyes become trained to spot them.
- Inconsistent Tension: If your work looks lumpy, take a break. Your body tension translates directly into your yarn. If your shoulders are tense, your yarn will be too.
- Wrong Hook Size: If the holes between your stitches are huge and see-through, your hook is likely too big for your yarn. If you can’t get your hook through the stitch because it’s too tight, your hook is too small.
Pro Tips for a More Beautiful Result
- Block Your Work: Once finished, gently soak your washcloth in lukewarm water, lay it flat on a towel, and shape it into a perfect square. Let it air dry. This is called “blocking,” and it transforms a simple project into something that looks store-bought.
- Yarn Choice Matters: For washcloths, always stick to 100% cotton. Acrylic yarn is wonderful for blankets and hats, but it does not absorb water, making it poor for kitchen or bath items.
- The “Turn” Technique: Always turn your work in the same direction—like flipping a page in a book. This prevents your yarn from twisting over itself as you build height.
- Weaving Ends: Don’t just clip your ends close to the knot! Weave them in opposite directions inside the stitches to ensure they don’t pop out after the first trip through the laundry.
Variations and Personalization Ideas
Once you have mastered the simple single crochet washcloth, the world is your oyster. Try working this same pattern but alternating colors every four rows for a trendy striped look. If you want to refine your skills further, try a “seed stitch” pattern by alternating single crochet and double crochet in the same row. You can even add a loop to the corner by chaining 8 and slip stitching back into the same corner, creating a handy way to hang your washcloth on a bathroom hook. If you are gifting these, tie a small ribbon around a set of three in different shades of the same color palette for a boutique-style DIY gift.
Care Instructions
Handmade cotton items should be treated with a little love. You can machine wash your washcloths on a gentle cycle, preferably inside a mesh laundry bag to prevent them from getting snagged on other clothing. Tumble dry on low or, even better, lay them flat to air dry. This preserves the life of the fibers and keeps the texture perfect for washing dishes or facial cleansing for years to come.
FAQ
How do I stop my crochet from looking like a trapezoid?
This usually happens because you are accidentally adding or skipping stitches at the ends of your rows. Count your stitches after every single row. If you start with 32, you must end with 32.
Does the chain at the beginning of the row count as a stitch?
In many patterns, yes, but in this specific washcloth pattern, it does not. The chain is only there to help you gain the height needed for the next row.
Why is my yarn splitting while I crochet?
This is often caused by the hook size being a little too small for the yarn, or simply the brand of yarn having a loose twist. Try using a slightly larger hook, which provides more room for the hook to catch all the strands of the yarn at once.
Can I fix a mistake without unraveling the whole thing?
Yes! You can “tink” (which is “knit” spelled backward) by pulling your hook out and carefully unhooking each stitch until you reach the error. It is perfectly normal to undo your work; even professionals do it!
How do I know if my tension is right?
Your fabric should be soft and pliable. If the piece stands up on its own like a piece of cardboard, your tension is way too tight. Relax your hands and let the yarn flow over your fingers more freely.
Conclusion
I hope this class has given you the confidence not just to complete this project, but to trust your own hands as you grow as a maker. Crochet is more than just looping yarn; it is the act of creating comfort, beauty, and utility from a single simple strand. There will be rows that don’t go perfectly, and there will be times when you have to start over—that is simply the nature of the craft. Embrace those moments, as they are where the real learning happens.
Now that you have your Coastal Comfort Spa Washcloth underway, take a look at your stitches. See how they form a beautiful, rhythmic pattern? You are doing it. You are a crocheter. When you finish, remember to take a moment to appreciate what you have made. You turned string into something tangible, and that is a wonderful thing. Feel free to save this guide for your next session, and keep practicing these techniques. Your next project is only a few chains away, and I cannot wait to see what you create. Happy crocheting!