
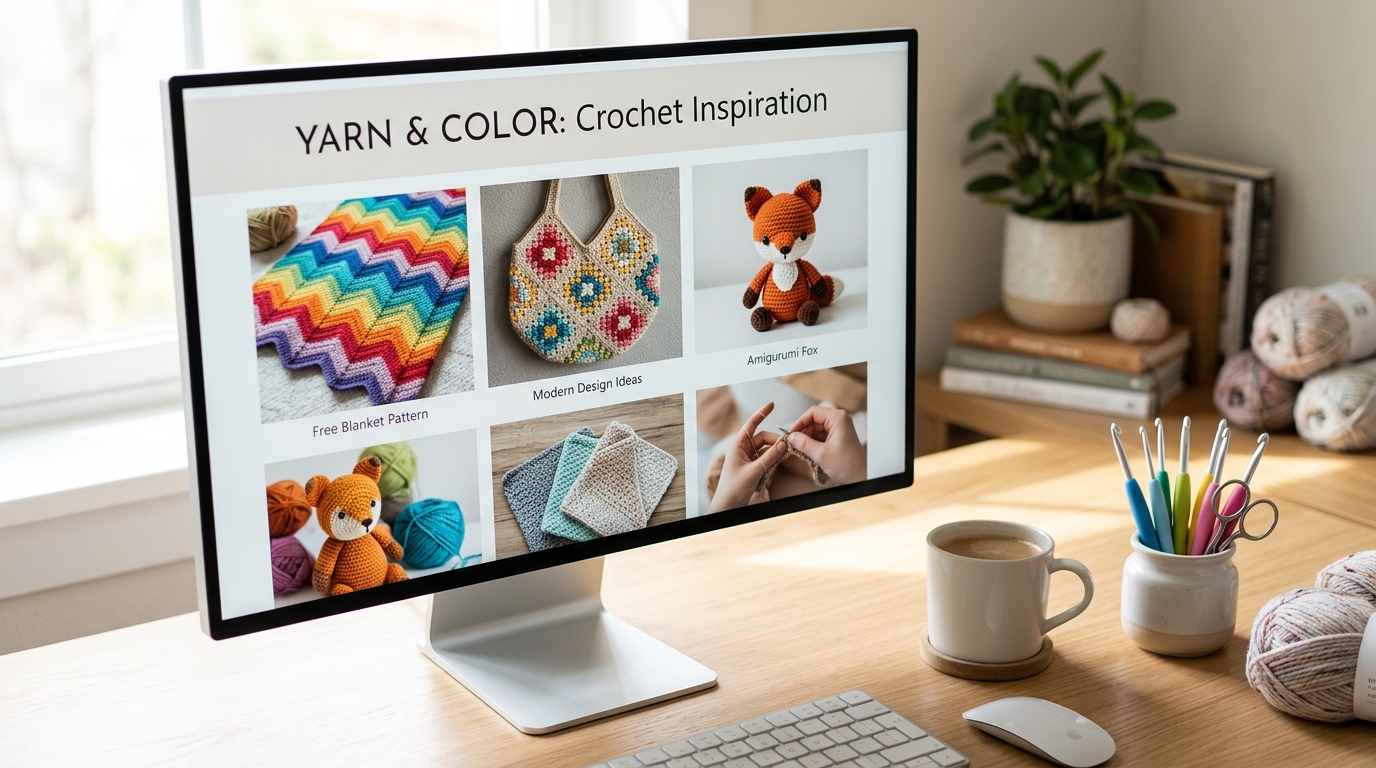
There is something truly magical about picking up a crochet hook and a soft skein of yarn. Whether you are seeking a moment of quiet meditation after a long day or looking to create a heartfelt, handmade gift for someone special, the rhythmic motion of stitching has a way of grounding us. As a crochet enthusiast, I know that half the joy of this craft comes from finding the perfect project—one that is achievable, beautiful, and sparks that creative fire within.
Finding the right inspiration can sometimes feel overwhelming, but that is exactly why this guide exists. Today, we are focusing on creating a project that bridges the gap between classic charm and modern utility: The Everyday Essential Textured Cotton Tote. This accessory is sturdy enough to hold your library books, flexible enough to tuck into your purse, and stylish enough to accompany you on a sunny Saturday farmers’ market run. If you have been looking for the perfect pattern to refresh your skills or just want to feel the satisfaction of finishing a handmade item in a weekend, you are in the right place. Let’s gather our hooks and turn some yarn into a piece you will be proud to carry everywhere.
Quick Project Overview
- Skill Level: Beginner-friendly intermediate. You should be comfortable with basic stitches, but the textured pattern repeat is simple enough for a confident beginner to master.
- Estimated Time: 6 to 8 hours of total crochet time.
- Finished Size: Approximately 12 inches wide by 14 inches tall (excluding handles).
- Best Use: Grocery shopping, beach days, or as a sustainable gift bag.
- Why You’ll Love It: This project works up quickly using durable cotton yarn, and the textured stitch pattern provides a sophisticated, professional look that doesn’t require complex techniques.
Materials Needed
To create your tote, you will need the following materials:
- Yarn: 3 skeins (approx. 500-600 yards total) of Worsted Weight (Category 4) Cotton yarn. Cotton is preferred for bags because it doesn’t stretch as much as acrylic and holds its shape beautifully.
- Crochet Hook: Size H/8 (5.0 mm) hook. This size creates a dense enough fabric that your items won’t fall through the gaps, but it remains comfortable to work with.
- Notions: A yarn needle for weaving in ends, a pair of sharp scissors, and a stitch marker to keep track of your rounds.
- Optional: A piece of cotton fabric for a custom lining if you want extra durability.
Stitches and Abbreviations
We will use standard U.S. crochet terminology throughout this pattern. Please familiarize yourself with these abbreviations before you begin:
- ch: chain
- sc: single crochet
- dc: double crochet
- sl st: slip stitch
- st(s): stitch(es)
- yo: yarn over
- sk: skip
The Moss Stitch (sometimes called Linen Stitch) is used here for the body, which consists of a single crochet, chain one, skip one, and repeat. It is a classic for a reason—it creates a tight, woven-like fabric that is incredibly sturdy.
Pattern Notes Before You Start
Tension is the secret ingredient to a professional-looking bag. Because handbags carry weight, you want your stitches to be consistent and firm. If you find your gauge is too loose, try dropping down to a G/7 (4.5 mm) hook to tighten up the fabric. When working in the round, we will join at the end of each round with a slip stitch and chain one to start the next. Do not turn your work unless specified; working in one direction keeps the texture of the moss stitch uniform and clean.
Full Crochet Pattern
Part 1: The Base
We will start with an oval base, which provides a flat surface for your items to sit on.
Round 1: Ch 26. Sc in the 2nd ch from the hook. Sc in each ch until the last ch. Work 3 sc in the final ch to turn the corner. Working down the opposite side of the foundation chain, sc in each ch back toward the start. Work 2 sc in the same space as the first stitch to complete the oval. Join with a sl st to the first sc. (52 sts)
Round 2: Ch 1. Sc in each st around, working 2 sc in each of the 3 corner stitches at both ends of the oval to keep it flat. Join with a sl st. (58 sts)
Round 3: Continue the established pattern, increasing at the corners to maintain a flat base until your oval measures 4 inches wide and 10 inches long. Fasten off and weave in the end.
Part 2: The Body
Now we move to the side walls of your tote.
Round 4: Join yarn at any corner. Ch 2 (counts as ch-1), sk 1, sc in next st. Ch 1, sk 1, sc in next st. Repeat from to around. Join with a sl st to the first ch space.
Round 5: Sc in the first ch-1 space. Ch 1, sk 1 sc, sc in the next ch-1 space. Repeat around. Join with a sl st in the first sc.
Repeating: Continue working Round 5 until your tote reaches the desired height, approximately 13 inches from the base. The moss stitch pattern is very rhythmic and relaxing!
Part 3: The Border and Handles
A strong opening is crucial for a tote bag.
Round 20-22: Work 3 rounds of single crochet in every stitch and ch-1 space around. This cinches the top and provides stability.
Adding Handles: On the final round, decide on your handle placement. Count from the center side, leaving 12 stitches unworked for the handle loop, and chain 40. Skip the 12 stitches and re-attach with a single crochet. Repeat on the other side. On the final round of the trim, single crochet around the entire top and work 40 sc into each handle chain to make them thick and sturdy.
Finishing
Fasten off and leave a long tail. Use your yarn needle to weave in all loose ends securely. If you notice any gaps where the handles meet the bag, use the tail to whip stitch the area for extra reinforcement.
Step-by-Step Tutorial Explanation
If you are new to the moss stitch, think of it as “alternating”. You are always placing a single crochet into the “hole” created by the chain-one space in the row below. By skipping the stitches and working into the gaps, the piece grows quickly and creates a beautiful, dense fabric that resists stretching. Once you finish the round, just bring your hook into that initial chain space you bypassed, wrap your yarn, and pull through. You’ll see the pattern begin to “lock” together—it’s very satisfying once you get the rhythm down!
Common Mistakes to Avoid
One of the most common issues beginners face is “accidentally” changing the stitch count. In the moss stitch, it is easy to skip the last stitch of the round or add an extra one. If your edges are starting to slant instead of going straight up, count your stitches at the end of every few rounds. Another pitfall is using a hook that is too large; while a loose, drapey fabric is great for a summer shawl, it is not ideal for a bag that needs to hold heavy items. If your bag feels stretchy and thin, go down a hook size immediately.
Pro Tips for a More Beautiful Result
To take your tote from “homemade” to “handmade professional,” try blocking your finished piece. Simply spray the bag lightly with water, shape it into the perfect rectangle, and let it air dry. This relaxes the cotton fibers and evens out any tension inconsistencies from the rows you worked while tired. Also, consider adding a fabric lining. A simple cotton liner cut to size and hand-sewn to the inside creates a clean look and prevents your keys or pens from poking through the decorative stitches.
Variations and Personalization Ideas
This pattern is a beautiful canvas. For a festive look, try using alternating colors every four rounds to create a bold, modern stripe pattern. If you want a more organic feel, use a neutral cream or beige yarn and attach wooden beads to the ends of the handles. You could even sew a vintage brooch or a small leather label to the front corner to add a high-end designer touch. The size can also be easily adjusted; keep the base smaller for a dainty “market basket” feel, or enlarge the foundation chain for an oversized beach tote.
Care Instructions
Cotton is a wonderful material because it is durable and easy to maintain. I recommend handwashing your bag in cool water with a gentle detergent. Avoid using the dryer, as heat can shrink cotton. Instead, gently squeeze out excess water, reshape the bag, and lay it flat to dry on a clean towel. This will ensure your beautiful project keeps its shape for years of daily use.
FAQ
How do I keep the moss stitch edges straight?
The key is to strictly follow the “ch 1, skip 1, sc” rule. If your bag is leaning, you are likely failing to join into the correct stitch at the end of the round. Always use a stitch marker at the beginning of your round so you know exactly where to join.
Is cotton yarn necessary, or can I use acrylic?
You can use acrylic, but keep in mind that it has much more “stretch” than cotton. If you choose acrylic, select a slightly smaller hook to create a denser fabric, or be prepared to line the bag with fabric to provide the necessary support for your items.
How can I make the handles stronger?
If you plan on carrying heavy books, consider crocheting a piece of cord or inserting a length of cotton rope inside the handle as you crochet over it. This “encasing” technique makes the handles nearly indestructible.
What should I do if my base is curling?
A curling base usually means you aren’t working enough increase stitches. Ensure you are putting 3 sc into the corners of each row of the base. If it still cups, add an extra stitch to your corner increases in the next round.
How do I hide the yarn tail when starting a new color?
Carry the yarn tail along the wrong side of your work and crochet over it for about 5 to 6 stitches. Once it is securely caught in the fabric, you can snip the remaining tail. This saves you from having to weave in dozens of ends later!
Conclusion
Crocheting a tote bag is a rewarding journey, and there is nothing quite like the feeling of using an object you have created with your own two hands. As you complete your Everyday Essential Textured Cotton Tote, remember that every stitch tells a story of your patience and creativity. Whether this is your first finished project or your hundredth, take a moment to admire the texture you have created and the durability you have built into each round.
If this tutorial helped you feel more confident in your stitching, please feel free to save this page or share your finished piece with a friend. There are always new textures to explore and projects to start, so keep your hooks ready and your yarn stash nearby. Happy crafting, and may your next project bring you just as much relaxation and joy as this one.