
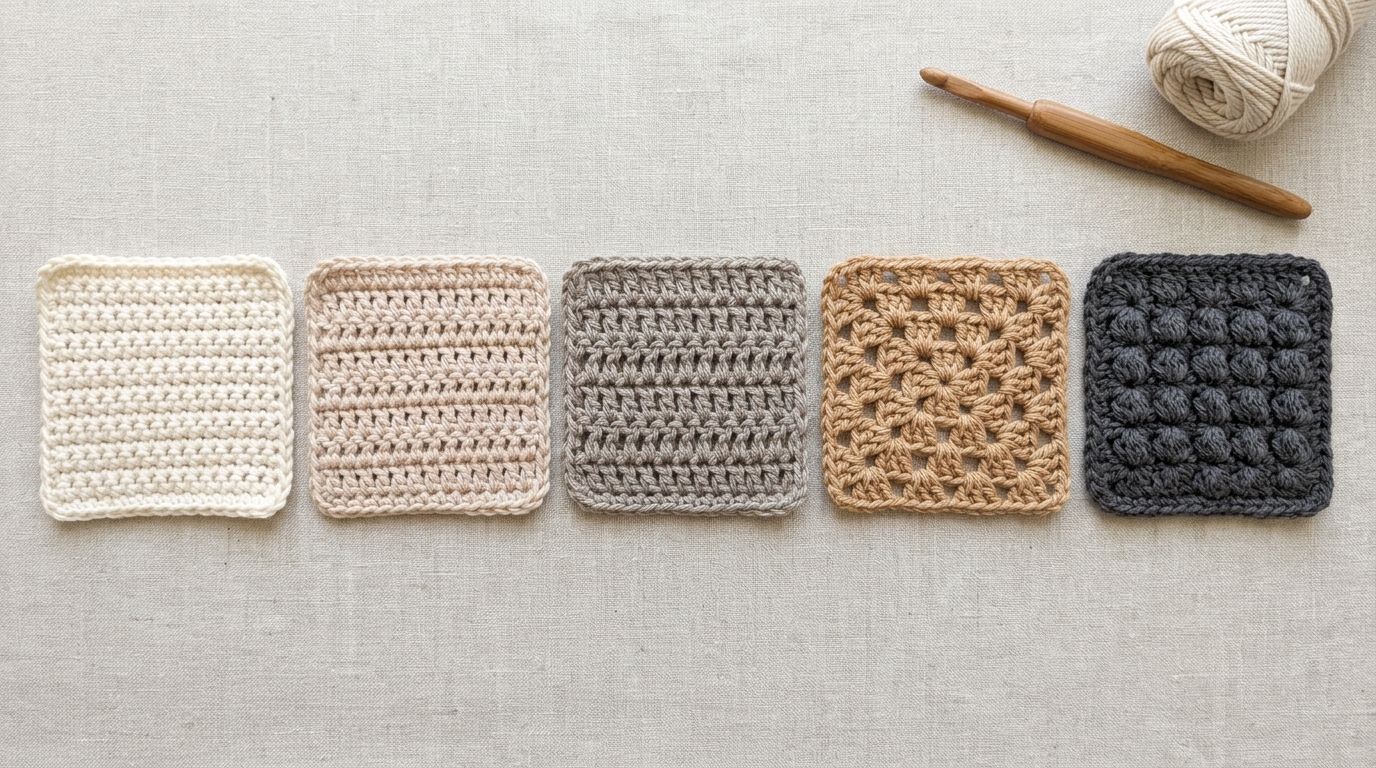
There is something incredibly grounding about the repetitive, rhythmic motion of a crochet hook dancing through yarn. Whether you are seeking a creative outlet to soothe your mind after a busy day or hoping to craft handmade heirloom gifts for loved ones, mastering the fundamental stitches is your gateway to endless possibilities. You don’t need a massive toolkit or years of experience to create something beautiful; you simply need a little patience, a comfortable hook, and a clear understanding of the five essential building blocks of crochet.
When you learn these five universal stitches, you are essentially learning a language. Once you understand how these stitches are constructed, how they behave, and how they interact with one another, you will find that you can read almost any pattern you encounter. We are going to walk through these core techniques together, ensuring you feel confident, whether you are picking up a hook for the very first time or refining your craft to achieve that professional, polished look we all admire.
Quick Overview
In this guide, we are focusing on the foundational stitches that make up the vast majority of crochet patterns in the United States. You will learn the mechanics behind the Chain (ch), Single Crochet (sc), Half Double Crochet (hdc), Double Crochet (dc), and Treble Crochet (tr). This guide is designed for the absolute beginner who needs clarity and reassurance, as well as the intermediate crocheter looking to refresh their technique and understand the “why” behind their stitches for improved tension and uniformity. By the end of this guide, you will understand how these stitches grow in height and build texture, providing a solid theoretical and practical foundation for every project you undertake.
Materials and Tools Needed
To practice these stitches, you really only need three simple things. First, choose a light-colored, medium-weight yarn (often labeled as “worsted” or “category 4”). Light-colored yarn is essential for beginners because it allows you to clearly see the anatomy of each stitch, making it so much easier to identify where to place your hook.
Second, select an appropriate crochet hook. A size H/8 (5.0 mm) hook is widely considered the “gold standard” for beginners. It is large enough to handle easily but small enough to produce a nice, tight fabric. Finally, keep a few stitch markers nearby. Even if you aren’t working in rounds yet, pinning a stitch marker into your first and last stitch of a row is a game-changer for keeping your edges straight and your stitch count accurate. Don’t worry about expensive tools; a simple ergonomic aluminum hook will serve you beautifully as you learn.
Crochet Terms and Key Concepts
Before we dive into the stitches themselves, let’s talk about the “language” of your work. Every crochet project is governed by a few key concepts:
- Tension: This is how tightly or loosely you hold your yarn. Achieving consistent tension is the secret to a professional-looking project. If your stitches look gappy, your tension is too loose; if your hook feels like it’s fighting through the yarn, it’s likely too tight.
- The Anatomy of a Stitch: Look at the top of your stitches. You will see a “V” shape. This is comprised of a front loop (the one closest to you) and a back loop (the one furthest away). Mastering where you insert your hook—into one loop, both loops, or the space between stitches—is what creates different textures and fabric drapes.
- Turning: In flat projects, you work back and forth in rows. At the end of each row, you will “turn” your work, which simply means flipping it over like a page in a book, and then making a “turning chain” to reach the height needed for the next row.
Helpful Notes Before You Start
Your starting chain is the foundation of your project—take your time with it! Many beginners make their foundation chain too tight, which causes the base of their project to pucker or curl. If you struggle with this, try using a hook one size larger for your starting chain, then switch back to your regular hook for the rest of the work.
Remember that when we list the “turning chain” in these guides, that chain is usually intended to act as the first stitch of the row. This can be confusing, but don’t fret; as you practice, you will start to see exactly how that turning chain replaces or sits alongside your true first stitch. Above all, don’t rush. Crochet is meant to be a restorative process, not a race.
The Five Essential Stitches Explained
Each of these stitches is a variation of the previous one, essentially adding an extra “yarn over” to increase the height of the stitch.
The Chain Stitch (ch)
This is the most fundamental move in crochet. To begin, create a slip knot and place it on your hook. To chain, yarn over (wrap the yarn over your hook from back to front) and pull that yarn through the loop currently on your hook. Repeat this motion. You are essentially creating a row of interlocking loops. You will use this for almost every project you start, so practice until your chains look uniform in size.
The Single Crochet (sc)
The single crochet is a short, sturdy stitch perfect for amigurumi or dense, warm blankets. To perform this stitch: insert your hook into the next stitch, yarn over, and pull up a loop (you now have two loops on your hook). Yarn over again and pull through both loops on your hook. You are left with one loop, and your stitch is complete. It is simple, humble, and incredibly versatile.
The Half Double Crochet (hdc)
Think of this as the “middle ground” stitch. It is taller than a single crochet but shorter than a double crochet. It creates a lovely, soft drape. To perform: yarn over first, then insert your hook into the stitch, yarn over again, and pull up a loop (you will have three loops on your hook). Yarn over one final time and pull through all three loops at once. It feels very satisfying when you master the flow of pulling through all three.
The Double Crochet (dc)
This is the most popular stitch in the crochet world. It works up quickly and creates a beautiful, flexible fabric. To perform: yarn over, insert your hook into the stitch, and pull up a loop (three loops on your hook). Yarn over and pull through the first two loops only. Yarn over again and pull through the final two loops. The movement of “yarn over, pull through two, pull through two” will soon become muscle memory.
The Treble Crochet (tr)
This is the tallest of the core stitches, often used for lacy projects like airy summer shawls. Because it is taller, it requires more yarn-over action. Yarn over twice before inserting your hook into the stitch. Pull up a loop (you will have four loops on your hook). Yarn over and pull through two, yarn over and pull through two, and yarn over and pull through the last two. It is elegant, dramatic, and surprisingly easy once you get that rhythm down.
Step-by-Step Learning for Beginners
If you are just starting, do not try to make a blanket immediately. Start by creating “swatches”—small squares of about 4×4 inches. Spend one afternoon dedicated entirely to the single crochet until your rows look like a neat, tidy wall. On the next day, try the double crochet.
Watch how your hands move. If you find your hook getting stuck or the yarn tangling, pause and check your grip. Are you holding the yarn too tightly with your tension hand? Relax your shoulders. Sometimes, simply putting your work down and taking a ten-minute break resets your tension far better than hours of struggling will. As you move from one stitch to the next, pay attention to the height. You will notice that as you go from the single crochet to the treble, the fabric becomes more porous and flexible. This is the “secret sauce” of crochet design—choosing the right stitch for the specific project you want to create.
Common Mistakes to Avoid
The most common mistake is miscounting your stitches at the end of a row. It is very easy to miss the very last stitch, which causes your work to subtly taper or “triangle” inward rather than staying a perfect rectangle. Using a stitch marker in the first and last stitch effectively solves this.
Another frequent issue is the “twisted chain.” When you are starting a long chain, make sure it is not twisted when you join it or work into it. Run your finger along the chain to ensure the “V”s are all facing the same direction. Finally, remember that U.S. and U.K. terms are different—a “double crochet” in U.K. terms is actually a “single crochet” in U.S. terms. Always check which terminology your pattern uses before you start.
Pro Tips for a Better Result
You don’t just want your crochet to look handmade; you want it to look beautiful. Blocking is the professional finishing touch that separates a beginner project from a masterpiece. Once you finish your piece, wash it gently, pin it to a flat surface in the shape you want, and let it dry. This aligns the fibers and makes your stitches pop.
Additionally, be mindful of your color changes. When switching colors, try to join the new yarn right as you are pulling through the final two loops of your last stitch—this creates a seamless transition that looks much cleaner than simply tying on a new piece of yarn.
Variations and Personalization Ideas
Once you master these five stitches, you can start combining them to create entirely new textures. Try working a row of double crochet followed by a row of single crochet—this creates a thick, warm, and durable fabric perfect for winter accessories. Or, try “back loop only” (BLO) stitching, where you only insert your hook into one loop of the “V.” This creates a ribbed, knit-like appearance that adds wonderful dimension to sweaters and hats. Don’t be afraid to experiment with your yarn weights, too. The exact same stitch pattern will look entirely different when worked in a delicate silk versus a chunky wool.
Care and Next Steps
Once you have finished a project, treat it with the care it deserves. For most acrylic, cotton, or wool blends, a gentle hand wash in cool water with a mild detergent is best. Never wring or twist your crochet; instead, lay it flat on a towel, roll it up like a burrito to remove excess moisture, and then lay it flat to finish drying. Protect your pieces from direct sunlight to keep the colors vibrant, and store them folded rather than hanging them, as hanging can cause crochet pieces to stretch out over time. Your next step should be to find a simple “one-row repeat” project, like a basic scarf, to practice these stitches in earnest.
FAQ
How do I stop my crochet from curling at the edges?
Curling often happens if your starting chain is too tight or if your tension is inconsistent. Try using a larger hook for your starting chain, or focus on relaxing your hands. If it persists, blocking your finished piece usually corrects the issue entirely.
Why does my square look more like a triangle?
This is almost certainly due to skipping the first or last stitch of your rows. Use a stitch marker to mark the first stitch of every row so you can clearly see where to place the final stitch of the following row.
What is the difference between front loop and back loop crochet?
The top of every stitch has two loops forming a “V.” Inserting your hook into only the loop closest to you is the front loop, while the one furthest away is the back loop. Using these creates different ridges and structural textures in your fabric.
Should I count my turning chains as a stitch?
In many patterns, the turning chain counts as the first stitch. However, this is a personal preference. If you find it leaves a gap at the edge, you can choose to make a “chainless starting double crochet” or simply skip the chain and work your first stitch into the same space instead.
Can I mix different crochet stitches in one project?
Absolutely! Mixing stitches is a wonderful way to add texture. Just ensure you are aware of the height differences between stitches, as they can sometimes cause your rows to be slightly uneven if you aren’t careful about your spacing.
Conclusion
Embarking on your crochet journey is a beautiful gift to yourself. These five foundational stitches are the language of your future projects, whether you decide to make a cozy blanket for a chilly evening, a delicate accessory for a friend, or simply a collection of practice swatches that represent your growth. Remember, every master was once a beginner who refused to put their hook down. Be kind to yourself, enjoy the meditative nature of your hobby, and above all, take pride in the fact that with just a hook and some string, you are creating something uniquely yours. Happy stitching!