
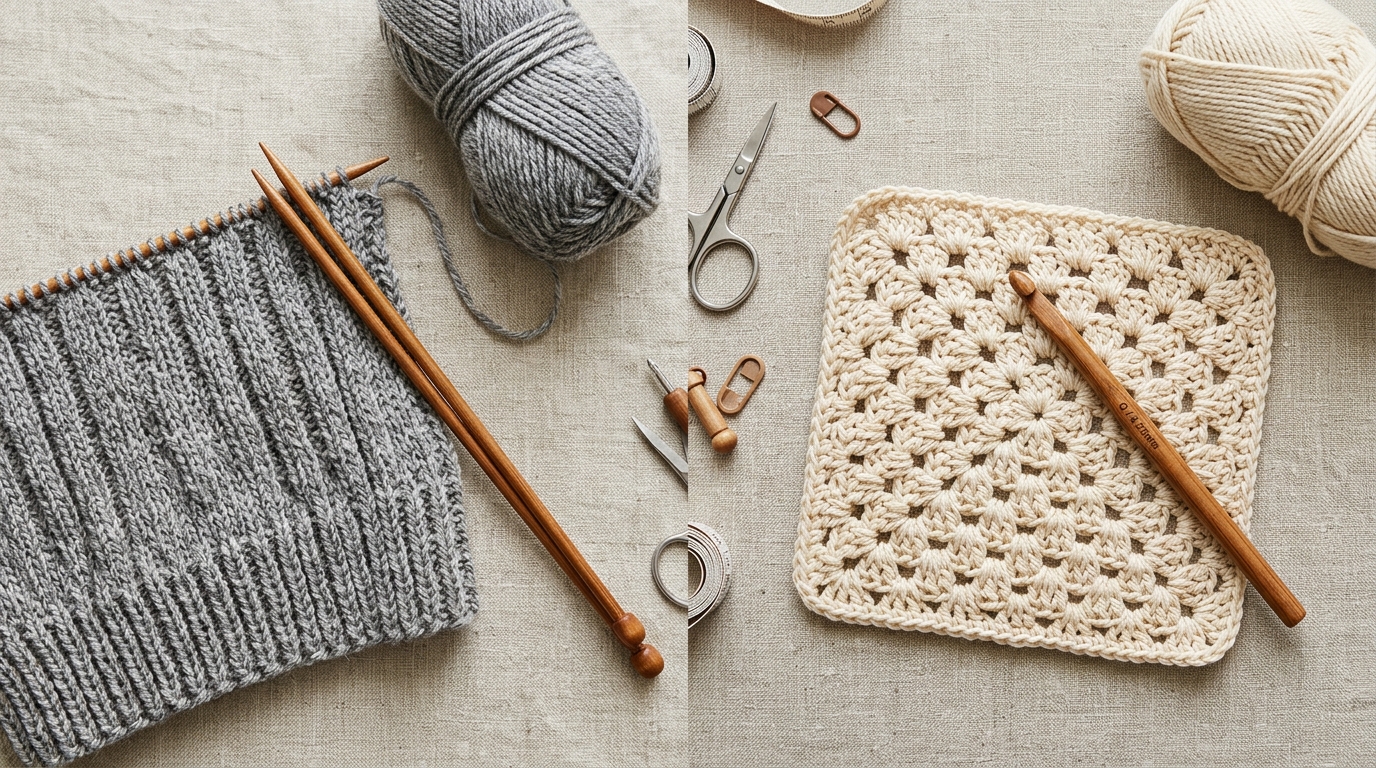
There is something deeply grounding about the rhythmic click of a crochet hook meeting soft yarn. Whether you are finding your way through your very first chain or you are a seasoned maker looking to refine your craft, there is a common thread that binds us: the desire to create something beautiful, cozy, and lasting with our own two hands. While many people often weigh the pros and cons of knitting versus crochet, the reality is that both crafts offer a meditative escape from our busy lives. However, for those who love the flexibility of working with a single hook and the ability to easily “undo” and restart, crochet remains a beloved favorite.
Choosing the right project is the first step toward falling in love with your yarn. Today, we are focusing on a project that is as practical as it is charming: the Everyday Textured Market Tote. This piece is designed to be your go-to companion for farmer’s markets, library trips, or even as a stylish way to store your current yarn projects in your living room. By working through this pattern, you will learn the delicate balance between stitch structure and drape, gaining confidence with every round. We have designed this tutorial to guide you gently, ensuring that whether you are a beginner or looking to polish your intermediate skills, you will finish with a piece you are truly proud to carry.
Quick Project Overview
This project is perfectly suited for those looking to practice stitch texture without the complexity of a difficult pattern.
- Skill Level: Beginner-Friendly Intermediate
- Estimated Time: 4 to 6 hours
- Finished Size: Approximately 14 inches wide by 12 inches deep (excluding handles)
- Best Use: Grocery shopping, beach trips, gift-giving
- Why You Will Love It: It uses only basic stitches but creates a sophisticated, professional-looking fabric that is incredibly durable and holds its shape beautifully.
Materials Needed
To create this tote, you will want a yarn that has some structure. A cotton or cotton-blend yarn is ideal because it does not stretch as much as wool or acrylic, which is essential for a bag that needs to carry weight.
- Yarn: Approximately 400 yards of Medium Weight (Category 4) Cotton Yarn.
- Crochet Hook: Size H/8 (5.0 mm) hook (or size needed to meet your personal tension requirements).
- Scissors: A sharp pair for clean yarn cutting.
- Yarn Needle: A large-eye blunt needle for weaving in your ends.
- Stitch Marker: Essential for keeping track of your rounds in continuous spiral patterns.
- Optional: A small piece of fabric for a liner if you intend to carry small items.
Stitches and Abbreviations
- Ch (Chain): Yarn over, pull through the loop on the hook.
- Sc (Single Crochet): Insert hook, yarn over, pull up a loop, yarn over, pull through both loops.
- Hdc (Half Double Crochet): Yarn over, insert hook, yarn over, pull up a loop, yarn over, pull through all three loops.
- Dc (Double Crochet): Yarn over, insert hook, yarn over, pull up a loop, yarn over, pull through two loops, yarn over, pull through remaining two loops.
- Sl St (Slip Stitch): Insert hook, yarn over, pull through both the stitch and the loop on the hook.
- Sk (Skip): Do not work into the designated stitch.
- St(s): Stitch(es).
Pattern Notes Before You Start
Tension is the secret ingredient in quality crochet. If you notice your bag is starting to “cup” or look like a bowl when it should be flat, your tension might be too tight. Conversely, if it creates large, gaping holes, you may need to tighten your grip or go down a hook size. For this bag, we recommend a slightly firmer tension to ensure the bag holds the weight of your items. Do not worry about perfection; the texture of the stitch pattern is very forgiving!
Full Crochet Pattern
Part 1: The Base
We will start at the center and build outward to create a sturdy, circular base.
- Round 1: Start with a magic ring. Ch 1, work 8 sc into the ring. Pull the tail to tighten. Slip stitch to the first sc to join. (8 sts)
- Round 2: Ch 1, 2 sc in each st around. Join with a slip stitch. (16 sts)
- Round 3: Ch 1, 1 sc in the next st, 2 sc in the next – repeat from to around. Join with a slip stitch. (24 sts)
- Round 4: Ch 1, 1 sc in next 2 sts, 2 sc in the next – repeat from to around. Join with a slip stitch. (32 sts)
- Round 5: Ch 1, 1 sc in next 3 sts, 2 sc in the next – repeat from to around. Join with a slip stitch. (40 sts)
- Round 6: Ch 1, 1 sc in next 4 sts, 2 sc in the next – repeat from to around. Join with a slip stitch. (48 sts)
Part 2: Working the Body
Now that we have established our base, we will stop increasing and build the walls of the tote.
- Round 7: Ch 2 (counts as hdc), work 1 hdc in the back loop only (BLO) of every st around. Join to the top of the ch-2. (48 sts)
- Round 8-20: Ch 2, hdc in each st around. Join to the top of the ch-2.
- Note: If you want a deeper bag, feel free to add more rounds here before moving to the handle preparation.
Part 3: The Handle Setup and Finishing
- Round 21: Ch 1, sc in the first 8 sts, ch 25 (for the handle), skip 10 sts, sc in the next 14 sts, ch 25, skip 10 sts, sc in the remaining 6 sts. Join with a slip stitch.
- Round 22: Ch 1, sc in every sc and 30 sc stitches around each chain space. Join with a slip stitch.
- Round 23: Work a round of slip stitches in every stitch around the entire opening to create a clean, reinforced edge. Fasten off and weave in your ends securely.
Step-by-Step Tutorial Explanation
When you reach the “Part 1” section, you are creating the foundation. It should look like a small, flat circle. If it begins to ruffle or wave, you have increased too many times. If it forms a bowl shape too quickly, you haven’t increased enough. Take a moment during Round 6 to lay it flat—it should look like a perfect hexagon or circle.
Moving into the body of the bag, the use of the “Back Loop Only” in Round 7 is a pro-tip for creating a crisp edge at the base of your bag. It makes the bottom transition smoothly into the sides. As you work the height of the bag, remember to count your stitches every few rounds. It is very easy to accidentally drop a stitch at the end of a round, which can cause your bag to slant.
Common Mistakes to Avoid
The most common pitfall for new crocheters is “stitch creep,” which happens when the join of the round slowly travels to the right or left, causing a diagonal seam. To prevent this, always count your stitches at the end of every round. Another frequent issue is forgetting the turning chain or counting the turning chain as a stitch. In this pattern, we have specified that the starting chain counts as a stitch to help maintain a smooth appearance. If your edges look uneven, check to see if you are accidentally skipping the very first stitch of the row or working two stitches into the same space by mistake.
Pro Tips for a More Beautiful Result
- Block Your Work: Once you have finished your bag, give it a light steam. Even cotton bags benefit from a little shaping. It helps the stitches relax and look uniform.
- The Invisible Finish: Instead of a traditional slip stitch join, look up the “invisible finish” technique online. It creates a seamless edge that looks professional and prevents that tell-tale “bump” where your rounds start and end.
- Choose Your Colors Wisely: For a market tote, darker colors are better at hiding dirt, but lighter neutrals are more timeless. Consider a variegated yarn for a fun, eclectic look, or stay monochrome for a chic Scandinavian aesthetic.
- Weaving Ends: Never skip the step of weaving your ends through multiple stitches in different directions. Since a bag carries weight, you want those ends buried deep so they don’t pop out after a few uses.
Variations and Personalization Ideas
The beauty of this pattern is its versatility. Once you have mastered the basic shape, you can transform it. Try adding a row of “mesh” stitches (ch 3, skip 1, sc) midway through the bag to give it an airy, summery feel. You could also weave a contrasting piece of ribbon or a braided cord of yarn through the top round to create a drawstring closure. For a baby gift, consider making a smaller version of this bag to hold toys, utilizing a softer, pastel cotton thread.
Care Instructions
Because your bag is made of natural fibers, it will handle simple care quite well. We recommend hand washing in cool water with a gentle detergent. Do not wring or twist the bag, as this can distort the crochet stitches. Instead, lay the bag flat on a clean towel, reshaping it to its original dimensions, and let it air dry in the shade. If needed, you can lightly steam it to remove any wrinkles, but avoid placing a hot iron directly on the yarn, as this can flatten the beautiful texture we worked so hard to create.
FAQ
How do I know if my tension is correct?
Check your gauge by looking at your fabric. If it is stiff and difficult to bend, your tension is too tight. If you can clearly see gaps between the stitches that look floppy, it is too loose. Aim for a fabric that feels firm but has a little give.
Why does my bag look like it’s spiraling?
This usually happens when working in the round without turning your work. It is perfectly natural in crochet! To minimize this, ensure your starting chain/stitch is pulled tight at the join of each round.
Can I use acrylic yarn instead of cotton?
You certainly can, but be aware that acrylic is naturally stretchier. Your bag may grow significantly once you put items in it. If you use acrylic, consider using a smaller hook size to make the stitches tighter.
How can I make the handles stronger?
If you plan on carrying heavy books, consider working the handle section with an extra strand of yarn held together with your main yarn. This effectively doubles the thickness and strength of the handles without changing the pattern.
Is it normal to have a visible seam?
Yes, when working in joined rounds, a small vertical seam is inevitable. To make it less noticeable, align the seam with the side of the bag rather than the front or back.
Conclusion
Creating your own market tote is just the beginning of a beautiful journey in crochet. There is such an immense sense of accomplishment that comes from seeing a simple ball of yarn transform into an object that you use every single day. Whether you are heading to the grocery store or simply organizing your craft room, you will be doing it with a piece that was made by your own hands, with your own unique style.
We hope this tutorial has been a helpful companion during your creative process. Remember, every master crocheter was once a beginner who refused to put down their hook. If you enjoyed this project, we encourage you to keep exploring, experiment with new yarn textures, and perhaps even adapt this pattern to suit your next big idea. Happy crocheting, and may your stitches always be even and your yarn supply remain plentiful!