
Introduction
Stepping into the world of crochet is like opening a door to a cozy, colorful, and deeply satisfying hobby. There is something truly magical about taking a single strand of yarn and, with the simple rhythmic movement of a hook, transforming it into something beautiful, functional, and uniquely yours. Whether you are dreaming of whipping up a soft, chunky blanket for a rainy afternoon or an intricate accessory to gift a loved one, the journey always begins with one essential skill: learning to read the language of crochet.
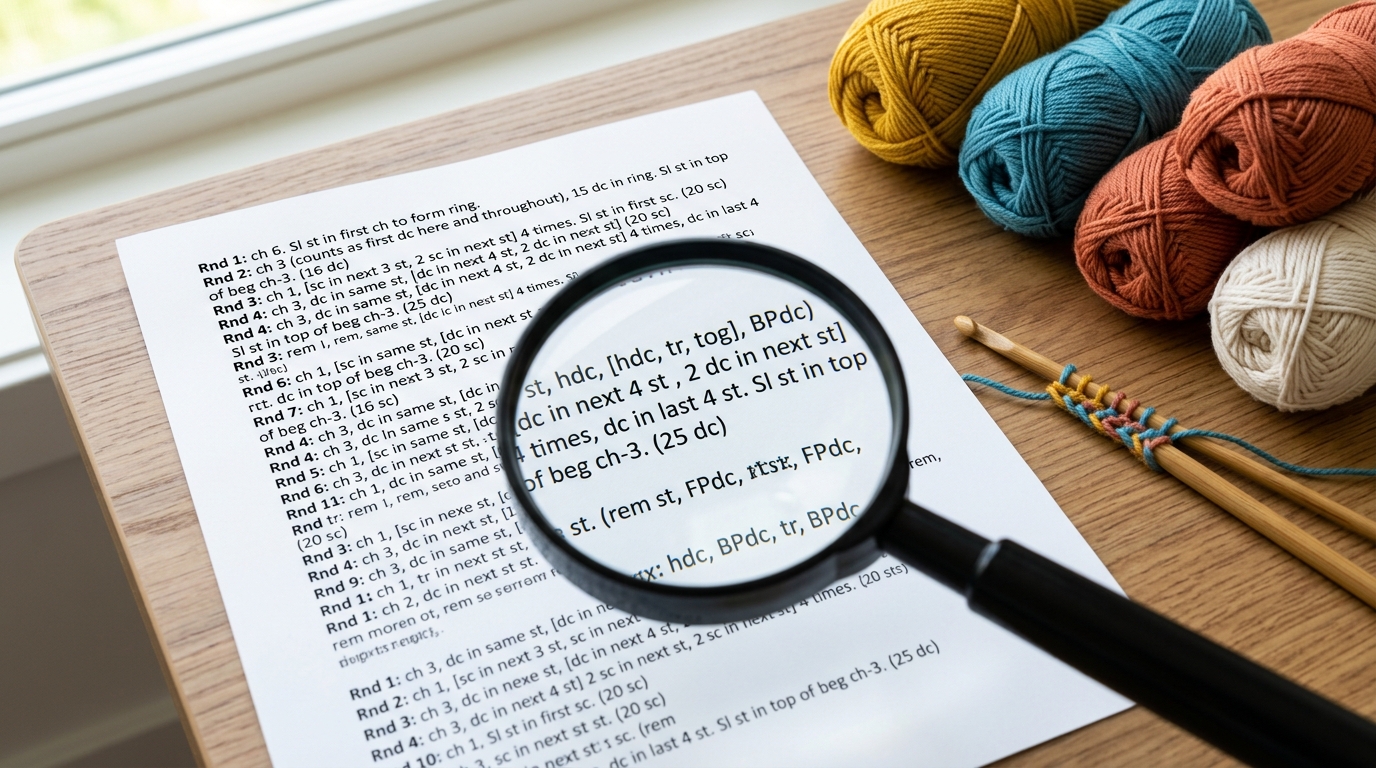
Patterns—whether written in rows of text or depicted in visual charts—are the roadmaps for our creative endeavors. For many beginners, that first glance at a page full of abbreviations can feel a bit like reading a secret code. You might wonder, “What does sk 2 sts, 3 dc in next ch even mean?” Please take a deep breath and know that you are not alone. Every expert crocheter you admire today once stood exactly where you are, feeling a little overwhelmed by the shorthand. This guide is designed to de-mystify the process, gently walking you through how to interpret these instructions so you can crochet with confidence, ease, and a whole lot of joy. Let’s unravel the mystery of written patterns and charts together, turning that confusion into your next favorite creative outlet.
Quick Overview
In this guide, you will learn the fundamental anatomy of a crochet pattern and how to bridge the gap between written instructions and visual charts. This walk-through is perfect for absolute beginners who have just learned their first few stitches and are ready to tackle their first “real” project, as well as intermediate crocheters who want to refine their skills and gain the confidence to try more complex designs.
By the end of this article, you will understand:
- The standard structure of a professional crochet pattern.
- How to translate common U.S. crochet abbreviations into stitches.
- How to follow “repeat” sequences without losing your place.
- The basics of reading international crochet charts.
- Why understanding these tools saves you time, yarn, and frustration.
Materials and Tools for Success
While you don’t need any special equipment to learn the theory of reading patterns, having your “crochet toolkit” ready will help you practice these concepts in real-time. To follow along and test your skills, make sure you have:
- A skein of light-colored, medium-weight yarn: Smooth yarn makes it much easier to see your stitch placement.
- A standard crochet hook: An H/8 (5.0 mm) hook is usually a great “middle of the road” size for beginners.
- A “practice” pattern: Find a simple, free written pattern online to look at while you read this guide.
- Stitch markers: These are essential for keeping track of your count, especially when working in rounds or complex patterns.
- A notebook and pencil: Writing down your progress as you work through a row is a game-changer.
Crochet Terms and Key Concepts
Before you dive into a pattern, you must become familiar with the language. U.S. crochet terminology is the standard for most patterns you will find in magazines, blogs, and books. Even if you come across a pattern that seems strange, it likely relies on these core abbreviations:
- ch (chain): The foundation of almost every project.
- sc (single crochet): The shortest, most basic stitch.
- hdc (half double crochet): Often called the “workhorse” of crochet; it’s taller than a single crochet but shorter than a double.
- dc (double crochet): A taller, faster-working stitch.
- sl st (slip stitch): Used to join rounds or move across your work without adding height.
- st/sts (stitch/stitches): The individual loops you work into.
- rep (repeat): Instructions that tell you to perform the same sequence multiple times.
- YO (yarn over): The act of wrapping the yarn over your hook—the foundation of almost every stitch.
Helpful Notes Before You Start
Crochet patterns are not written in “everyday” English; they are written in a specialized shorthand to save space and make the instructions easier to scan once you know the lingo. Always start your project by reading the “Notes” section at the top of a pattern. This section often contains critical information regarding the “turning chain,” which stitches count as a stitch, and how to change colors or join new yarn. Neglecting the notes is the most common reason for a finished item turning out a different size or shape than the designer intended. Remember, the designer is talking to you directly through those notes—don’t skip them!
Reading Written Instructions
Most U.S. crochet patterns follow a consistent structure. Once you recognize this format, you can pick up almost any pattern and get started with ease.
Understanding the Row-by-Row Format
Most flat projects, like scarves or afghans, are worked in rows. You will see a label like “Row 1,” followed by the instructions. At the end of the row, you will often find a number in parentheses, like (20 sts). This is the stitch count. Always count your stitches at the end of every row before you turn your work. If your count is off, it is much easier to fix it on the row you just finished than to realize the mistake ten rows later.
Decoding the Repear Instructions
You will frequently see symbols like brackets [ ] or parentheses ( ). These are used to group instructions. For example, if a pattern says, “[dc 1, ch 1] 5 times,” it means you should perform that specific sequence of a double crochet followed by a chain, exactly five times in a row. Treat these grouped instructions as a single unit or a “mini-rhythm” so you don’t get lost in the numbers.
Reading Crochet Charts
Charts are the “universal language” of crochet. They use symbols rather than words to show you exactly where to place your hook. This is incredibly helpful when working on motifs, lace, or complex projects where written abbreviations might become too cluttered or confusing.
The Anatomy of a Symbol
Every standard stitch has a corresponding symbol. A simple dot or a small ‘x’ usually represents a single crochet. A vertical line with a slash through it represents a double crochet. When you look at a chart, you are essentially looking at a map of your fabric. You follow the symbols in the direction you are crocheting—if you are working in rows, you read the first row right to left, the second row left to right (always follow the arrow indicators in the chart’s legend).
How to Use the Chart Legend
Every high-quality pattern with a chart will include a “key” or “legend.” This is your dictionary. It tells you exactly what the ‘x’ or the vertical line means in the context of that specific pattern. Never try to guess a symbol; always check the legend first. If a pattern doesn’t have a legend, it is likely using standard international symbols, which are widely available in online reference guides.
Step-by-Step Guide to Pattern Success
If you feel nervous about starting a project, try this methodical approach to ensure success:
- Print or Bookmark: Have the pattern somewhere you can easily refer to, whether a physical printout or a digital screen.
- Highlighting: Use a colored highlighter (or digital markup tool) to track your progress row by row. It’s an essential way to keep your eyes from skipping a line of instructions.
- The “Slow Read”: Before you touch your hook, read the entire pattern from start to finish. You want to see the “big picture” of how the instructions unfold.
- Count as You Go: Use stitch markers at the beginning and end of every row or at regular intervals (like every 20 stitches) to keep your work accurate.
- Stop and Check: If your work looks “wonky” or the edges aren’t straight, stop immediately. Check your stitch count. Most problems in crochet come down to an extra or missing stitch in a previous row.
Common Mistakes to Avoid
Even experienced crocheters make mistakes! Here are the most common traps to watch out for:
- Ignoring the Gauge: If your stitches are tighter or looser than the designer’s, your finished product might not fit. Always check your gauge if the pattern notes it.
- Skipping the Turning Chain: Beginners often forget their turning chain, which leads to slanting, uneven, or shrinking edges.
- Working into the Wrong Stitches: Make sure you know which loop to work into—the “front loop,” “back loop,” or “both loops.” Patterns specify this for a reason!
- Confusing U.S. and U.K. Terms: This is a big one. A U.S. “single crochet” is a U.K. “double crochet.” If your project starts looking strangely tall or short, double-check that you aren’t using the wrong terminology.
Pro Tips for a Better Result
The secret to a professional-looking project isn’t just following the pattern; it’s in the finishing touches. Blocking your finished item—gently stretching and pinning it into the correct shape while wetting it slightly—can make a massive difference, especially for lacy or geometric items. Additionally, mastering the art of weaving in your ends securely will ensure your hard work doesn’t unravel years down the road. If you are ever stuck, try searching for a “video tutorial” of the specific stitch mentioned in the pattern. Using a written pattern alongside a video is the absolute best way to learn complex techniques.
Variations and Personalization
Once you are comfortable reading a pattern, you gain “crochet freedom.” You don’t have to follow a pattern exactly as written! You can change the yarn color to make a piece more seasonal, swap a medium-weight yarn for a chunky one (just remember this will change your final size), or add a decorative border to a simple blanket. Reading the pattern lets you see the structure, and once you see the structure, you can customize it to suit your home, your wardrobe, or the recipient of your gift.
Care and Next Steps
Once your project is complete, follow the care instructions on your yarn label. Most acrylic yarns can be machine washed, while natural fibers like wool or cotton often require hand washing. When you are ready for your next project, look for “Beginner-Friendly” patterns that include a full photo tutorial. This will help you bridge the gap between simple stitches and reading complex instructions, building your confidence one loop at a time.
FAQ
How do I know if a pattern is a U.S. or U.K. version?
Look for “single crochet” (sc). If you see “sc,” it is U.S. terminology. If you only see “double crochet” and “treble crochet” with no mention of single crochet, it is likely U.K. terminology.
What should I do if my stitch count is always off?
Use stitch markers! Place one in your first and last stitch of every row. This prevents you from accidentally skipping the end stitch, which is the most common reason for losing stitches.
Can I follow a chart if I don’t know the symbols?
Every chart should come with a legend. If it doesn’t, you can search online for “standard crochet chart symbols” to find a master list to reference.
What is gauge, and does it matter for blankets?
Gauge is the number of stitches and rows per inch. It is crucial for clothing that needs to fit, but it matters less for blankets. However, even for blankets, your gauge determines how much yarn you need.
Why does my work lean to one side?
This usually happens if your tension changes mid-row or if you are skipping your first or last stitches. Consistent tension and careful counting will fix this over time.
Conclusion
Learning to read crochet patterns is like learning to read music; at first, the notes look like mysterious black marks on paper, but before long, your hands learn to play the melody without you even thinking about it. Give yourself grace as you learn. There is no such thing as a “perfect” crocheter, only someone who has practiced a little bit longer. Keep your hooks nearby, your yarn stash accessible, and most importantly, remember to enjoy the process of creating. Every stitch you make is a form of self-expression, and you are building a skill that will provide you with a lifetime of warmth, comfort, and creative accomplishment. Happy hooking!