
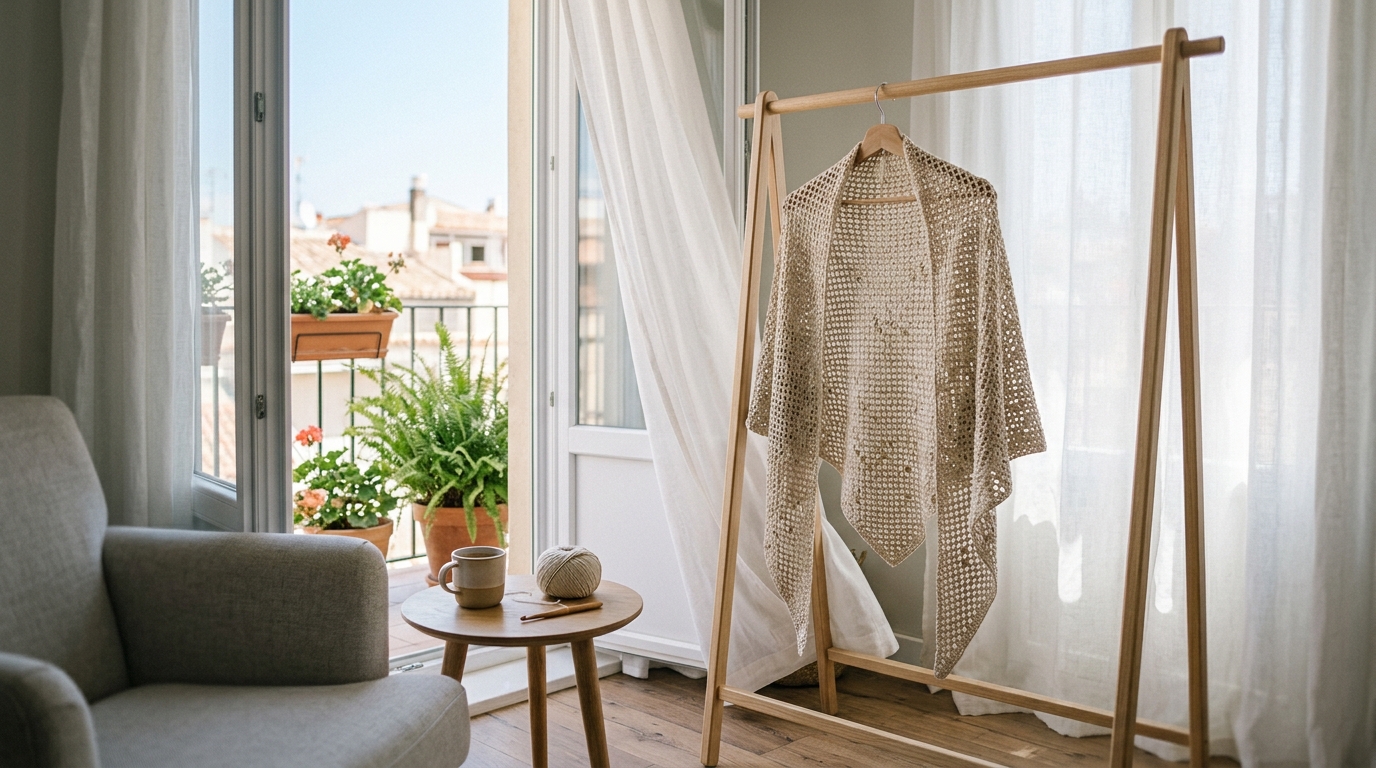
There is a unique kind of magic in carving out a few hours over the weekend to create something beautiful with your own two hands. Whether you are finding a quiet corner on the porch, curled up on the sofa with a warm cup of coffee, or tucking into a project while listening to an audiobook, crochet offers a gentle, rhythmic escape from the bustle of daily life. For many of us, the joy of crafting isn’t just in the finished piece; it’s in the meditative loops of the yarn and the satisfaction of watching a simple string transform into a cozy accessory or a thoughtful gift.
If you are looking for simple crochet patterns that won’t overwhelm your weekend plans, you are in the perfect place. This collection of lightweight, beginner-friendly projects is designed to give you that rewarding sense of accomplishment without the stress of a multi-week commitment. These patterns are approachable, easy to memorize, and incredibly versatile. Whether you are picking up a crochet hook for the very first time or you are a seasoned crafter looking for a “palette cleanser” project to work on between larger, more complex blankets, these designs will bring a little extra handmade charm into your home. Let’s dive into these delightful projects and turn some yarn into something truly special.
Quick Overview of Weekend Projects
These projects have been curated specifically for their ease of construction and quick turn-around time. They are categorized as beginner-friendly, meaning they focus on basic stitches like the chain, single crochet, and double crochet. You can finish most of these items in a single weekend.
- Skill Level: Beginner to Adventurous Beginner.
- Time Commitment: 2 to 6 hours depending on your speed.
- Best Use: Perfect for DIY gifts, last-minute market prep, or just treating yourself to a quick weekend win.
- Why You Will Love Them: They require minimal materials, use simple construction, and provide instant gratification while helping you practice consistent tension.
Materials Needed for Your Weekend Projects
The beauty of simple crochet is that you don’t need a massive stash to get started. For these lightweight projects, I recommend keeping a few essentials on hand:
- Yarn: Look for a medium-weight (Size 4/Worsted) cotton or a soft acrylic blend. Cotton is fantastic for home decor, while soft acrylics are wonderful for accessories.
- Hook: A size H/8 (5.0 mm) hook is the “bread and butter” of the crochet world. It works perfectly with worsted weight yarn for most beginner projects.
- Stitch Markers: Even if you think you don’t need them, these are lifesavers for marking the first or last stitch of a row so your edges stay straight.
- Tapestry Needle: Essential for weaving in your ends securely so your project doesn’t unravel after a wash.
- Scissors: Any sharp pair will do, but keep them exclusively for your yarn projects to keep the blades from dulling.
Understanding Key Crochet Terms
Before we begin, let’s go over the language we’ll be using. These abbreviations are standard in all U.S. patterns:
- Ch (Chain): The foundation of almost every project.
- Sc (Single Crochet): The most essential stitch; it creates a dense, sturdy fabric.
- Dc (Double Crochet): A taller stitch that works up faster and creates a lovely drape.
- Sl St (Slip Stitch): Used for joining rounds or moving your yarn across a row without adding height.
- St (Stitch): Refers to the individual loops you work into.
- Sk (Skip): Moving past a stitch to create eyelets or spaces.
- Fasten Off: Cutting your yarn and pulling the tail through the last loop to lock it in place.
The Weekend “Cozy Corner” Coaster Set
These coasters are the quintessential beginner project. They allow you to practice working in rounds and maintaining even tension without the pressure of a large piece.
Pattern: The Simple Modern Coaster
- Gauge: 4 stitches per inch (gauge is not strictly necessary for this project).
- Finished Size: Approx. 4 inches in diameter.
Round 1
Start with a magic ring or chain 4 and join with a slip stitch to form a circle. Chain 2 (this counts as your first double crochet throughout). Work 11 double crochets into the ring. Join with a slip stitch to the top of the chain 2. (Total: 12 stitches).
Round 2
Chain 2. Work 1 double crochet into the same space as the join. Work 2 double crochets into every stitch around. Join with a slip stitch to the top of the chain 2. (Total: 24 stitches).
Round 3
Chain 2. Work 1 double crochet in the next stitch, 2 double crochets in the following stitch. Repeat from to around. Join with a slip stitch to the top of the chain 2. (Total: 36 stitches).
Finishing
Fasten off, leaving a 6-inch tail. Use your tapestry needle to weave the tail back and forth through the stitches on the back side of the coaster to hide it completely. Block lightly with a steam iron if they appear slightly wavy.
The “Sunday Afternoon” Hand Towel
This project introduces you to the texture of the moss stitch (a simple alternating sequence of single crochet and chain) which creates a beautiful, squishy fabric that is perfect for kitchen or bath use.
Row 1
Chain 30. Single crochet in the 4th chain from the hook. Chain 1, skip 1 chain, single crochet in the next chain. Repeat to the end. Turn.
Row 2
Chain 2, single crochet in the first chain-1 space. Chain 1, skip the single crochet, single crochet in the next chain-1 space. Repeat to the end, finishing with a single crochet in the turning chain space. Turn.
Row 3
Continue repeating Row 2 until the towel reaches your desired length—usually about 12 to 14 inches. The beauty of this stitch is that it looks identical on both sides, making it very forgiving for beginners.
Finishing
To finish, simply work one final row of single crochets into the top edge to create a clean, firm border. Fasten off and weave in your ends carefully along the edges of the single crochet stitches to keep them invisible.
Helpful Notes for Beginners
If you find your edges are curling, do not panic! This is common for beginners and often happens because your starting chain—or your double crochet stitches—are worked just a little bit too tightly.
- The “Relax” Rule: When making the foundation chain, try to hold your hook with a loose grip. If your chain is too tight, the bottom of your project will be narrower than the rest.
- Count Your Stitches: In every row, take the extra five seconds to count your stitches. It prevents the dreaded “pyramid shape” where your project accidentally gets smaller each row.
- Respect the Gauge: While not strictly needed for coasters, if you move on to garments later, gauge is your best friend. A swatch takes time, but it’s better than finishing a sweater that ends up fitting a teddy bear instead of you.
Common Mistakes to Avoid
The journey of learning crochet is filled with little mishaps; they are just part of the process! Here are a few things that cause frustration:
- The Twisted Chain: When joining a foundation chain to work in the round, make sure the chain lies flat against your palm. If it flips, your entire piece will be twisted.
- Skipping the Turning Chain: Beginners often forget their turning chains. Remember, in most patterns, the chain at the end of a row counts as a stitch. Always look for that last loop to work into.
- The “V” Shape confusion: When looking at your stitches, they form a “V” on top. Always ensure you are inserting your hook under both loops of that “V” unless the pattern specifically calls for “back loop only.”
Pro Tips for a Polished Result
Intermediate crafters often ask how to make their projects look “professional.” The secret is almost always in the finishing.
- Blocking: Never underestimate the power of blocking. By pinning your work to a padded surface and steaming it lightly, you relax the fibers and make the stitches look perfectly uniform.
- The Seamless Join: When working in rounds, instead of just slip stitching, try using the “invisible join” method. It makes it nearly impossible to tell where the round started and ended.
- Weaving Ends: Don’t just snip your ends close to the knot! Weave them through at least three different directions for an inch or more. This ensures that your project stays together even after multiple trips through the wash.
Customization Ideas
The best thing about simple crochet is that it’s a blank canvas.
- Color Blocking: If you are making the coaster set, use scraps of yarn to make each one a different color. It’s a great way to use up those leftovers from larger projects.
- Striping: For the hand towel, change your yarn color every four rows. It turns a simple, repetitive project into a beautiful design feature.
- Embellishment: If you are giving these as gifts, consider adding a wooden tag or a small leather patch fixed with a decorative button. It elevates a simple handmade item into a boutique-quality gift.
Care and Storage
For cotton projects, such as coasters or towels, washing instructions are straightforward. You can typically machine wash them on a gentle cycle. However, to keep them looking their best, avoid high-heat drying. Laying them flat to air dry on a clean towel preserves the shape and prevents unnecessary shrinkage. If you used an acrylic blend, they are generally much more resilient and can handle a standard laundry bag in the wash. Always store your handmade items in a dry place away from direct sunlight to prevent fading.
FAQ
How do I know if my crochet tension is too tight?
If you struggle to insert your hook into the stitches of the previous row, your tension is likely too tight. Try going up half a hook size, or consciously focus on pulling your yarn through the loop with a slightly looser motion.
Why does my project keep getting smaller?
This happens when you accidentally skip the first or last stitch of a row. Using a stitch marker in the first stitch of every row will act as a “north star,” ensuring you know exactly where to place your final stitch at the end of the return row.
Can I mix different yarn brands in one project?
You absolutely can, provided they are the same weight (e.g., both are medium/worsted). Just be mindful that even within the same weight, some yarns may have different textures or fiber content, which might cause them to drape differently.
What is the best way to choose yarn colors?
Start by looking at the room where you plan to use the item. Use a color wheel to find complementary or analogous colors. If you’re feeling stuck, sticking to a monochromatic palette—using different shades of the same color—is a fail-safe way to get an elegant, sophisticated look.
Is crochet faster than knitting?
Generally, yes! Because crochet uses a single active loop, it is often faster to work up and much easier to “tink” (undo if you make a mistake) without losing all your stitches. It is a wonderful craft for those who value speed and ease.
Conclusion
As you tuck your hook away and look at the project you’ve just created, take a moment to appreciate the effort. Crochet is more than just a hobby; it is a way to slow down and create something lasting in a world that is always rushing forward. Whether these coasters become a permanent fixture on your coffee table or your new hand towel adds a touch of warmth to your kitchen, you’ve done something meaningful.
Don’t be afraid to experiment, make mistakes, and embrace the quirks of your craft. Every stitch is a lesson, and every weekend is another opportunity to create. If you enjoyed these projects, keep your hooks ready and your yarn stash open. There is always another pattern waiting to be discovered, another technique to master, and another cozy afternoon to enjoy with your favorite crochet project. Happy crafting!