
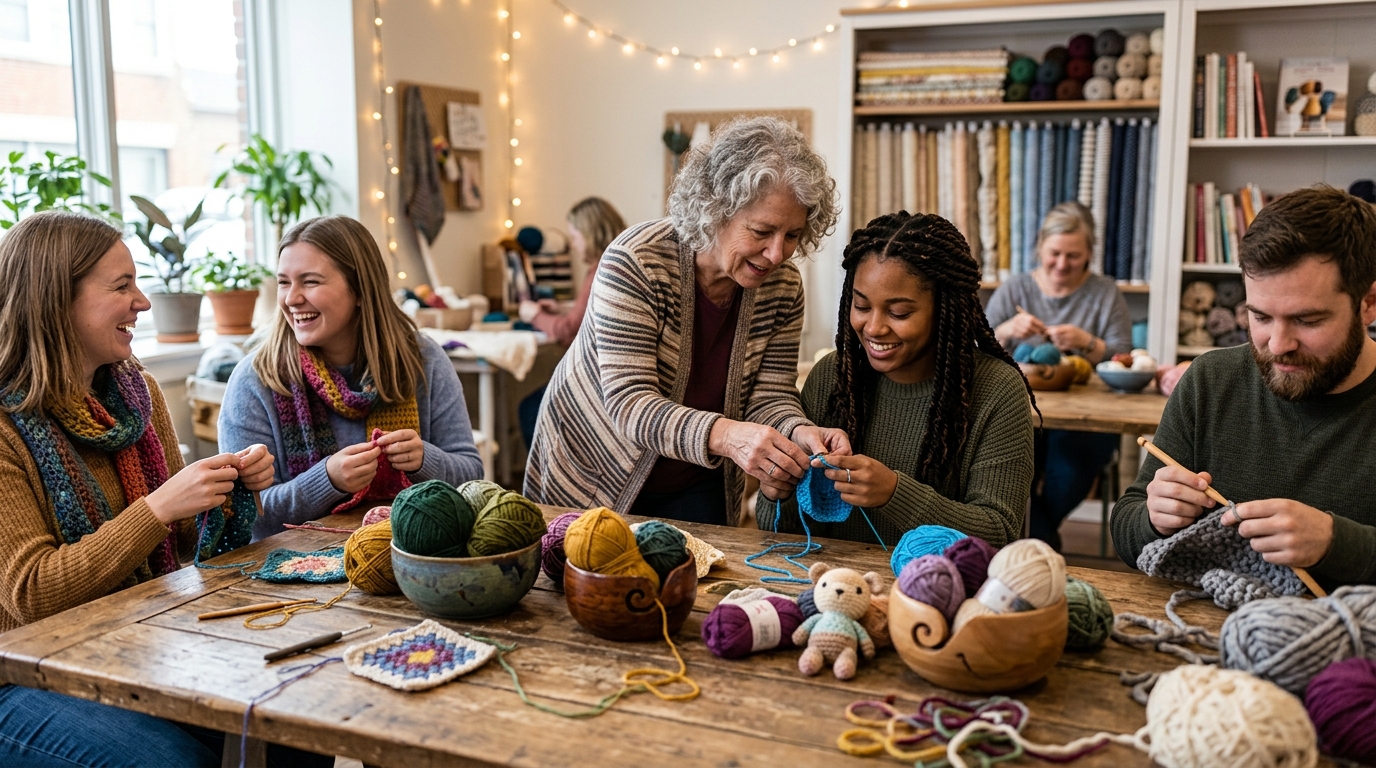
There is something uniquely comforting about picking up a hook and a skein of soft yarn after a long day. If you have ever felt frustrated because your squares come out looking like triangles, or your edges are buckling under uneven pull, you are definitely not alone. Tension is the silent challenge of the craft, and for many of us, it is the one thing that prevents a project from looking truly professional. While watching online videos is wonderful, there is a special kind of magic that happens when you sit down with a group of local stitchers. Joining a local crochet group is not just about fixing your tension; it is about building a community of friends who cheer for your progress, help you troubleshoot, and share in the joy of creating something beautiful with your own hands.
Whether you are a beginner struggling to hold the yarn comfortably or an intermediate maker looking to refine your stitches for a cleaner finish, this guide will help you embrace the process. Today, we are going to dive into a charming and practical project: The “Cozy Corner Catch-All” basket. This project is perfect for practicing consistent tension because it uses a sturdy stitch pattern that reveals exactly how your yarn is behaving. By the time you finish this basket, you will have a beautiful piece for your home and a better sense of how to manage your yarn flow. It is time to exhale, grab your hook, and enjoy the rhythm of the stitch.
Quick Project Overview
This project is designed to be accessible to all skill levels, offering a perfect way to practice maintaining even tension throughout your work.
- Skill Level: Beginner-friendly.
- Estimated Time: 2 to 3 hours.
- Finished Size: Approximately 8 inches wide and 6 inches tall, perfect for storing yarn scraps, remotes, or vanity essentials.
- Best Use: A thoughtful DIY gift or a beautiful home decor piece to organize your craft room.
- Why you will love it: It works up quickly, uses minimal yarn, and teaches you the importance of stitch consistency in a three-dimensional project.
Materials Needed
- Yarn: Approximately 150 yards of a worsted weight (Category 4) cotton yarn. Cotton is recommended because it provides a crisp stitch definition and holds its shape well.
- Crochet Hook: Size H/8 (5.0 mm). Use a comfortable ergonomic handle if you have one.
- Stitch Markers: Essential for tracking the start of your rounds.
- Tapestry Needle: For weaving in your ends securely.
- Scissors: Sharps for clean trimming.
Stitches and Abbreviations
- Ch (Chain): Yarn over, pull through the loop on the hook.
- Sc (Single Crochet): Insert hook into stitch, yarn over, pull up a loop, yarn over, pull through both loops on the hook.
- Sl St (Slip Stitch): Insert hook into stitch, yarn over, pull through the stitch and the loop on the hook.
- Inc (Single Crochet Increase): Work two single crochet stitches into the same stitch.
- BLO (Back Loop Only): Insert your hook only into the back loop of the V-shape at the top of the stitch.
- Rnd (Round): A full rotation of work.
Pattern Notes Before You Start
Tension is personal, but consistency is key. When working this basket, try to maintain a “medium” pull on the working yarn. If you notice your basket leaning, it often means your tension is changing as you rotate the piece. If you find your hands cramping, take a break—your work will thank you for it. If you struggle with tight stitches, try going up a half-size in your hook. If your loops look sloppy, go down a half-size. Since we are working in continuous rounds, use a stitch marker to keep track of where each round begins.
Full Crochet Pattern
Part 1: The Base
We will start by creating a flat circle that will serve as the bottom of your basket.
- Rnd 1: Create a magic ring, ch 1, work 8 sc into the ring. (8 stitches)
- Rnd 2: Work 2 sc in each stitch around. (16 stitches)
- Rnd 3: 1 sc in next st, 2 sc in next st around. (24 stitches)
- Rnd 4: 1 sc in next 2 sts, 2 sc in next st around. (32 stitches)
- Rnd 5: 1 sc in next 3 sts, 2 sc in next st around. (40 stitches)
- Rnd 6: 1 sc in next 4 sts, 2 sc in next st around. (48 stitches)
Part 2: Working the Sides
This is where the transition happens to turn the circle upward into a bowl shape.
- Rnd 7: Work 1 sc in each stitch around, but work in the BLO (back loop only). This creates a crisp “turning” ridge. (48 stitches)
- Rnds 8–18: Work 1 sc in each stitch around (both loops). Keep your tension steady. (48 stitches per round)
Part 3: Finishing and Border
- Rnd 19: Ch 2, skip 1 st, sl st in next st around. This creates a sweet picot or looped edge.
- Fasten off: Cut the yarn, leaving a 6-inch tail. Pull the tail through the final loop and pull tight.
- Weave in ends: Use your tapestry needle to secure the yarn tail through the interior of the stitches to hide it.
Step-by-Step Tutorial Explanation
When you start the base, take your time with the magic ring—it can be fiddly, but it prevents a hole in the center. As you move into the sides, you will notice the basket suddenly “grow” upwards after you complete the first round of BLO stitches. If at any point you feel like you are losing track of your stitch count, count your stitches at the end of each completed round before moving on to the next. The “side” rounds should be repetitive; use this time to settle into a rhythm. Don’t worry if the basket feels a bit soft; it will firm up once you have completed all the rounds.
Common Mistakes to Avoid
- The “Death Grip”: Many beginners clench the hook tightly. Your hands should be relaxed. If your knuckles are white, take a breath and shake out your hands.
- Skipping stitches: This is the biggest reason for wonky shapes. Always count, especially after an increase round.
- The Twisted Chain: If you were working flat, this wouldn’t be an issue, but in rounds, ensure your foundation isn’t twisted before you join.
- Inconsistent tension: We tend to crochet tighter when we are stressed or tired. Try to crochet for 20-minute intervals rather than pushing through hours of fatigue.
Pro Tips for a More Beautiful Result
- The “Local Group” Advantage: Bringing this project to a local stitch-and-bitch or library crochet group is invaluable. Ask a fellow crocheter to watch your hands while you work for one round. Often, they can spot that you catch the yarn on your index finger too aggressively or that you are pulling your loops too high, which is causing your tension variations.
- Blocking: If your basket looks a little uneven, dampen it slightly, shape it perfectly using a bowl or a can as a mold, and let it air dry completely. It creates a professional, structural finish.
- Yarn Choice: Stick to 100% cotton for this project. Acrylics are wonderful for blankets, but for a basket, they can be too soft and won’t hold their shape under the weight of items.
Variations and Personalization Ideas
- Color Blocking: Start with a natural tone for the base and switch to a vibrant accent color for the final five rounds.
- Handles: You can create small handles by skipping 6 stitches and chaining 8 in their place halfway through the final round.
- Labels: Add a small leather or faux-suede tag to the side of the basket for a boutique, store-bought look.
- Gift basket: Fill this with a skein of luxury yarn and a new crochet hook for a friend who is also interested in learning the craft.
Care Instructions
Since this is a storage item, it will occasionally collect dust. 100% cotton can be spot-cleaned with a damp cloth and mild soap. If the basket becomes misshapen, you can submerge it in cool water, gently reshape it over a bowl, and let it dry in the sun. Avoid high-heat drying, as cotton fibers can sometimes shrink.
FAQ
How can I tell if my tension is too tight?
If your stitches are bunched together, if your fabric is stiff and lacks drape, or if you found it difficult to insert your hook into the stitches of the previous round, your tension is likely too tight.
Why does my basket have a spiral instead of a flat circle?
This usually happens if you aren’t increasing enough or if your tension is changing. Ensure you are following the increase pattern (the “2 sc in same stitch” segments) exactly as written.
Should I join my rounds with a slip stitch?
For this pattern, we use continuous rounds (no joining) for a seamless look. If you prefer to finish each round, you can work a slip stitch to join at the end of each round, though it will leave a visible seam running up the side of your basket.
How do I find a local crochet group?
Check your local library, community center, or even neighborhood Facebook groups. Many coffee shops also host “maker nights.” If you can’t find one, ask a friend to learn with you—hosting your own bi-weekly stitch session is a fantastic way to build a community from scratch.
Is crochet hard on the hands?
Only if you are holding your tools too tightly! Try to maintain a loose grip and sit with good posture. If you feel any sharp pain, stop immediately and rest. Ergonomic hooks with rubber grips can also make a world of difference for long-term comfort.
Conclusion
Creating your own “Cozy Corner Catch-All” is more than just making a container; it is a step toward mastering your tension and gaining confidence in your craft. Remember, the beauty of handmade items lies in their uniqueness. If your first basket has a slight wobble or a stitch that looks a little different, do not let that discourage you. Every single loop you pull is a lesson learned, and every basket you make will be better than the last. Joining a local group will provide you with the encouragement you need to keep going on the days when the yarn feels like it’s fighting back. Carry your hook with you, find your community, and keep stitching. You are part of a wonderful, worldwide tradition of makers, and your creative journey is just getting started. Keep your hands relaxed, enjoy the process, and happy crocheting!