
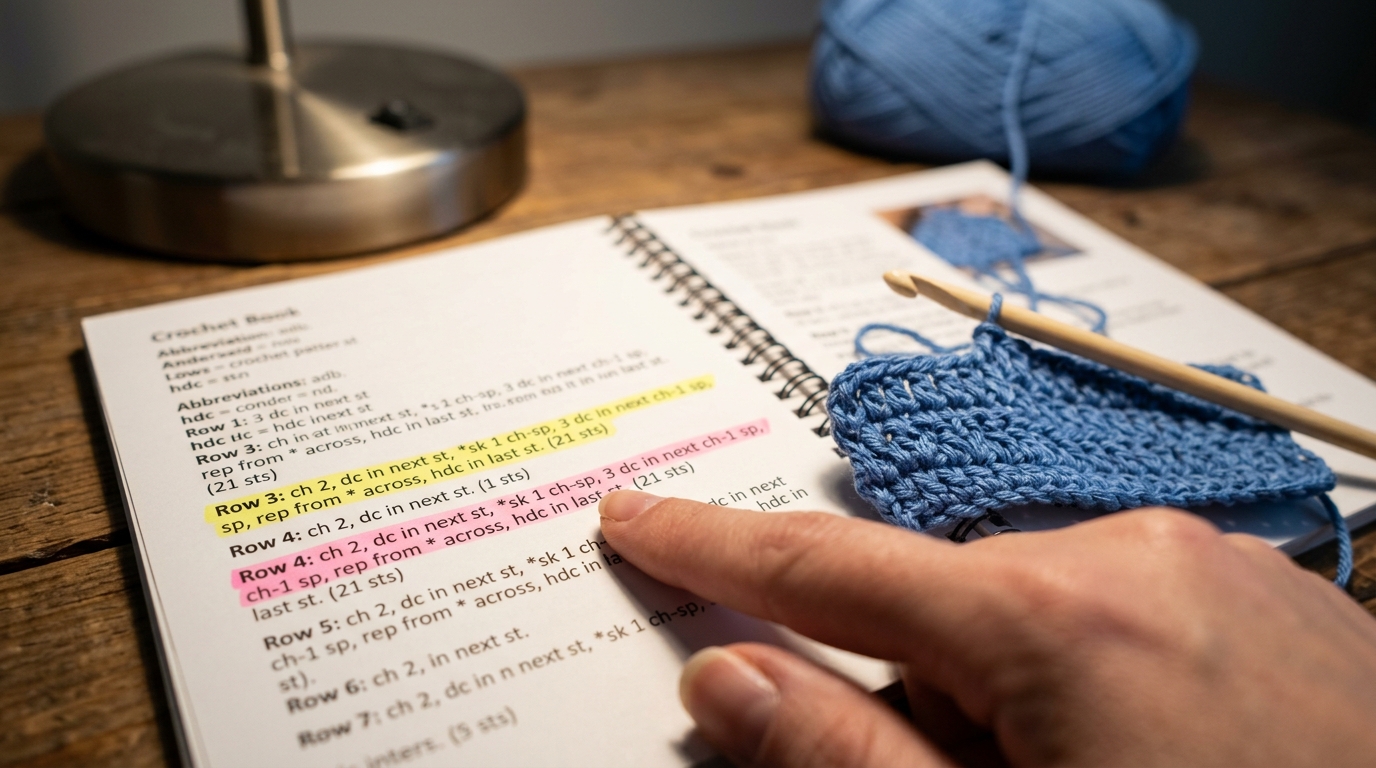
There is something truly magical about picking up a crochet hook and a soft skein of yarn. Whether you are a total beginner who has just mastered your first slip knot or an intermediate maker looking for a relaxing, rhythmic project, there is a unique joy in building a handmade creation stitch by stitch. If you have ever felt intimidated by those technical patterns that look more like secret code than instructions, please take a deep breath and know that you are not alone. Reading patterns is a skill, just like the stitches themselves, and with a little guidance, you will be decoding them like a pro in no time.
In this guide, we are going to walk through the anatomy of a crochet pattern using a charming, beginner-friendly project: the “Cozy Mornings Mug Rug.” This little project is the perfect introduction to reading written instructions and understanding how stitches come together to form a beautiful, functional piece of home decor. By working through this pattern together, you will gain the confidence to pick up any future project, from delicate baby blankets to complex garments, with complete clarity and ease. Let’s grab our hooks and settle into a comfortable space to start our creative journey.
Quick Project Overview
The “Cozy Mornings Mug Rug” is designed to be the perfect starting point for someone learning to read patterns. It works up quickly, making it a fantastic stash-busting project or a thoughtful handmade gift for a neighbor or friend.
- Skill Level: Beginner
- Estimated Time: 45 to 60 minutes
- Finished Size: Approximately 5 inches wide by 5 inches tall
- Best Use: Use it as a coaster for your morning coffee, a small mat for a candle, or even as a base for a decorative vase.
- Why You’ll Love It: It uses essential stitches that form the foundation of almost every crochet project you will ever encounter.
Materials Needed
To create your mug rug, you will need a few simple supplies. You likely have some of these in your craft basket already!
- Yarn: Approximately 30 yards of medium weight (worsted weight, category 4) cotton yarn. Cotton is preferred for coasters because it is absorbent and holds its shape well.
- Crochet Hook: Size H/8 (5.0 mm) hook. This size generally works well with worsted weight yarn to create a nice, close stitch density.
- Tapestry Needle: For weaving in your yarn ends.
- Scissors: Any sharp pair will do.
- Optional: A small measuring tape and a locking stitch marker to keep track of your rows.
Stitches and Abbreviations
We will be using standard U.S. crochet terminology. Knowing these abbreviations is the key to unlocking almost any pattern you find online or in books.
- ch (Chain): Yarn over and pull through the loop on your hook. This creates the foundation or transitions between rows.
- sc (Single Crochet): Insert your hook into the stitch, yarn over, pull up a loop (2 loops on hook), yarn over, and pull through both loops.
- dc (Double Crochet): Yarn over, insert hook into stitch, yarn over, pull up a loop (3 loops on hook), yarn over, pull through two loops, yarn over, pull through remaining two loops.
- st/sts (Stitch/Stitches): The individual loops you work into.
- sl st (Slip Stitch): Insert hook into stitch, yarn over, and pull through both the stitch and the loop on your hook. This is mostly used for joining or fastening off.
- turn: Turning your work so you can begin the next row.
Pattern Notes Before You Start
Crochet patterns are written in a specific shorthand that can look dense at first. Note that “turning chains” (the chains you make at the beginning of a row) usually count as a stitch if they are taller stitches like a double crochet, but we will clarify that in our steps. Your tension—how tightly or loosely you hold your yarn—can change the size of your mug rug. Try to keep your tension consistent so your edges remain straight. If you find your piece is curling, your tension might be a little too tight, or you may need to go up a hook size.
Full Crochet Pattern
This pattern is worked in flat rows, back and forth.
Part 1: The Foundation
- Foundation: Chain 18.
- Row 1: dc in the fourth ch from the hook. dc in each remaining chain across. (16 stitches total, including the starting chain). Turn.
Part 2: The Body
- Row 2: ch 3 (counts as first dc). Skip the first stitch, dc in each stitch across to the end. Make sure to place your final dc in the top of the turning chain of the previous row. (16 sts). Turn.
- Rows 3 through 8: Repeat Row 2.
Part 3: The Border
- Round 1: ch 1. Work sc all the way around the outer edge of your mug rug. When you reach the corners, work 3 sc in the same corner stitch to help your piece lay flat. Join with a sl st to the first sc.
Finishing
- Fasten off: Cut your yarn, leaving a 6-inch tail. Pull the tail through the final loop on your hook and pull tight to secure.
- Weaving: Use your tapestry needle to weave the remaining yarn tails into the back of your work, hiding them securely within the stitches. Trim any excess.
Step-by-Step Tutorial Explanation
When you look at your foundation chain, notice that each little “V” is a place where a stitch can live. By skipping the first three chains in Row 1, you are essentially creating the height of your first double crochet. It feels unnatural at first to skip stitches, but it is necessary to give your fabric the correct structure.
As you move through the rows, pay close attention to the very last stitch of each row. Beginners often accidentally skip the last stitch, which causes the project to taper inward, leaving you with a triangle instead of a rectangle. You can avoid this by counting your stitches as you go—in this pattern, you should always have 16. If you find you have only 14 or 15, simply count back and find where you missed one.
Common Mistakes to Avoid
Even experienced crocheters make mistakes, so do not get discouraged if you have to “frog” (a fun term for unravelling) your work.
- Counting Errors: The most common mistake is missing the first or last stitch of a row. If you feel like your edges look jagged, recount your stitches every couple of rows.
- The Twisted Chain: When working into your starting chain, ensure the chain isn’t twisted before you join or begin your first row.
- Tension Troubles: If your fabric feels like cardboard, you are likely pulling the yarn too tightly. If it feels like a loose net, you might be holding the yarn too loosely. Practice relaxing your hands and letting the hook do the holding of the loops.
- The Overzealous Fasten-Off: Always leave yourself a long enough tail (at least 6 inches) to weave in. If the tail is too short, the weave will eventually pop out, and your hard work could unravel.
Pro Tips for a More Beautiful Result
- Block Your Work: Blocking is the “secret weapon” of any seasoned crocheter. Simply dampen your finished mug rug with water, lay it flat on a towel in the desired perfect rectangular shape, and pin it in place. Let it air dry completely. This relaxes the yarn and makes your stitches look uniform and professional.
- Yarn Choices: For your first few projects, choose a light-colored, smooth-textured wool or cotton blend. Avoiding dark colors or fuzzy mohair will make it much easier to see exactly where your hook needs to go.
- The “Slow” Mindset: Crochet is meant to be a therapeutic hobby. If you find your heart rate rising or your edges looking messy, set the project down. You will be surprised at how much better your stitches look when you come back to them with a clear, calm mind.
Variations and Personalization Ideas
Once you have mastered this basic pattern, the sky is the limit!
- Color Blocking: Try changing colors every two rows to create a beautiful striped effect. Just pull through your new color on the very last step of the final stitch of the previous row.
- Texture Play: For an intermediate twist, alternate rows of double crochet with rows of single crochet to create a subtle, ribbed texture.
- Decorative Edging: Instead of a simple single crochet border, try a “picot” stitch on the corners for a feminine, delicate look.
- Themed Kits: Make a set of four in different seasonal colors—autumnal tones for fall, pastels for spring—and tie them with a ribbon to create a lovely housewarming gift.
Care Instructions
Since this is an item you will use daily, it will eventually need a little refresh. Because you have used cotton, your mug rug is wonderfully durable. You can generally toss it in a mesh laundry bag and machine wash on a delicate cycle. To maintain its shape, always lay it flat to dry. Avoid hanging it on a clothesline, as gravity can stretch the fibers and distort your beautiful stitches.
FAQ
How do I know if my tension is correct?
Your stitches should look consistent and even. If you can see huge gaps between your stitches, try using a slightly smaller hook. If the fabric is stiff and won’t drape, try a slightly larger hook.
What if I drop a stitch?
Don’t worry! Unravel your work back to the point where the mistake happened. It can be frustrating, but think of it as practice. Every time you “frog,” you are learning more about how the stitches live together.
How do I make the mug rug bigger?
Simply increase your starting chain to your desired width and add more rows to achieve your preferred height. Just remember to maintain the same stitch count for every row to keep your edges straight.
Are crochet charts better than written patterns?
Neither is inherently better; it is a matter of preference! Written patterns explain the process sequentially, while charts act as a visual map of the stitches. Most expert crocheters eventually learn to love both.
How do I join a new skein of yarn?
The easiest way is to finish the last stitch of your current row until you have two loops on your hook. Instead of finishing the stitch with the old color or yarn, pull the new yarn through and proceed. Secure the ends by weaving them in very carefully.
Conclusion
Reading a crochet pattern is truly like picking up a new language, and you have just taken your first big step toward fluency. Remember, the beauty of crochet isn’t just in the finished object—it is in the time you spent creating, the mistakes you learned from, and the quiet satisfaction of turning a single strand of fiber into something tangible and useful.
Take your time with your mug rug. Don’t worry about being perfect; worry about being present. Each loop you pull through is a testament to your creativity. Once you finish this piece, you will find that the next pattern you pick up feels significantly less like code and much more like a friendly guide leading you toward your next beautiful project. Happy crocheting!