
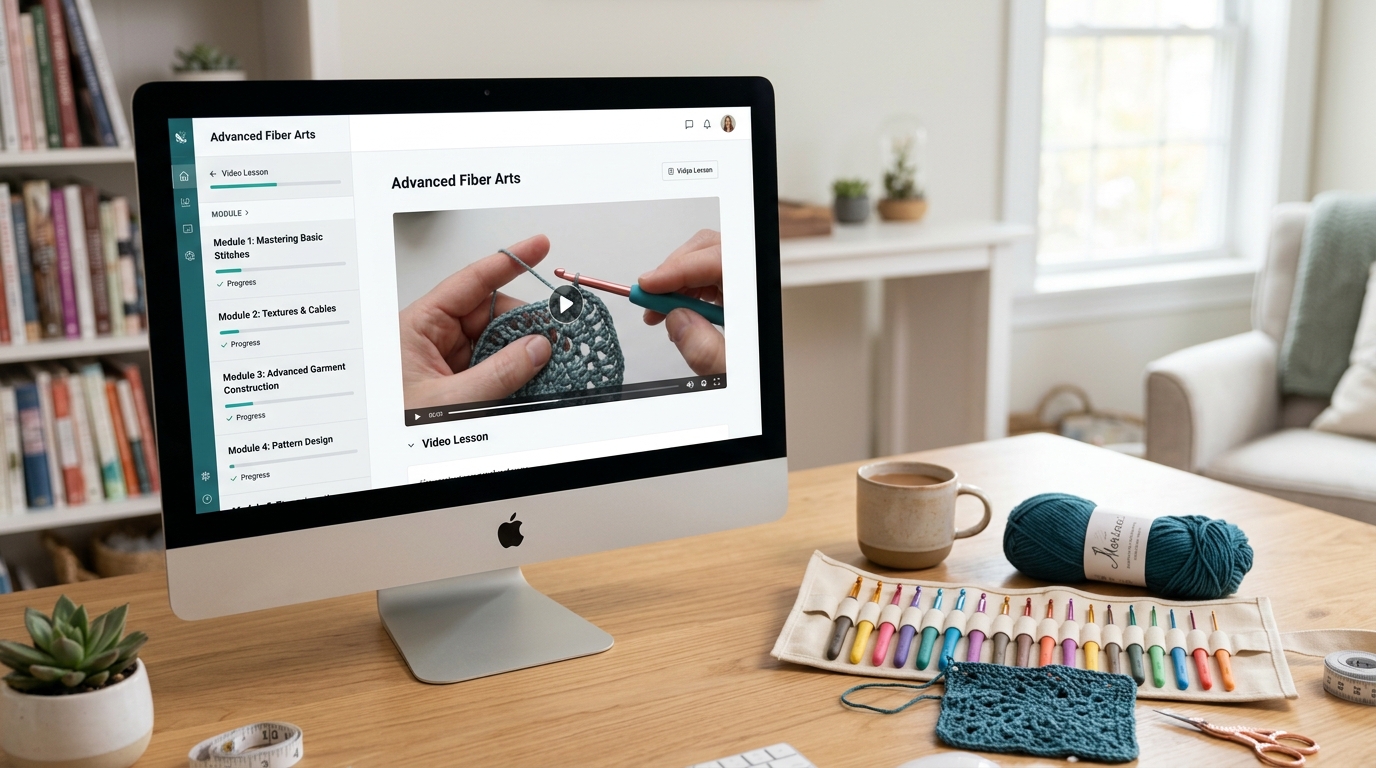
There is something truly magical about the rhythm of a crochet hook dancing through yarn. Whether you are seeking a moment of quiet meditation after a busy day or the creative satisfaction of crafting something beautiful with your own two hands, crochet offers a unique refuge. For many, the journey begins with a single, simple chain, but the desire to evolve—to move from basic washcloths to intricate, professional-quality garments and home decor—is a natural next step for every fiber artist.
If you have ever felt held back by confusing patterns or felt that your projects were missing that “polished” look, you are in the right place. Today, we are focusing on mastering a project that sits perfectly at the intersection of beauty and functionality: the “Everlasting Heirloom Dishcloth and Spa Set.” This set is designed to sharpen your skills, teaching you to master consistent tension, clean edges, and the art of professional finishing. We will walk through this piece together, step-by-step, ensuring every loop is a victory. Whether you are a brand-new enthusiast picking up your first skein or an intermediate maker looking for a relaxing, high-quality project, you will find exactly what you need to succeed right here.
Quick Project Overview
- Skill Level: Beginner-Friendly Intermediate
- Estimated Time: 2 to 3 hours for the full set
- Finished Size: 8″ x 8″ for the main cloth
- Best Use: A thoughtful DIY gift, a sustainable home decor swap, or a relaxing weekend treat for yourself
- Why You’ll Love It: The texture is incredible for cleaning or spa use, and once you learn this stitch pattern, you can apply it to blankets, scarves, or market bags.
Materials Needed
To create this set, we want to prioritize durability and comfort.
- Yarn: Medium weight (Category 4) 100% cotton yarn. Cotton is essential here because it is absorbent, heat-resistant, and machine washable. Choose your favorite colors; soft pastels or earthy neutrals work beautifully.
- Crochet Hook: Size H/8 (5.0 mm). If you find your stitches are too tight, do not hesitate to go up a half-size.
- Tapestry Needle: For weaving in your ends securely.
- Scissors: A sharp pair makes all the difference.
Stitches and Abbreviations
We will use standard U.S. crochet terms. If you are new, take a moment to practice these, as they are the building blocks of most crochet craft.
- ch (chain): Yarn over, pull through the loop on the hook.
- sc (single crochet): Insert hook into stitch, yarn over, pull up a loop, yarn over, pull through both loops.
- dc (double crochet): Yarn over, insert hook into stitch, yarn over, pull up a loop, yarn over, pull through two loops, yarn over, pull through remaining two loops.
- sl st (slip stitch): Insert hook into stitch, yarn over, pull through stitch and the loop on your hook at the same time.
- st(s) (stitch/stitches): The individual loops along your project.
- FO (fasten off): Cut your yarn and pull the tail through the final loop to secure it.
Pattern Notes Before You Start
Tension is the secret ingredient in crochet. If your foundation chain is too tight, your work will curl at the bottom. To combat this, try using a hook one size larger for your starting chain or keep your chain stitches relaxed. When working in rows, consistency is more important than speed. Pause every few rows to look at your work; if you see the edges pulling inward, you might be accidentally dropping stitches or pulling your yarn too taut.
Full Crochet Pattern
Part 1: The Foundation
Start by creating a slip knot and placing it on your hook. Chain 30. This ensures a nice 8-inch width with an H-sized hook. If you want your project larger or smaller, simply add or subtract chains in multiples of two.
Part 2: The Main Body
Row 1: Double crochet in the third chain from the hook and every chain across the row. You should have 28 stitches total. Turn.
Row 2: Chain 2 (this counts as your first stitch). Skip the first stitch. Now, perform a “V-stitch” pattern: 1 dc in the next stitch, chain 1, 1 dc in the same stitch. Continue this across the row, skipping every other stitch. This creates that lovely, breathable texture. Turn.
Row 3: Chain 2. Work 1 dc, ch 1, 1 dc into every ch-1 space from the previous row. This is the heart of the design—it is rhythmic and easy to memorize.
Rows 4-15: Repeat Row 3 until the piece reaches your desired square length.
Part 3: The Border
A border is what separates a homemade project from a “handmade” one. It hides inconsistencies and adds a polished frame.
Once you finish your final row, do not fasten off. Chain 1 and turn your work sideways. Work 2 single crochet stitches into the side of each row edge. When you reach the corners, perform 3 single crochet stitches in the corner space to help the crochet turn neatly without bunching. Continue this around all four sides. Connect with a slip stitch to the first single crochet.
Finishing
Fasten off your yarn, leaving a six-inch tail. Use your tapestry needle to weave the tail back and forth through the stitches on the back side of the cloth. This ensures your project will survive many washes. Give it a gentle tug to align the stitches.
Step-by-Step Tutorial Explanation
When you begin Row 2, you might feel a little nervous about skipping stitches. Don’t worry! By skipping every other stitch, you are creating the “gaps” that make this dishcloth absorbent. If you look down at your work, you should see clear “V” shapes formed by your stitches. If you find you are confused about which hole to put your hook into, hold your work up to a light source. The empty space created by the chain-1 in the V-stitch will be very obvious. That is your target for the next row. It makes the stitching move much faster once you stop hunting for the loop and start trusting the rhythm.
Common Mistakes to Avoid
Even experienced crocheters face these hurdles, so be kind to yourself!
- The Twisted Chain: If your first row looks like a spiral, your chain was likely twisted when you joined or started the first row. Always lay your chain flat on a table before inserting your hook for the first row.
- The Hidden “Turning” Stitch: Many beginners miss that last stitch at the end of a row. When you reach the end, count your stitches. If you started with 28, you must end with 28. If you have 27, you have likely missed the final stitch in the turning chain.
- The “Death Grip” Tension: If your hook is hard to pull through the loops, your tension is too tight. Take a break, shake out your hands, and remind yourself that the yarn is meant to move smoothly.
Pro Tips for a More Beautiful Result
Blocking is the game-changer you didn’t know you needed. Once your project is finished, soak it in cool water with a tiny bit of delicate soap for 15 minutes. Gently squeeze out the excess water in a towel—do not wring it! Lay the dishcloth flat on a dry towel, stretching it gently into a perfect square. Use pins to hold the corners in place while it dries. This simple act transforms a “homemade” piece into a professional, boutique-quality accessory.
Variations and Personalization Ideas
This pattern is a canvas. For a seasonal touch, use two alternating colors of yarn, switching every two rows to create a beautiful striped effect. If you are making this as a DIY gift for a baby shower, use a soft cotton-bamboo blend for extra squishiness. You can also add a small loop of chain stitches to one corner during the border phase if you prefer your dishcloths to hang on a hook.
Care Instructions
Because we used 100% cotton, this set is incredibly easy to maintain. Toss your finished items in the washing machine on a gentle cycle, but avoid high-heat drying, which can shrink the fibers over time. Laying them flat to air-dry is best, but a low-heat tumble dry will effectively “fluff up” the cotton if it feels a little stiff after several uses.
FAQ
How do I stop my edges from looking wavy?
Wavy edges usually mean your tension changed midway through, or you accidentally added extra stitches (an increase) at the ends of your rows. Count your stitches at the end of every row to ensure you are consistent.
Why does my project look like a trapezoid instead of a square?
This happens when you accidentally miss a stitch at the end of a row or add one where it doesn’t belong. Crochet follows a strict count; if you lose one stitch per row, your project will slowly taper inward.
What should I do if I run out of yarn mid-row?
Never fear! Simply join your new ball of yarn by creating a new slip knot on your hook and pulling it through the final two loops of your last stitch. Secure the tails by weaving them into the back of the work once you are finished.
Can I use acrylic yarn instead of cotton?
While you can, I don’t recommend it for dishcloths or spa sets. Acrylic is a plastic-based fiber and does not absorb water well; it will simply push the water around rather than soaking it up. Save your acrylics for blankets and hats!
How do I fix a mistake I made several rows back?
Don’t be afraid to “un-crochet!” Simply pull your hook out and gently pull the working yarn until you reach the mistake. It feels discouraging, but it is actually the mark of an expert crafter who cares about the final quality of their piece.
Conclusion
You have just taken a wonderful step in your crochet journey. Remember that every master was once a beginner who was simply willing to unravel their work and try again. The beauty of this craft lies not just in the finished dishcloth, but in the peaceful hours spent creating it. As you work through your stitches, keep your hands relaxed and your heart open to the process. Whether this becomes a staple in your home or a gift for someone special, it carries the unique mark of your time and effort. I hope you feel inspired to keep your hook moving, experiment with new colors, and continue learning the infinite possibilities that crochet has to offer. Happy hooking!