
Introduction
There is something truly magical about taking a single strand of yarn and a hook and, with just a few loops and pulls, turning it into something beautiful, functional, and uniquely your own. Whether you are dreaming of creating a cozy heirloom blanket, a soft baby sweater, or a simple accessory, your journey begins with mastering the fundamental building blocks of crochet. If the world of stitches, loops, and hooks seems a little overwhelming right now, please take a deep breath and know that every single person you see crocheting stunning pieces started exactly where you are today.
Crochet is more than just a craft; it is a way to slow down, practice mindfulness, and express your personal style through tactile, rhythmic movement. This guide is designed to be your gentle companion, stripping away the intimidation factor and replacing it with clear, encouraging, and practical steps. We will walk through the core techniques that appear in nearly every project you will ever encounter. By mastering these basics, you aren’t just learning how to make stitches; you are opening the door to a lifetime of creative possibilities. We will focus on the American English terminology most commonly used in the United States, ensuring that when you pick up a pattern, you will feel confident and ready to dive in.
Quick Overview
This guide is intended for anyone who is brand new to the craft or for those who wish to refine their fundamental technique. In this article, you will learn the “Big Five” of crochet: the slip knot, the chain, the single crochet, the half double crochet, and the double crochet. We will also touch upon the essential art of finish work, such as fasting off and weaving in your yarn tails.
Who is this guide for? It is for the busy woman looking for a relaxing after-work hobby, the creative soul wanting to make handmade gifts for family, and the curious beginner who has just bought their first hook and yarn. By the end of this guide, you will understand how these stitches interact, how to build a fabric, and how to troubleshoot the most common frustrations that new crocheters face. This is the foundation upon which your entire crochet future is built—no pressure, just practice and patience.
Materials to Get You Started
You don’t need a craft room full of professional supplies to begin. In fact, keeping things simple at the start is often the best way to learn.
- Crochet Hook: For a beginner, an H/8 (5.0 mm) aluminum hook is perfect. It is a medium size that is easy to hold in the hand and works well with most standard weight yarns.
- Yarn: Opt for a medium “worsted weight” yarn (look for a number 4 on the label). Choose a light-colored, smooth acrylic or cotton blend. Light colors—like cream, soft pink, or sage—make it much easier to see your individual stitches compared to dark navies or blacks. Avoid fuzzy or “novelty” yarns, as they hide your stitches and make it difficult to learn the correct placement.
- Stitch Markers: These little plastic clips are lifesavers. They help you mark the first and last stitch of a row so you don’t lose track of your count.
- Yarn Needle: Also known as a tapestry needle, you will need this with a blunt tip to weave in your ends neatly at the end of your practice pieces.
- Scissors: Any pair of sharp household scissors will do.
Understanding Crochet Terms and Concepts
Before you wrap your yarn, it is essential to understand the “language” of your pattern. In the United States, we use specific names for stitches. You will often see these abbreviated in written patterns.
- Slip Knot (sl knot): This is how you attach the yarn to your hook to begin any project.
- Chain (ch): This is the foundation of almost all crochet. It creates a series of loops that form the edges of your work.
- Single Crochet (sc): One of the shortest, densest stitches. It creates a tight, sturdy fabric perfect for bags or warm winter accessories.
- Half Double Crochet (hdc): This sits between the single and double crochet in height. It is a versatile, polished stitch that works up quickly.
- Double Crochet (dc): A taller, more flexible stitch. It creates a lovely drape and is very common in blankets and garments.
- Gauge: This refers to the number of stitches and rows per inch. While you don’t need to worry about perfect gauge on your first practice row, it is the concept that determines whether your finished item will be the right size.
Helpful Notes Before You Start
Crochet is a physical skill, much like learning to type or play an instrument. Your hands will feel a little awkward at first—this is perfectly normal! Do not judge your work by the first ten minutes.
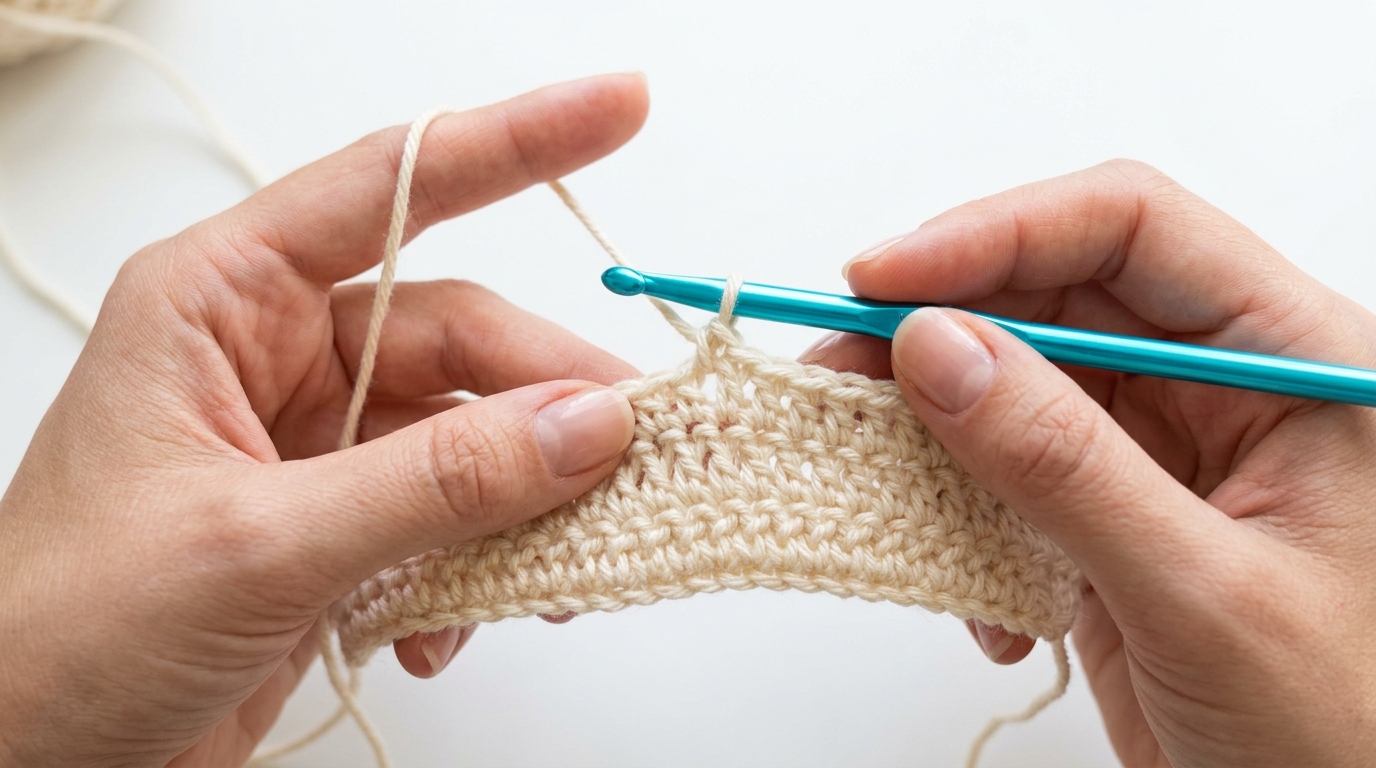
Tension is perhaps the most important concept to grasp. Tension refers to how tightly or loosely you hold your yarn while you work. If you pull too hard, your stitches will be tight and it will be nearly impossible to insert your hook into them for the next row. If you hold them too loosely, your fabric will look gappy and uneven. Aim for a comfortable, consistent hold. Most people find it helpful to run the yarn through the fingers of their non-dominant hand to create a natural “brake” or tension. If your work feels like it is curling, you are likely too tight; if it feels like a loose net, breathe and try to hold the yarn with just a little more control.
Mastering the Foundation: Step-by-Step
Making the Slip Knot
Start by making a loop with your yarn, with the yarn tail sitting behind the loop. Reach through the loop and grab the yarn attached to the ball. Pull it up through the loop and tighten gently around your hook. This is your anchor.
The Foundation Chain
To start a row, you must first create a chain. Hold your hook in your dominant hand. With your other hand, wrap the yarn over the hook from back to front (this is called a “yarn over”). Use the hook to catch the yarn and pull it through the loop already on your hook. This creates one chain stitch. Repeat this process until you have a string of ten or twenty chains.
The Single Crochet Row
To practice the single crochet, insert your hook into the second chain from the hook. Yarn over, pull the yarn through the chain (you will now have two loops on your hook). Yarn over again, and pull through both loops on the hook. You have made one single crochet! Continue this into each chain across. When you reach the end, chain one, turn your work, and start the next row by inserting your hook through both top strands of the stitch below.
The Half Double and Double Crochet
The half double crochet starts with a yarn over before you insert your hook into the stitch. After the yarn over, insert the hook, pull up a loop (three loops on the hook), yarn over again, and pull through all three loops at once. For the double crochet, the process is similar: yarn over, insert, pull up a loop (three on the hook), but this time, you pull through the first two loops, yarn over again, and pull through the final two. The difference in loop interaction creates the variation in height.
Common Mistakes to Avoid
The beauty of crochet is how easy it is to “undo” your work by simply pulling the yarn. Don’t be afraid to pull out a row if it doesn’t look right.
- The Twisted Chain: When you begin your first row into your foundation chain, make sure the chain is flat and not twisted. If it turns, your whole project will have a permanent twist.
- Skipping Stitches: Beginners often accidentally skip the very first or very last stitch of a row, which causes the fabric to slant inward. Use a stitch marker on the first and last stitch of every row to ensure you are keeping the sides straight.
- Inconsistent Tension: You might find that your rows look different in the middle than they do at the edges. This is often because you are picking up steam as you get more comfortable. Periodically stop and compare your stitches to ensure they look uniform.
- Counting Errors: If your row is supposed to have 20 stitches, count them! It is much easier to catch a mistake at the end of a row than to realize it five rows later.
Pro Tips for Polished Results
To take your projects from “handmade” to “professional,” keep these tips in mind.
First, always “weave in your ends” securely. Use your yarn needle to run the tail of the yarn back and forth through the back of your stitches for at least two inches. This ensures your project won’t unravel when it goes through the wash. Second, consider “blocking.” For natural fibers like cotton or wool, soaking your finished piece in lukewarm water and pinning it to shape while it dries can make a world of difference. It evens out the stitches and makes the piece look professionally finished.
Finally, remember to rest your hands. Crochet is a repetitive motion. If your fingers or wrists start to ache, take a break. It is meant to be a relaxing hobby, not a source of physical strain.
Personalization and Creative Growth
Once you have mastered the basic rows, the world is your oyster. You can create stripes by switching yarn colors at the beginning of any row. You can hold two strands of yarn together to create a thicker, chunkier texture. You can change your hook size to make your fabric more or less dense.
If you are making a scarf using these basic stitches, try working only in the “back loop” of the stitch on every other row. This creates a ribbed, knit-like effect that looks incredibly sophisticated. Adding a simple crochet border—perhaps a row of single crochets in a contrasting color—can pull an entire design together and hide minor irregularities in the edges.
Care and Storage
Treat your handmade treasures with love. Most cotton or acrylic yarns can be machine washed on a gentle cycle, but it is always safer to hand-wash your crochet projects in cool water with a little mild detergent. Gently squeeze out the excess water—never wring or twist the fabric, as this can stretch the stitches out of shape. Lay it flat on a clean towel to dry. When storing your pieces, try to keep them in a place where they won’t snag on sharp objects, and consider using cedar or lavender sachets to keep your yarn fibers fresh and protected.
FAQ
How do I stop my crochet from curling at the edges?
Curling often happens if your starting chain is too tight or if your tension is inconsistent. Try using a slightly larger hook for your foundation chain than you do for the rest of the project, or ensure you are not pulling the yarn too tightly while working the first few rows.
Why does my square project look like a triangle?
This is almost certainly a sign that you are accidentally skipping stitches at the ends of your rows or adding extra stitches in the middle. Counting your stitches at the end of every single row is the best way to prevent this and ensure you have a perfect rectangle.
Can I mix different types of yarn in one project?
For beginners, it is best to stick to one type of yarn (like all acrylic or all cotton) to ensure they have the same weight and care requirements. Once you are more experienced, you can experiment, but try to keep them to the same “weight” category so they behave similarly.
Should I be worried if my stitches look different from the example photos?
Never! Every crocheter has a unique “hand,” which is the specific tension and style they bring to their work. Your pieces will look like yours, which is exactly why they are special. As long as the stitches are uniform, you are doing a great job.
How do I learn to read a written crochet pattern?
Start by looking for patterns that are written in “full text” rather than just shorthand abbreviations. Many designers offer both. Look for a pattern that includes a glossary or key explaining what each abbreviation means, and read through the entire document twice before you pick up your hook.
Conclusion
Mastering the basic crochet stitches is a journey of patience, beauty, and rewarding progress. You began this guide by simply looking for answers, and now you have the fundamental tools to start your very first project. Don’t worry if your first few attempts aren’t perfect; every loop you make is a lesson learned and a step closer to the outcome you desire.
Keep your hook nearby, choose a color of yarn that brings you joy, and don’t be afraid to make mistakes—they are simply part of the creative process. As you practice, you will find that your hands gain muscle memory, your stitches become more even, and you start to see the potential for beautiful items in every ball of yarn you pass in the store. Enjoy the rhythm of the hook and the satisfaction of seeing your fabric grow, one stitch at a time. Welcome to the wonderful, creative community of crocheters!