
Introduction
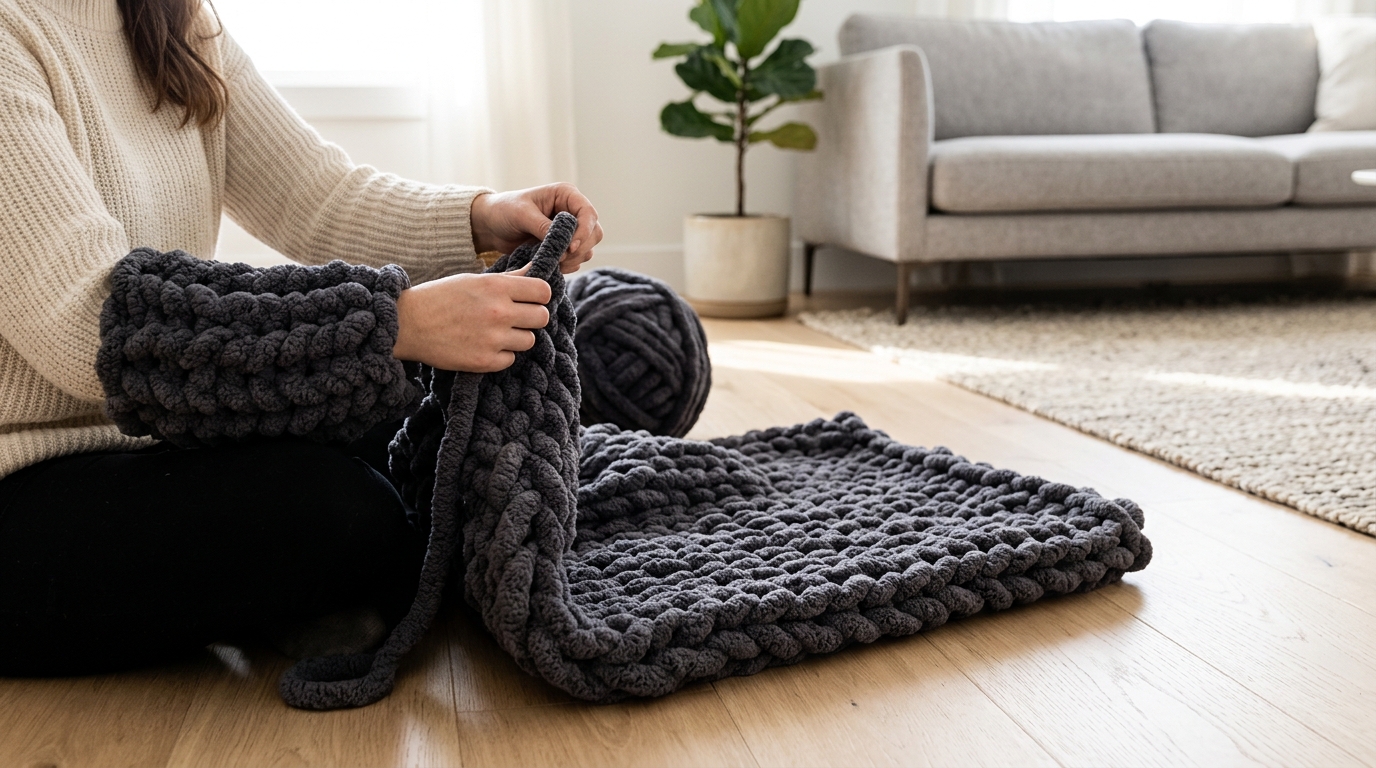
There is something truly magical about transforming a simple bundle of ultra-thick, velvety yarn into a cozy, heirloom-quality masterpiece with nothing more than your own two hands. If you have ever felt intimidated by the idea of learning complex crochet techniques or managing tiny hooks, this arm knitting and hand crochet method is your perfect gateway to creativity. Making a giant chunky blanket with your arms is not just a DIY project; it is a sensory experience. As you loop the soft, squishy yarn over your fingers and wrists, you are building a beautiful piece of home decor that will become the center of your living room’s comfort.
This project is exceptionally rewarding because it works up in a fraction of the time required for traditional crochet. Within an hour or two, you can go from a single, unraveled skein to a thick, textured throw that looks like a high-end boutique purchase. Whether you are creating a thoughtful housewarming gift, a wedding present, or a personal indulgence for those chilly autumn and winter evenings, this technique is incredibly forgiving and visually stunning. This guide will walk you through the process step-by-step, ensuring you feel confident, relaxed, and fully inspired to create something beautiful for your home.
Quick Overview
- Skill Level: Absolute Beginner. If you can tie a knot, you can master this.
- Estimated Time: 1 to 2 hours.
- Finished Size: Approximately 40 x 60 inches (standard throw size), adjustable based on your needs.
- Best Use: Living room styling, bed runners, nursery floor mats, and thoughtful handmade gifts.
- Why You’ll Love It: No specialized tools required, ultra-fast gratification, and no need to worry about “gauge” or complicated stitch patterns.
Materials Needed
To create a gorgeous, squishy blanket, you need to choose the right materials. Because we are using our arms as “needles,” the choice of yarn is the most important step in the entire process.
- Yarn: You will need approximately 10 to 12 pounds of Jumbo (Level 7) chenille-style or unspun wool roving yarn. Please look for “Super Bulky” or “Jumbo” weight; it should be thick, soft, and easy to handle.
- Extra Supplies: A pair of sharp scissors and a measuring tape.
- Preparation: Ensure you have a clear, flat surface (an area rug or hard floor) to lay out your work once it starts growing, as the blanket will get heavy quickly.
Crochet Terms and Key Concepts
When doing hand crochet, we use the basic logic of chain and loop structures, even if we aren’t using a hook.
- The Working Yarn: The long piece of yarn attached to the main skein.
- The Tail: The loose end of the yarn where you begin.
- Loop: The circular shape you form with your hand through which you pull the yarn.
- Slip Knot: The starting point of your project, which acts as your very first stitch.
- Cast On: The process of creating your initial row of loops on your arm.
Helpful Notes Before You Start
Relaxation is key! If you hold your hands too tightly, your stitches will become uneven and your blanket will feel “stiff” rather than “drapey.” Aim for a consistent, loose tension. Keep your hand motions fluid, and do not worry if your loops don’t look perfectly symmetrical at the beginning. Once you finish the first two rows, the weight of the blanket will naturally pull the loops into a beautiful, uniform shape. Also, remember to work on a clean surface; the material used for these blankets is often a magnet for lint or pet hair!
The Step-by-Step Tutorial
Creating the Foundation Row
Start by leaving a tail of about 2 to 3 yards. You need this extra length to sew your ends later.
- Make a slip knot: Reach through a loop of your yarn, pull a section of the working yarn through it, and tighten slightly.
- Place this slip knot over your right hand. This counts as your first stitch.
- To create the next stitches: With your thumb and pointer finger, reach through the slip knot loop, grab the working yarn, and pull it through to create a new loop. Place this loop on your hand.
- Repeat this process until you have 12 to 15 loops on your arm. This will give you a blanket that is roughly 40-45 inches wide.
Working the Rows
Now that your foundation is on your arm, it is time to build the height.
- Hold the working yarn across your palm. Use your fingers to reach through the last “stitch” (the one furthest from your hand) and grab the working yarn.
- Pull a loop of the working yarn through that stitch. This is your first stitch of the new row.
- Continue this until you have pulled a new loop through every single loop from the row below.
- By the end of this step, you will be holding your new row of loops on your hand.
- Repeat this process, moving back and forth from left to right and then right to left.
Keeping Your Edges Straight
As you move from one row to the next, ensure you are pulling the yarn from the working skein with consistent pressure. If you pull too hard, the edges will curl inward. If it feels like the blanket is pulling, verify that you didn’t accidentally skip a loop in the previous row. A quick tip: keep the “active” loops arranged in a straight vertical line on your forearm as you work to keep your project organized.
Casting Off
When you reach the length you desire (usually after 10 to 12 rows), it is time to finish the edge so the loops don’t unravel.
- Start with two stitches on your hand.
- Pull the second stitch through the first. Now you have one stitch left on your hand.
- Grab another loop from the blanket (the next one in the row) and pull it through the loop already on your hand.
- Continue this “chain-off” method across the entire width of the blanket.
- On the final loop, cut your yarn, leaving a long tail. Feed the tail through the final loop and pull tight to knot.
Common Mistakes to Avoid
- Uneven Tension: Beginners often pull one loop tight and leave the next one loose. Try to visualize the size of each loop and maintain that “fist-sized” open space throughout.
- Twisted Stitches: Occasionally, the yarn can flip. Before pulling a loop through, ensure the yarn is flat against your palm. If it looks twisted, just rotate it until it’s flat.
- Forgetting to Count: It is easy to skip a loop at the very end of a row. Before moving to the next row, quickly count your loops to ensure you have the same number you started with in your foundation.
Pro Tips for a Better Result
- The “Weight” Factor: Do not let the blanket hang off your lap while working. As it grows, the weight of the blanket will pull on the loops you are currently working. Lay the blanket on a table or clean floor so your hands are only supporting the “active” row.
- Color Blocking: You can join two different colors of yarn by simply tying the ends together in a secure double knot. Hide the knot on the “back” side of the blanket as you work.
- Finishing: Once finished, gently pull on the loops throughout the blanket to even out the tension. This “blocking” process makes the whole piece look more professional.
Variations and Personalization
- Texture Play: If you want a more textured look, skip every other loop on the third row (a “skip-stitch” technique) to create a woven appearance.
- The Scarf Version: Use the same technique but reduce your foundation row to just 5 loops. This creates a luxurious, giant-stitch chunky scarf in under 30 minutes.
- Seasonality: Use soft pastels for a nursery/baby shower gift, or go for deep forest greens and creams for a sophisticated Christmas home decor accent.
Care and Storage
Because this blanket is made of thick, roving material, it is delicate.
- Spot Treat: Always spot-clean any spills immediately with cold water and a mild detergent.
- Avoid Machines: Do not put this blanket in a standard washing machine, as the agitation can cause the yarn to pill or shred.
- Storage: When not in use, fold it neatly over a blanket ladder or a textured arm chair to maintain its shape.
FAQ
Can I join two different skeins of yarn?
Yes! Simply use a small piece of matching thread to sew the two ends together or use a very secure square knot and weave the tails into the body of the blanket so they are invisible.
Why does my blanket look “holey”?
This is normal for giant yarn projects. If you want a tighter look, use a slightly thicker yarn or try to keep your loops smaller by pulling less yarn through the previous stitch.
How do I fix a mistake if I pull the wrong loop?
The beauty of this project is that it is completely reversible. You can gently pull on your working yarn to “undo” row by row until you reach the mistake, then simply start again.
Is this hand-washing only?
Yes. Due to the high loft of the jumbo yarn, excessive agitation will destroy the texture. Spot cleaning is the best way to handle accidents.
Can I make this blanket bigger?
Absolutely! Simply increase your foundation number. Just remember that the wider you make it, the more yarn you will need.
Conclusion
Creating your own giant chunky blanket is one of the most satisfying “instant-gratification” projects in the world of fiber arts. There is something incredibly grounding about using your own body as a tool, feeling the texture of the fibers, and watching a functional piece of art emerge from your own hands. You don’t need a formal education or fancy equipment to be a creator; you only need a little bit of time and a desire to make your space a bit more cozy. Whether this is your first handmade project or your hundredth, I hope this blanket brings warmth to your home and joy to your quiet moments. Happy crafting!