
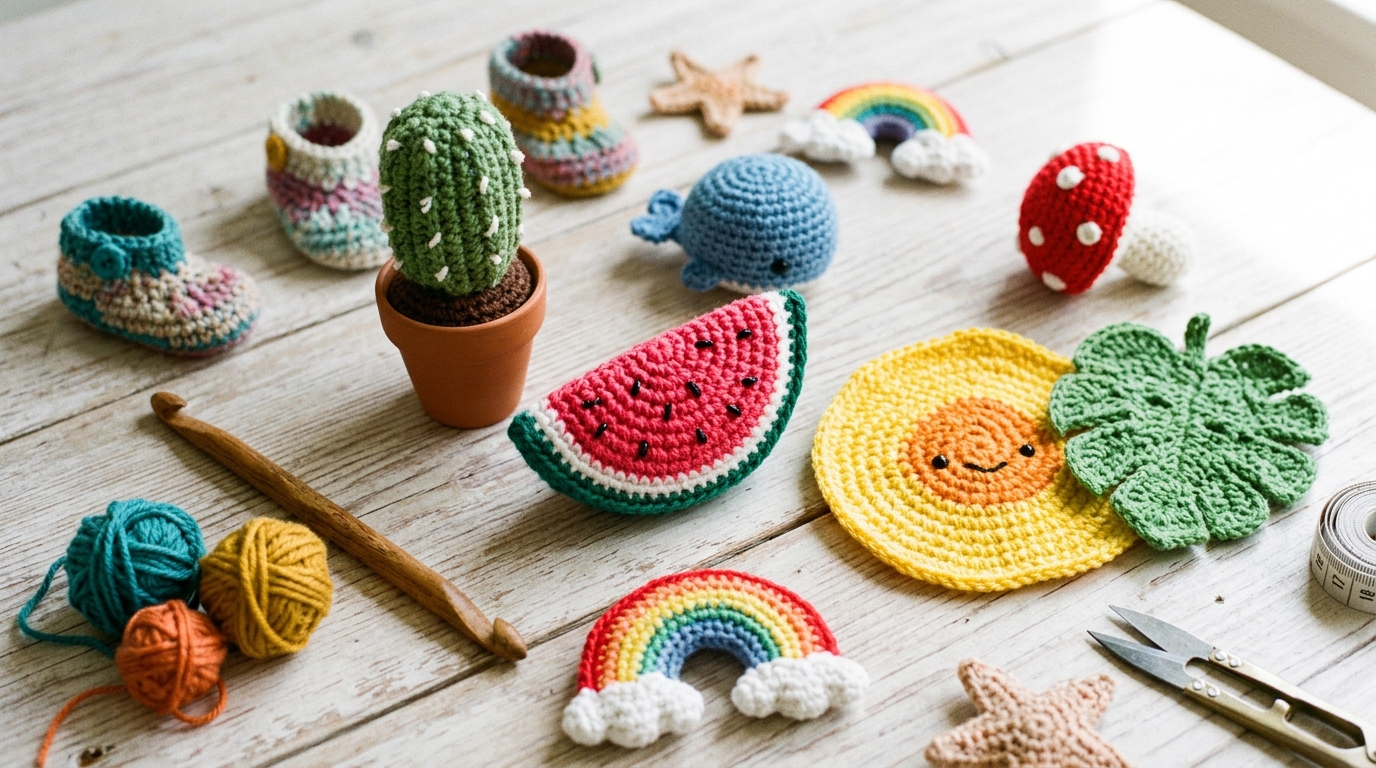
Transforming Your Yarn Stash into Creative Treasure
There is a special kind of magic that happens when you reach the bottom of your yarn basket. We have all been there—staring at that collection of “leftover” yarn balls, those remnants from finished blankets, scarves, or sweaters, wondering how to turn those colorful little bundles into something useful and beautiful. Clearing your yarn stash doesn’t have to feel like a chore; instead, it is a creative invitation to experiment with color, texture, and quick, rewarding projects.
Whether you are a beginner looking for a low-stakes way to practice new stitches or an intermediate crocheter eager to dive into scrappy, whimsical designs, stash-busting is one of the most delightful aspects of the craft. Quirky, creative little projects—like colorful coasters, textured scrap-yarn mandalas, or tiny amigurumi trinkets—are the perfect way to utilize those few yards of high-quality wool or cotton that are too precious to discard. In this guide, we are looking at how to turn that clutter into joy, specifically with a fun, versatile project: the “Scrap-Happy Bloom” Crochet Coaster Set. These are fast, addictive to make, and they bring an immediate cozy, handmade vibe to your home.
Quick Overview
- Skill Level: Beginner-Friendly
- Estimated Time: 30–45 minutes per coaster
- Finished Size: Approximately 4.5 inches in diameter
- Best Use: Home decor gifts, housewarming presents, or updating your own coffee table
- Why You Will Love It: It’s a flexible pattern that allows you to change colors every round, making it the ultimate stash-busting project. These coasters are small, portable, and require very little yarn.
Materials and Tools Needed
- Yarn: Any scrap yarn will do! Worsted weight (Size 4 medium) cotton is recommended for better absorption, but acrylic blends work beautifully for more decorative, colorful sets.
- Crochet Hook: Size H/8 (5.0mm) or size G/6 (4.0mm) if you prefer a tighter, sturdier stitch.
- Tapestry Needle: For weaving in those ends.
- Scissors: A sharp pair for trimming.
- Optional: A stitch marker to keep track of your first stitch if you are just starting out.
Crochet Terms and Basic Stitches
To get through this pattern successfully, you only need to know a few standard U.S. crochet terms. Don’t worry if these feel new—take your time and remember that every stitch is just a loop pulled through another loop.
- Chain (ch): The foundation of most projects. Yarn over and pull through the loop on your hook.
- Slip Stitch (sl st): Used to join rounds or move across stitches without adding height. Insert your hook, yarn over, and pull it through both the stitch and the loop on your hook.
- Single Crochet (sc): Insert your hook into the stitch, yarn over, pull up a loop, yarn over again, and pull through both loops on the hook.
- Double Crochet (dc): Yarn over before inserting the hook into the stitch, pull up a loop, yarn over, pull through two loops, yarn over again, and pull through the remaining two loops.
- Fasten Off: Cut the yarn and pull the tail through the final loop to secure it.
Helpful Notes Before You Start
Stash-busting is all about freedom, but keeping a few technical tips in mind will ensure your finished projects look polished and professional.
First, consider your tension. When working with different brands of scrap yarn, you might notice that some yarns are slightly thicker than others. Don’t let this stress you out! If one color feels a bit thinner, you can simply pull your stitches a little tighter to keep the coaster flat. Second, weaving in ends is the most important part of a scrappy project. Because you are changing colors frequently, you will have many tails. Be sure to weave them in securely on the wrong side of the work so they don’t unravel over time. Finally, if you are making a set, try to use a consistent hook size for all the coasters to ensure they finish at roughly the same size.
The Scrap-Happy Bloom Pattern
This pattern is worked in joined rounds. Each round introduces a new color, which is the perfect way to use those tiny leftover bits of yarn.
Round 1
Start with a magic ring. Ch 3 (counts as the first dc here and throughout). Work 11 dc into the ring. Join with a sl st to the top of the beginning ch-3. (12 dc total). Pull the ring tight to close the center. Fasten off this color.
Round 2
Join your next color in any stitch. Ch 3. Work 1 dc in the same stitch. Work 2 dc in every stitch around. Join with a sl st to the top of the beginning ch-3. (24 dc total). Fasten off.
Round 3
Join your next color in any stitch. Ch 1 (does not count as a stitch). Sc in the same stitch. Skip 1 stitch, work 5 dc into the next stitch (making a shell), skip 1 stitch, sc in the next stitch. Repeat from to around. You should end with a join to the first sc of the round. (6 shells made). Fasten off and weave in all ends.
Step-by-Step Explanation
When you look at this project, think of it as three distinct “layers.” In Round 1, you are building the foundation of your flower. The magic ring might feel a little fiddly at first, so don’t be afraid to practice it a few times. Once you have those first 12 double crochets, the base is secure.
Round 2 is your expansion round. You are doubling your stitch count, which creates the flat surface needed for a coaster. If the circle starts to “ruffle” or wave, it usually means your tension is too loose; try keeping your yarn slightly more taut.
Round 3 is the “quirky” part! This is where you create the scalloped edge. The sc acts as an anchor, and the 5-dc cluster (the shell) creates the decorative edge. If you find your shell looks a bit crowded, just make sure you are skipping exactly one stitch between each shell. This rhythm gives the flower that beautiful, vintage-inspired look.
Common Mistakes to Avoid
The beauty of scrap-yarn crochet is that it is very forgiving, but there are a few common pitfalls that beginners often face.
The most common issue is “curling,” where the coaster doesn’t lay flat. This usually happens because the stitch count isn’t quite right or the tension is too tight. If your circle is cupping, add a few more stitches in the second round next time. Another mistake is miscounting your rounds, which can lead to an uneven edge. Always take a quick second to count your shells at the end—you want 6 distinct petals. Finally, forgetting to weave in ends immediately can result in a “yarn spaghetti” mess. I highly recommend weaving in your tails as you go rather than waiting until the very end.
Pro Tips for a Better Result
Blocking is your best friend when it comes to coasters. Once you’ve finished your project, spray it lightly with water or give it a gentle steam-block by holding a steam iron an inch above the finished piece (never touching the yarn directly!). This helps the stitches relax and ensures the coaster sits perfectly flat on your table.
For intermediate makers, consider playing with textures. Using a slightly fuzzy yarn for one round and a sleek, mercerized cotton for the next adds a wonderful tactile dimension to your work. If you are gifting these, tie a small jute cord around a stack of four coasters and add a sprig of dried lavender. It elevates a simple “leftover” project into a thoughtful, boutique-quality present.
Variations and Personalization Ideas
Once you master this basic bloom shape, the world is your oyster.
- The Seasonal Palette: Use deep oranges, browns, and golds for an autumnal set, or soft pastels for a springtime gift.
- Mix and Match: If you have enough yarn, try making the center a bright yellow and the petals a contrasting white for a proper daisy look.
- Size Up: If you use a bulkier yarn weight and a larger hook, you can turn this same pattern into a beautiful mat for a houseplant or a decorative centerpiece for your kitchen table.
- The “Scrap-Mix” Effect: If you have very tiny bits of yarn, hold two strands together to create a variegated, marled effect that looks completely unique.
Care and Storage
Your cotton coasters are durable, but they do love a bit of care. If they get a coffee ring or tea stain, hand wash them in cool water with a tiny bit of gentle soap. Gently squeeze out the excess water—do not wring them, as this can distort the shape—and lay them flat to dry on a towel. For storage, keeping them in a small basket or stacking them on a shelf is fine, but avoid folding them, as this can affect their flatness over time.
FAQ
Can I use acrylic yarn for these coasters?
Yes, absolutely! While cotton is better for absorbing moisture, acrylic works perfectly for decorative coasters. Just keep in mind that acrylic yarn can sometimes be a bit “slippery” on smooth surfaces like glass tables.
How do I make the starting ring if I struggle with the magic ring?
If the magic ring is frustrating, simply chain 4 and join with a slip stitch to the first chain to form a circle. Work your stitches directly into the center of that chain-4 space. It works just as well!
Is it okay to mix different yarn brands in one project?
Yes, that is the joy of stash-busting! Just try to keep the yarn weights similar (e.g., all worsted weight). If you mix a thin yarn with a thick one, the coaster might become lopsided.
How many coasters should I make for a gift?
A set of four is the standard “goldilocks” number. It’s enough for a small household or a couple, and it doesn’t take too long to complete.
What if my coasters don’t look exactly like the target size?
That is perfectly fine. Crochet is handmade, not machine-made. As long as they lay flat and perform their function, any size variation is just part of the charm.
Conclusion
Clearing your yarn stash is more than just an organizational win; it is a creative exercise that reminds us why we fell in love with crochet in the first place. By turning those small, forgotten remnants into something as charming as these bloom coasters, you are breathing new life into your craft. Whether you make one or twenty, remember to enjoy the process of watching your colors come together. Crochet is all about the joy of making, and nothing feels better than looking at a project finished entirely from materials you already had on hand. So, grab your hook, clear that stash, and let your creativity bloom this week—you might just find that your scraps were the best materials all along. Happy crocheting!