
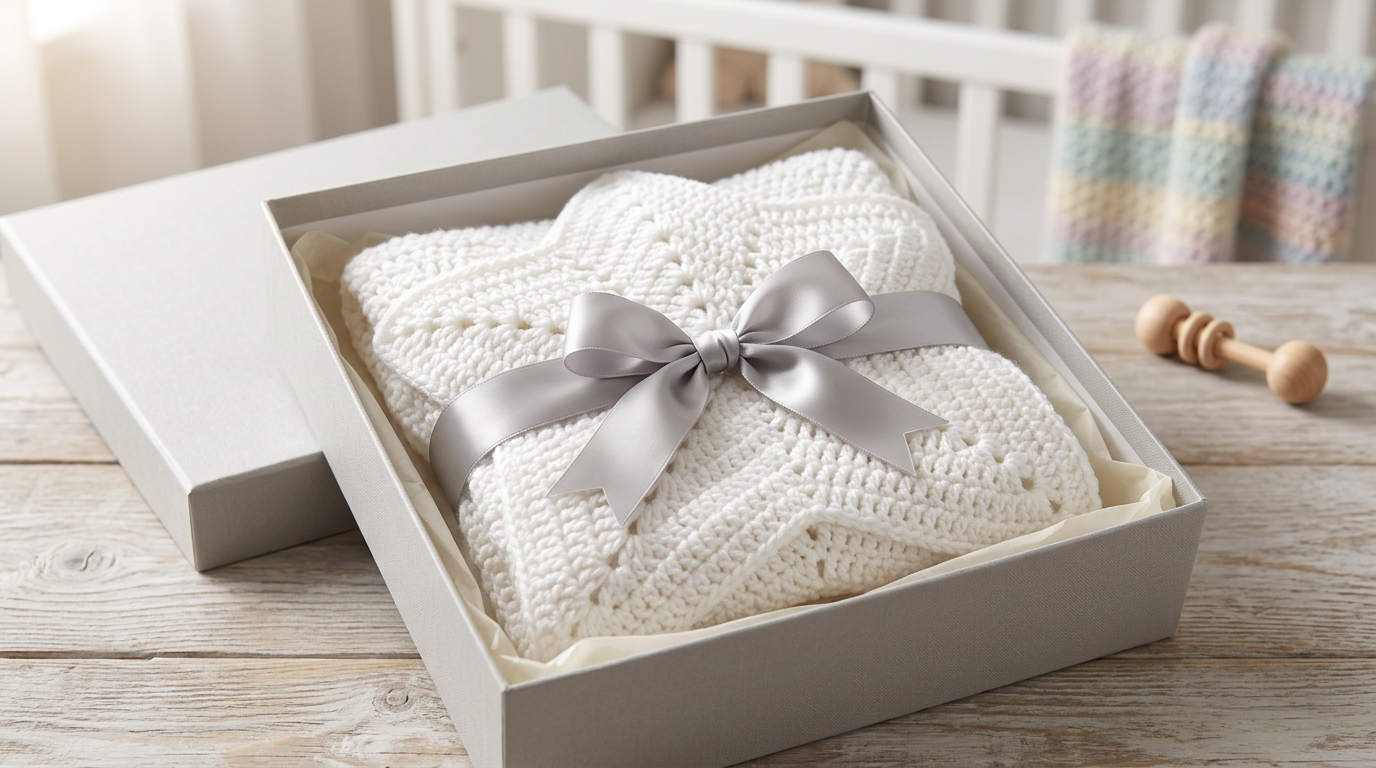
There is something truly magical about picking up a hook and some soft yarn to create a handmade gift for a new life entering the world. Among all the wonderful projects a crocheter can choose, the star blanket—often called a ripple or star afghan—remains a timeless favorite. Not only does it look impressively complex, but it also creates a beautiful, textured heirloom that feels like a warm hug. Whether you are a beginner looking to expand your skills beyond simple squares or an intermediate maker searching for a meditative project to keep on your lap, this star blanket is a delight.
Designing a blanket that grows outward from the center is much more intuitive than it might appear. By using simple increases at specific intervals, the fabric naturally grows into a perfect star shape. It is a fantastic way to practice your double crochet stitches while learning how to manage consistent tension in the round. In this tutorial, I will guide you through every step of creating a beautiful, classic baby star blanket that is sure to become a treasured keepsake. Let’s gather our hooks and get ready to create something special.
Quick Overview
- Skill Level: Beginner-Friendly Intermediate
- Estimated Time: 15 to 25 hours, depending on your speed and comfort level.
- Finished Size: Approximately 40 inches in diameter (perfect for a stroller or crib).
- Best Use: A heartfelt baby shower gift, a cozy nursery accessory, or a beautiful photo prop.
- Why You Will Love It: It works up in continuous rounds, meaning fewer ends to weave in later, and the “star” effect is incredibly rewarding as you watch it grow.
Materials or Tools Needed
To create this heirloom piece, you will want to choose materials that are soft, durable, and easy to care for.
- Yarn: Approximately 1,200 to 1,500 yards of worsted weight (Category 4) yarn. I recommend a machine-washable wool blend or a high-quality acrylic that is soft to the touch.
- Crochet Hook: Size H/8 (5.0 mm). If you tend to crochet tightly, consider moving up to an I/9 (5.5 mm) to ensure the blanket has a lovely, soft drape.
- Stitch Marker: Essential for marking the beginning of your rounds.
- Tapestry Needle: For weaving in your ends securely.
- Scissors: A sharp pair for clean edge cutting.
- Measuring Tape: To keep track of your progress.
Crochet Terms and Stitches
This pattern utilizes standard American crochet terminology. If you are new to these terms, here is a quick breakdown to keep in mind:
- Chain (ch): The foundation of your work.
- Single Crochet (sc): A short, dense stitch perfect for solidifying borders.
- Double Crochet (dc): The workhorse of this pattern, providing height and drape.
- Slip Stitch (sl st): Used to join rounds and move across stitches without adding height.
- Stitch (st): The loop used for your next placement.
- Double Crochet Increase (2 dc in same st): Placing two stitches into one space to encourage the fabric to expand.
Helpful Notes Before You Start
Before diving into your first round, take a moment to consider your tension. A star blanket needs to lay flat. If you notice your edges are curling upward like a bowl, your tension is likely too tight; try a larger hook. If it starts to ruffle significantly—meaning it won’t lay flat on the floor—your tension might be too loose or you are adding too many increases.
Because this project is worked in the round, your stitch marker is your best friend. Always place it in the first stitch of a new round so you know exactly where the round ends. Note that this pattern uses a “ch 3” at the start of most rounds to count as your first double crochet.
Main Tutorial: Classic Star Blanket Pattern
This blanket is worked in twelve points, which creates the classic star shape that fits so well in a nursery.
The Foundation
Start by creating a magic ring, or chain 4 and join with a slip stitch to the first chain to create a small loop.
Round 1: Ch 3 (counts as first dc here and throughout). Work 11 dc into the ring. Join with a sl st to the top of the beginning ch-3. (12 dc total).
Building the Points
Round 2: Ch 3, dc in the same st, 2 dc in each st around. Join to the top of the beginning ch-3. (24 dc total).
Round 3: Ch 3, dc in the same st, dc in the next st. 2 dc in the next st, dc in the next st; repeat from to around. Join. (36 dc total).
Round 4: Ch 3, dc in the same st, dc in the next 2 sts. 2 dc in the next st, dc in the next 2 sts; repeat around. Join. (48 dc total).
Note on Increases: For all subsequent rounds, you are creating the “point” of the star by placing 2 dc stitches into the same space on each “peak” of the star.
Round 5 and beyond: Continue in this manner, increasing by 12 stitches each round. By placing your 2 dc increases in the center of the previous round’s increase, you will naturally create the twelve points of the star. Continue until the blanket reaches your desired size or you run out of yarn.
Finishing the Border
Once you reach your desired diameter, you can finish off with a round of single crochet around the entire perimeter. This adds a clean, decorative edge that keeps the points of the star crisp and prevents the edges from stretching out over time.
Step-by-Step Explanation for Success
When you are mid-project, it is easy to lose track of the “points.” Visualize the blanket as a clock face. You are essentially creating twelve distinct wedge shapes. As you work, stop every few rounds and lay the blanket flat on a table. If it lays perfectly flat, you are doing a great job! If you see the edges starting to wave, don’t panic—try backing up a row and ensuring you haven’t accidentally added an extra increase where one wasn’t needed.
At the end of your project, you will have one long tail to weave in. Use your tapestry needle to run the tail back and forth through the back of the double crochet stitches to ensure it is secure enough that it won’t come loose when the baby pulls on it or when it goes through the wash.
Common Mistakes to Avoid
Even intermediate crocheters run into these common pitfalls, so don’t feel discouraged if you find yourself unravelling a few rounds:
- Counting Errors: It is very common to miss one of the 12 points. If your blanket starts to look lopsided, count your peaks. You should have 12. If you have 11, you missed an increase!
- “Bowl” Syndrome: If your blanket is curling, your stitches are likely too tight. Remember, crochet should be relaxing. If your hands are cramping, your stitches will be too small. Shake out your wrists!
- The “Wavy” Blanket: This happens when we add too many stitches. Ensure you are only increasing in the designated spots rather than adding an increase into every stitch of the round.
- Ignoring the Join: Sometimes we forget to verify our stitch counts at the end of a round. Always double-check your total count before starting the next.
Pro Tips for a Better Result
For that “professional” finish, consider these simple tweaks:
- Color Transitions: If you want a bold look, change your yarn color every 3 or 4 rounds. Carrying the yarn up the side—or starting a new color at each peak—can create a stunning ombre effect.
- Blocking: This is the secret weapon for any blanket. Once finished, pin your star blanket out on a blocking mat or towel and lightly steam it (check your yarn label for heat settings). This sets the stitches and ensures the points of your star remain sharp and defined.
- Yarn Quality: Since this is for a baby, spend a little extra time finding “baby-soft” yarn. The difference between standard yarn and high-quality, soft-twist yarn is significant when it gets against sensitive skin.
Variations and Personalization
The beauty of the star pattern is its versatility. You can personalize this for any season or nursery theme:
- The Christmas Star: Use deep forest green, cranberry, and cream for a festive holiday gift.
- Soft Pastels: A combination of mint, baby yellow, and light gray provides a modern, gender-neutral look.
- Texture Play: If you want a thicker, warmer blanket for winter, use a bulky weight yarn (Category 5) with a larger hook. The finished project will work up much faster and feel extra cozy.
- Adding Embellishments: You can add small crocheted flowers near the center or add a pom-pom trim to the very tips of the star for a whimsical, playful gift.
Care and Next Steps
To keep this gift looking beautiful for years, include a little care instruction note with your gift. Most worsted weight acrylic or wool-blend baby yarn can be machine washed on a gentle cycle in cold water. Lay the blanket flat on a clean towel to air dry. This prevents the weight of an automatic dryer from stretching the points or distorting the shape of the star.
Once you have mastered the star blanket, you will find that you can apply this “increase in the round” logic to a variety of other projects, such as round rugs, chair pads, or even circular bags. You have just leveled up your skills significantly!
FAQ
How do I know if my blanket is going to be flat?
The secret to a flat blanket is the math of the increases. By increasing by exactly 12 stitches every round, you create enough room for the fabric to expand without buckling. If it starts to ruffle, you have too many stitches; if it starts to cup like a bowl, you need more increases.
Can I make this larger or smaller?
Absolutely! Since it’s worked in rounds, you can stop whenever the blanket reaches the size you want. Whether you are making a tiny “lovie” small-sized star or a massive nursery throw, the pattern remains identical.
Do I really need to use a stitch marker?
While you might feel tempted to skip it, using a stitch marker is essential for keeping track of your beginning and end points. In a round project, it’s remarkably easy to lose your place, and a simple plastic locking marker will save you from having to recount your stitches every single round.
What is the best yarn for a baby blanket?
Look for “baby soft” or “premium acrylic” labels. These are specifically tested to be gentle on infants. Always check the label to ensure it is machine washable and dryable, as new parents will definitely appreciate low-maintenance gifts!
How do I change colors without a mess?
When finishing a round with one color, pull the new color through on your very last slip stitch. Keep your tails at least 4 inches long so you can weave them in securely on the back side of the work once the blanket is finished.
Conclusion
Creating a handmade star blanket is one of the most rewarding experiences a crocheter can have. There is a deep, quiet joy in watching a simple circle grow into a beautiful, geometric star, knowing that every stitch is infused with care. This project is more than just a blanket; it is a conversation between your hands and the yarn, resulting in something that will wrap a little one in comfort for years to come. Whether this is your first blanket or your fiftieth, remember to enjoy the process, embrace the rhythm of the stitches, and celebrate the beautiful gift you are creating. Happy hooking!