
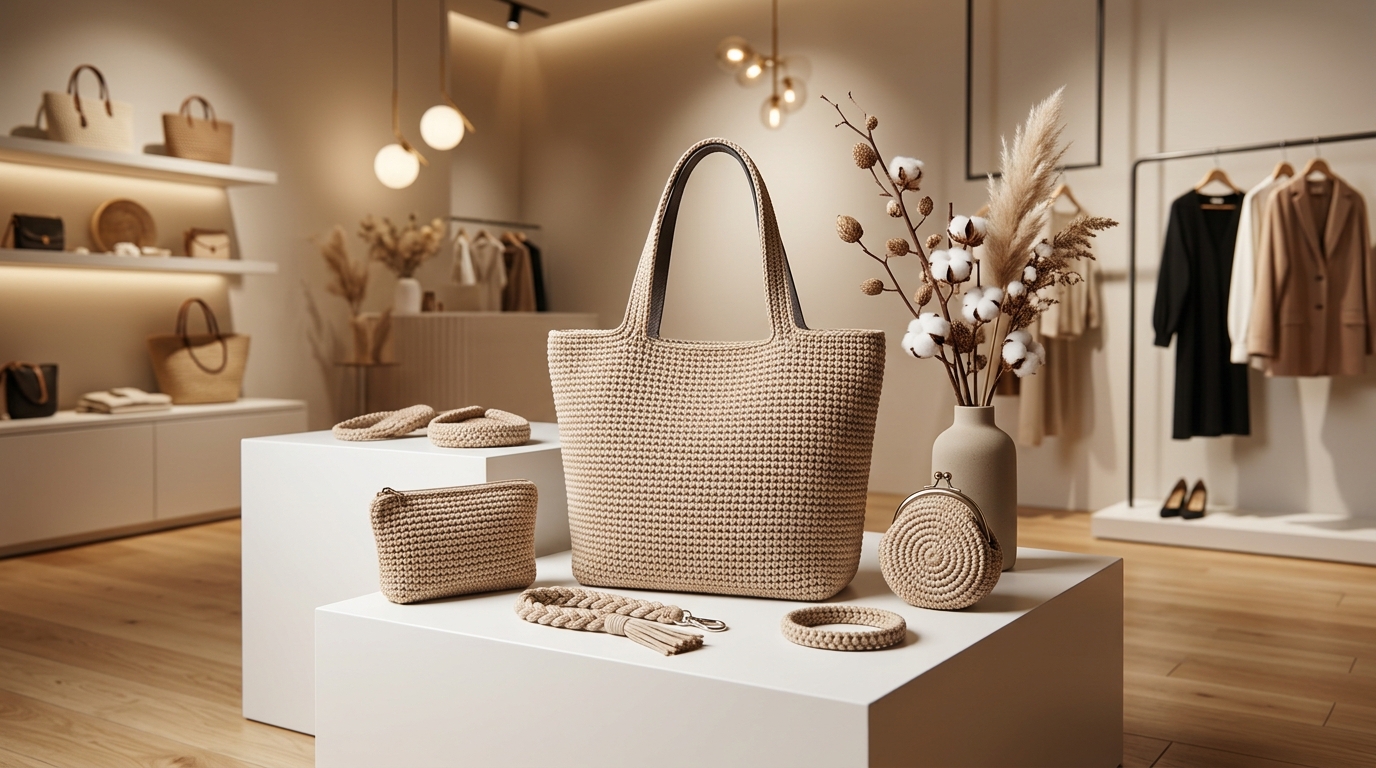
There is something truly magical about taking a single strand of yarn and a hook, and through the rhythm of repetitive motions, creating something tangible, warm, and beautiful. If you have ever felt that little spark of curiosity when looking at an intricate blanket, a cozy sweater, or a precious handmade gift, you are already on the right path. Crocheting is a craft that rewards patience, encourages creativity, and provides a soothing sanctuary from the busyness of modern life.
Many beginners feel intimidated by the look of complicated patterns or the fear of dropped stitches, but I want to reassure you: every expert was once exactly where you are today. Mastering crochet is not about having nimble, magical fingers; it is about learning a few foundational techniques and practicing them until they become second nature. In this guide, we will walk through the core stitches and concepts that serve as the building blocks for nearly every project you will ever make. Whether you want to whip up a heartfelt baby blanket for a friend’s shower or finally tackle that stylish accessory you saw online, the journey begins right here with the basics. Let’s pick up our hooks and start stitching with confidence.
Quick Overview
This guide is designed for the curious beginner who is ready to pick up their first hook, as well as the intermediate crocheter looking to refine their technique and ensure their projects have that polished, professional look. You will learn the anatomy of a crochet stitch, how to maintain consistent tension, how to interpret standard U.S. terminology, and the secrets to keeping your edges straight and your projects tidy. We will demystify the “alphabet soup” of abbreviations and give you the foundational knowledge you need to follow any written pattern with ease. By the end of this guide, you will feel empowered to pick your next project knowing you have the skills to complete it beautifully.
Tools and Materials for Your Journey
Before you dive into your first few rows of practice, it is helpful to understand the tools of the trade. You don’t need a massive investment to begin, just a few thoughtful choices.
- Crochet Hooks: Generally, you’ll want to start with a medium-sized hook, such as a 5.0mm (Size H-8), which is a wonderful “all-rounder” size. Ergonomic hooks with cushioned handles are a lifesaver if you plan on crocheting for long periods, as they reduce strain on your wrists and hands.
- Yarn: For learning, choose a medium-weight (worsted/aran) yarn in a light, solid color. This makes it significantly easier to see exactly where your hook needs to go and allows you to spot your stitches clearly. Avoid dark colors or novelty “furry” yarns at first, as they can obscure your progress.
- Stitch Markers: These are small plastic tools that clip into your work to denote the start of a round or the placement of an important increase. They are essential for beginners to keep track of stitch counts.
- A Yarn Needle: You will need a blunt-tipped tapestry needle to weave in your ends once you finish a project. This is the secret to a professional-looking, secure finish.
Essential Crochet Terms and Concepts
To read a pattern effectively, you need to understand the language of crochet. In the United States, we use specific terminology that defines how a stitch is formed.
- The Chain (ch): The foundation of almost every project. It is essentially a series of small, looped knots that provide the base for your first row.
- Single Crochet (sc): The most common and versatile stitch. It creates a dense, sturdy fabric that is perfect for blankets, toys, and bags.
- Half Double Crochet (hdc): This sits between the single and double crochet in height. It has a lovely texture and is slightly more flexible than a single crochet.
- Double Crochet (dc): A taller, faster-working stitch that creates a bit more “drape,” making it ideal for clothing and scarves.
- Slip Stitch (sl st): This is used to join rounds, move to a different part of the work, or bind off. It adds very little height and is almost invisible.
- Gauge: This refers to the number of stitches and rows per inch. It is the most important “hidden” factor in whether your project will fit as expected.
Helpful Notes Before You Start
Crocheting is a tactile experience, and your tension—how tightly or loosely you pull the yarn—is almost entirely unique to you. It is perfectly normal for your first few practice swatches to be a little tight or a little loose. If your stitches feel hard to pull the hook through, you are likely working with a very high tension. Try to consciously relax your hands or experiment with holding the yarn in a way that allows it to glide more freely through your fingers.
Remember, practice swatching is not a waste of time. It is a necessary investment in your technique. Spend some time just chaining and working rows of single or double crochet until you feel the rhythm settle into your hands. Do not worry about making a square or a coaster initially; just focus on making your stitches look uniform.
Mastering the Foundation of Crochet
Every beautiful handmade item starts with a few essential movements. Mastering these will give you the confidence to navigate any pattern you encounter.
How to Hold Your Hook and Yarn
There is no “right” way to hold a crochet hook, only the way that is comfortable for you. Most people use either the “pencil grip” or the “knife grip.” Try both and see which feels natural. The yarn should also be held in your non-dominant hand; many beginners loop the yarn once around their index finger to create a controlled tension. Experiment until the yarn feeds smoothly without dragging or going slack.
The Importance of Turning
When you are working regular rows back and forth, you will come to the end of a row and need to “turn” the work. This usually involves chaining one or more stitches (known as the turning chain) and then rotating your piece so your hook is positioned to begin the next row. These turning chains count as the first stitch in many patterns, but not all; always check your pattern notes to see if you should count them or treat them as a “booster” to reach the height of the row.
The Art of Counting
If a pattern calls for 20 stitches, and your row ends with 19 or 21, don’t panic. This happens to everyone. The best way to avoid this is to count your stitches at the end of every single row. If you are a fan of structure, use a stitch marker in the first and last stitch of each row to ensure you don’t accidentally skip the final stitch, which is a common cause of triangular-shaped rectangles!
Step-by-Step Guide to Practice
To really get the hang of these stitches, follow this progression. Set aside about thirty minutes for a quiet practice session.
- Start with the Foundation: Create a slip knot and chain 20 stitches. This is your foundation chain.
- Begin the First Row: Insert your hook into the second chain from the hook, yarn over, and pull up a loop. Yarn over again and pull through both loops on the hook. You have just completed a single crochet. Repeat this in each chain until you reach the end.
- Turning and Height: Chain one, flip your work over, and look closely at the top of the row you just finished. You will see a series of “V” shapes. This is where your hook will go for the next row. Inserting your hook under both loops of that “V” is the standard method for a sturdy, long-lasting stitch.
- Increasing and Decreasing: Once you are comfortable with keeping your edges straight, try adding a stitch (increase) by working two stitches into the same space, or skipping a stitch (decrease) to see how the fabric manipulates.
Common Mistakes to Avoid
Even seasoned crocheters occasionally trip up. Recognizing these common pitfalls can save you hours of “frogging” (that’s the term for ripping out your stitches!).
- The “Twisted” Foundation: When you join the start of your chain to the end, it is very common for the chain to twist on itself. Always lay it flat on a table to ensure it is straight before you secure your first round.
- Tight Tension on the Foundation Chain: Beginners often make their starting chain much tighter than the rest of the work, which causes the base of their project to be smaller than the body. Try using a hook size one half-millimeter larger for the foundation chain only to keep the base flexible.
- The Missing Final Stitch: The last stitch of a row often hides in the corner. If your work is getting smaller row by row, you are almost certainly skipping that last stitch.
- Mixing Up U.S. and U.K. Terms: This is the most common confusion in crochet. A U.S. single crochet is a U.K. double crochet. Always check the terminology section of your pattern before you begin.
Pro Tips for a Polished Professional Look
Your projects can look like they came from a high-end boutique if you follow these simple professional habits.
- Weave in Ends Diligently: Never just knot your yarn. Using a tapestry needle, weave your ends back and forth through the stitches in at least three different directions. This ensures your hard work won’t unravel in the wash.
- Blocking is Your Best Friend: When you finish a project—especially something like a scarf or a shawl—it might look a little lumpy. Wet blocking (gently soaking, pinning into shape, and letting it dry) works wonders. It relaxes the fibers and gives the stitches a crisp, professional uniformity that is impossible to achieve with the hook alone.
- Invest in Quality Yarn: You don’t have to break the bank, but choosing a yarn with a consistent twist and texture makes your stitches look much neater. It is a simple way to elevate your projects immediately.
Variations and Personalization
Once you’ve mastered the basic stitches, the possibilities are nearly endless. You can transition from a simple accessory to a complex garment by understanding how these stitches interact.
- Color Blocking: If you are working on a blanket, try switching colors every ten rows. Use this technique to create stripes or ombre effects.
- Texture Play: Try working only in the “back loop” of the stitches. This creates a ribbed, knit-like effect that is stunning for sweater cuffs or winter hats.
- Embellishments: Learn how to add a simple picot border (a tiny three-chain loop) to the edge of a coaster or a baby blanket. It adds a feminine, heirloom quality that makes a simple item feel like a special gift.
Next Steps for Your Learning
Now that you have the basics, where should you go next? I recommend starting a very simple project that keeps you motivated, such as a coaster set or a basic rectangular dishcloth. These are low-pressure, fast-to-finish projects that let you practice your tension and stitch counting without the fatigue of a large afghan. As you gain confidence, look for patterns labeled “beginner-friendly” that introduce one new technique at a time. The goal is to keep it fun; if a project ever starts to feel like a chore, put it down and pick up a different color or a simpler pattern. Your crochet hook should be a source of relaxation, not frustration.
FAQ
How do I know if my hook is the right size for my yarn?
Check the yarn label! Most yarn manufacturers include a small symbol of a hook with a recommended size range. If you find your fabric is too stiff, go up a hook size. If it is full of large holes you don’t like, go down a hook size.
Why does my crochet work look curly or wavy?
This often happens if your tension is too tight (causing the curl) or if you have accidental increases (creating the wave). If it is curly, try a larger hook or loosening your grip. If it is wavy, check your stitch count at the end of every row to make sure you haven’t added extra stitches by mistake.
How do I join a new ball of yarn when I run out mid-row?
The cleanest way is to work your last stitch until you have two loops left on your hook, then drop the old yarn, yarn over with the new color/ball, and pull through both loops. You will then have two ends to weave in on the back.
Is it normal for my hands to hurt when I’m learning?
When you are a beginner, you tend to grip the hook and yarn much tighter than you need to. Your hands will get used to the motions, but take breaks every 20 minutes to stretch your fingers and wrists and shake out your hands.
Can I really learn from free online patterns?
Absolutely! The internet is a treasure trove of tutorials. Look for patterns that include step-by-step photos or video links. If you ever feel stuck, there are thousands of wonderful communities where you can ask for help from more experienced crafters.
Conclusion
Mastering the foundational stitches of crochet is a gift you give to yourself. It is a skill that will stay with you for a lifetime, providing a creative outlet that allows you to transform simple fibers into warmth, comfort, and beauty for your home and your loved ones. Don’t worry if your first few stitches aren’t perfect; progress is not a straight line, and every “mistake” is actually a quiet lesson that helps you understand the construction of your fabric.
Be kind to yourself as you learn. There is no deadline for your projects, and the joy is in the process just as much as the result. Whether you are creating a small token of kindness for a friend or a cozy piece for your own home, you are participating in a timeless tradition of handmade love. Take your time, enjoy the rhythm of the yarn, and keep discovering the beauty you can create one loop at a time. I cannot wait to see what you make next.