
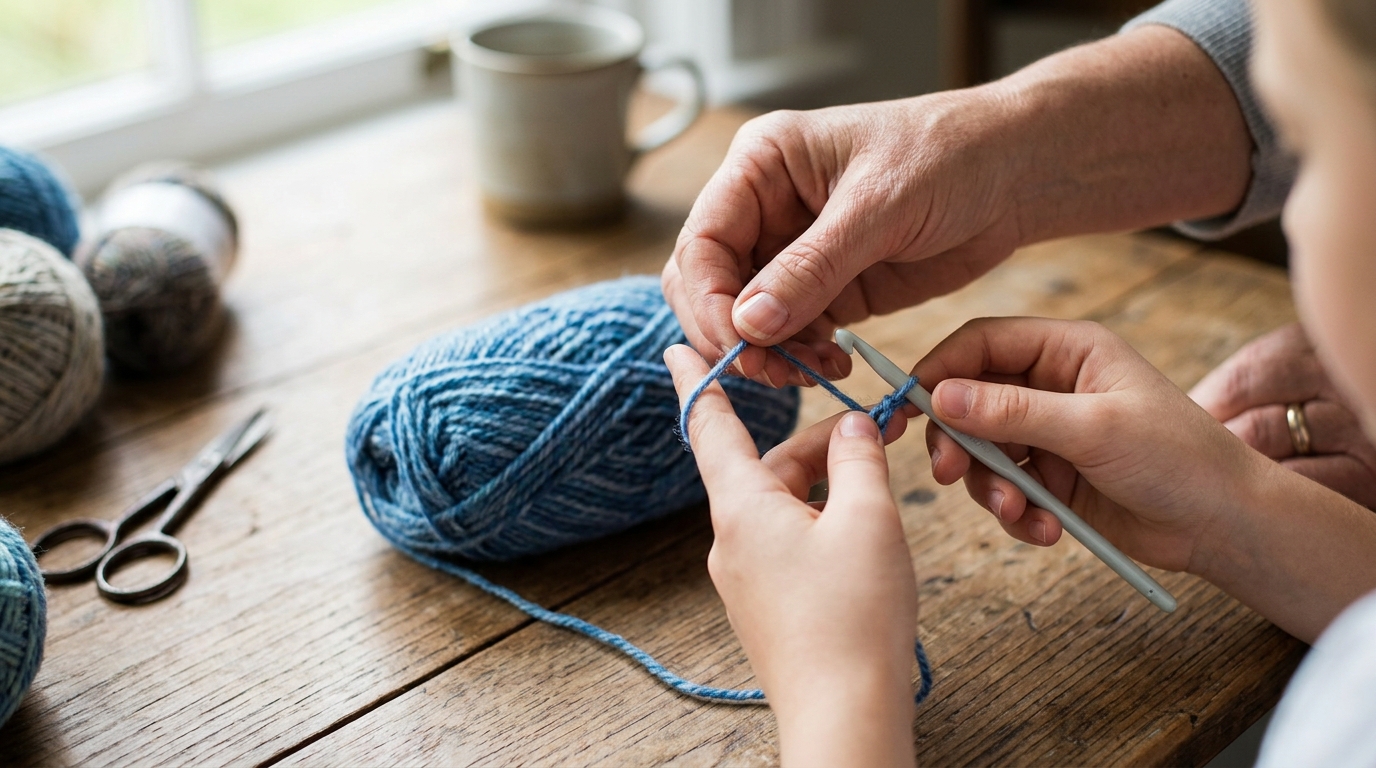
There is something truly magical about picking up a crochet hook for the first time. In a world that often demands we move at lightning speed, crocheting invites us to slow down, breathe, and create something beautiful with nothing more than a simple strand of yarn and our two hands. If you have been looking for a cozy, creative outlet that leads to handmade treasures, you have found your place.
Many beginners feel a slight flutter of nerves when they first look at a skein of yarn, wondering if their fingers will cooperate or if they will get tangled in the process. I want you to take a deep, calming breath and know this: crochet is a journey of small, rhythmic movements. It is not about being perfect on your first try; it is about the joy of learning a skill that will stay with you for a lifetime. Whether you dream of crafting soft blankets for chilly evenings, dainty accessories to brighten your wardrobe, or heartfelt handmade gifts for the people you love, this guide is designed to walk you through the very beginning of that path. We will clear away the confusion, demystify the tools, and set you up for success before you even make your very first chain.
What You Need to Know Before Starting
This guide is written specifically for the absolute beginner who feels both excited and a little intimidated by the world of loops and knots. You do not need to memorize every pattern or know the history of fiber arts to get started. Instead, we are focusing on the foundational mindset and the essential “must-knows” that will save you hours of frustration.
In this guide, we will cover the anatomy of your tools, how to choose your very first supplies, the importance of tension, and how to set yourself up for a relaxing, productive practice session. By the time you finish reading, you will possess the confidence to pick up your hook, hold your yarn, and start your first project with a clear understanding of what’s happening in your hands.
Essential Tools for Your First Project
When you first walk into a craft store or browse online, the sheer variety of hooks and yarns can feel overwhelming. Resist the urge to buy the most expensive equipment or the most intricate, fuzzy specialty yarn. For your very first steps, simplicity is your best friend.
Your most important tool is your crochet hook. Beginners often find that a smooth, medium-sized aluminum or bamboo hook is the easiest to work with. Look for a size G/6 (4.0mm) or H/8 (5.0mm); these sizes are large enough to see your stitches clearly but small enough to handle comfortably. As for yarn, look for a “medium weight” (often labeled as weight 4 or “worsted weight”). Most importantly, choose a light-colored, smooth acrylic or cotton-blend yarn. Dark colors like navy or black make it nearly impossible to see your stitches, which is a common hurdle for new crocheters.
Understanding Crochet Basics
Before you jump into making stitches, it is helpful to understand the language of crochet. We use standard U.S. terminology, which is a set of universal terms that tell you exactly what movement your hands need to make.
The “chain” is the foundational building block of almost all crochet projects. It serves as your starting line. From there, you will learn basic stitches like the “single crochet,” “half double crochet,” and “double crochet.” Each stitch has a different height and texture, and learning how to work these into rows or rounds is how you build fabric. A “slip stitch” is another vital concept—it is used for joining pieces, finishing off a row, or moving your yarn across a line of stitches without adding extra height.
The Secret to Consistent Results
If there is one piece of advice that every intermediate crocheter wishes they knew as a beginner, it is this: watch your tension. Tension refers to how tightly or loosely you hold your yarn as you work.
If you hold the yarn too tightly, your finished project will feel stiff, board-like, and difficult to work into. If you hold it too loosely, the stitches will look uneven and holey. Your goal is to find a middle ground where the yarn flows smoothly through your fingers without tugging or sagging. The best way to practice this is by simply creating a long chain and then working simple single crochet stitches back and forth. Your first few rows might look a bit wobbly, and that is perfectly okay! Let your hands get used to the rhythm. Consistency will come with muscle memory, not with force.
Preparing Your Hands and Mindset
Crocheting is a physical activity, and just like any hobby, it requires a little bit of comfort. Find a chair that provides good back support, and make sure you have adequate lighting—daylight is best, but a bright lamp works wonders in the evening.
Begin by sitting comfortably with your feet flat on the floor. Take a moment to hold your hook and yarn. There is no single “right” way to hold them; much like holding a pencil or a knife, your grip will evolve to be whatever feels most natural for your hands. If you find your hands feeling cramped, stop, put the project down, and stretch your fingers for a moment. This is a journey, not a race.
How to Count Stitches Effectively
One of the most common places where beginners get lost is in the counting. In crochet, we count the “V” shapes at the top of each stitch. When you work a row, it is easy to accidentally add or skip a stitch at the very end.
A wonderful trick is to use a “stitch marker.” This little tool looks like a small safety pin or a colored plastic ring. Place one in your very first stitch of the row and another in the last stitch. This way, when you reach the end, you know exactly where to insert your hook. It eliminates the guessing game and keeps your edges looking clean and professional.
Common Mistakes to Avoid
Even the most talented fiber artists started with tangled yarn and uneven tension. Here are a few common pitfalls to keep an eye out for:
The “Twisted Chain”: When you start your very first row, ensure your foundation chain isn’t twisted before you join it or work into the back bumps. If it is twisted, your entire project will have a permanent, awkward slant.
Skipping the “Turning Chain”: At the end of a row, you usually need to chain one or more stitches before turning your work. This creates the height needed for the next row. If you forget this, the edges of your project will pull inward and create a triangle shape rather than a rectangle.
Using the Wrong Hook: Always check your yarn’s label. It will often suggest a recommended hook size. While you can experiment, sticking to the suggested size while you are learning ensures that your stitches aren’t too tight or too loose.
Forgetting to Weave in Ends: It is tempting to just trim your yarn and call it finished, but that can lead to your magic unraveling later. Always leave a tail of a few inches and use a yarn needle to “weave in” the ends securely into the back of your work.
Pro Tips for a Polished Finish
As you progress from purely practicing to working on your first real project, consider these tips to elevate your results.
Blocking is a term you will hear often. It is simply the process of gently wetting or steaming a finished item and pinning it into the correct shape while it dries. It works wonders for evening out wobbly stitches and making a project look store-bought.
Also, don’t worry about being perfect. Crochet has a beautiful, organic aesthetic. A slight inconsistency in a stitch just shows that it was handmade with love, not manufactured by a machine. Embracing these little “quirks” is part of the charm of the craft.
Personalizing Your Crochet Journey
Once you have mastered the basics of chains and simple stitches, you may want to start adding your own flair. You can explore different color palettes to match your home decor, or try different types of fiber when you’re ready to advance—cotton is wonderful for home goods like washcloths, while soft acrylic blends are perfect for baby blankets.
Start small. A simple dishcloth or a small drawstring pouch is a fantastic first “real” project. These items allow you to practice maintaining even tension and counting stitches without the pressure of a massive, long-term project. Completing a small item gives you that wonderful sense of accomplishment that will motivate you to keep going.
Taking Care of Your Finished Pieces
Most standard yarns are machine washable, but always check the care instructions on your yarn’s label. Even for machine-washable items, using a mesh laundry bag is a great way to protect your hard work from snagging on zippers or buttons in the dryer. If you have made a delicate accessory with wool or specialty fibers, hand washing in cool water with a gentle detergent is almost always the safest option. Lay your items flat to dry on a clean towel to preserve their shape and feel.
Frequently Asked Questions
How long does it actually take to learn to crochet?
Everyone learns at their own pace. You can learn the basics, such as a chain and a single crochet, in an afternoon. Becoming confident and producing even, uniform fabric usually takes a few weeks of consistent, short practice sessions.
Is it cheaper to crochet my own clothes?
The cost can vary. While yarn can sometimes be more expensive than mass-produced fast fashion, the quality of your handmade items lasts significantly longer. Plus, you gain the priceless value of relaxation, creativity, and the joy of wearing something you built yourself.
Why do my edges look wavy or uneven?
This is almost always due to missing or extra stitches at the ends of your rows. Use a stitch marker on your first and last stitches of every row to ensure you are knitting the correct amount each time.
Can I teach myself using only internet videos?
Absolutely! Many of the world’s most talented crocheters are self-taught. Look for tutorials that clearly show the hands in good lighting. If one instructor’s style doesn’t click, move to another; everyone explains things differently, and your “perfect” teacher is out there.
What should I do if my yarn gets tangled?
It happens to everyone! Stop immediately. Do not pull on the yarn, as this tightens the knot. Use your fingers to gently loosen the loop of the tangle rather than tugging. Patience is the best tool for untangling yarn.
Conclusion
You are now equipped with everything you need to begin your crochet journey. Remember that your hook and yarn are your tools for mindfulness, creation, and joy. It is perfectly normal to have rows that look a little wonky at first or to need to unravel your work and try again. Each time you pick up your hook, you are building muscle memory and artistic confidence.
Keep your goals small, stay patient with your hands, and enjoy the process of turning a string into something beautiful. Whether you spend ten minutes a day looping yarn or an entire afternoon lost in the rhythm, you are doing something wonderful for yourself. Welcome to the wonderful world of crochet—I can’t wait to see what you create.