
Introduction
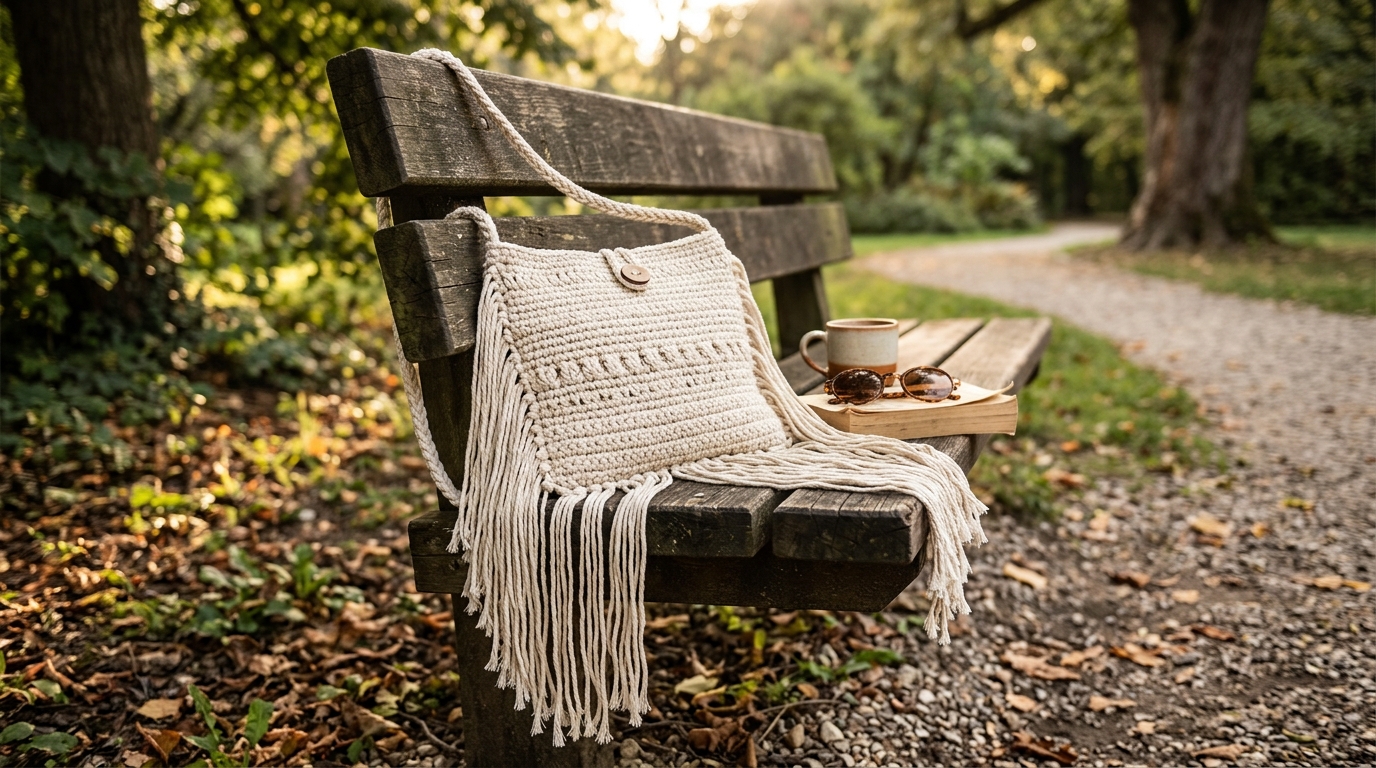
There is something truly magical about taking a single strand of yarn and transforming it into a functional, beautiful accessory that you can carry with pride. Whether you are heading to a weekend farmers’ market, meeting friends for a casual coffee date, or looking for that perfect everyday bag that captures a free-spirited vibe, a handmade crochet boho pouch is the answer.
Crochet isn’t just about creating items; it’s about the meditative rhythm of the hook and the satisfaction of watching your vision come to life. Many beginners worry that crafting an entire bag might be too time-consuming or complex, but I am here to tell you that with the right guidance, you can absolutely create a stunning, texture-rich bag in just one day. This project is designed specifically for those who love the bohemian aesthetic—think earthy tones, soft textures, and that playful fringe that dances as you walk. We will keep the stitches simple, focusing on how to build structure and shape so your pouch is both durable and stylish. You don’t need years of experience to make something that looks like it belongs in a high-end boutique. Let’s grab our hooks and settle into a cozy spot, because today we are making something special together.
Quick Overview
This project is perfectly suited for beginners who are comfortable with the basic crochet stitches and for intermediate crafters who want a relaxing, “low-stress” project that delivers high-impact results.
- Skill Level: Beginner-friendly.
- Estimated Time: 4 to 6 hours (perfect for a one-day weekend project).
- Finished Size: Approximately 10 inches wide by 9 inches tall (excluding strap and fringe).
- Best Use: An effortless everyday boho accessory or a thoughtful handmade gift for a friend.
- Why You’ll Love It: It uses a repetitive, rhythmic stitch pattern that helps you get into a calm “flow state” while the fringe details add a professional, bohemian flair that makes the bag pop.
Materials or Tools Needed
To ensure your pouch turns out sturdy and elegant, I recommend using a medium-weight cotton or cotton-blend yarn. Cotton has less stretch than acrylic, which means your bag won’t sag too much when you put your phone or wallet inside.
- Yarn: Approximately 300-350 yards of Worsted Weight (Category 4) yarn. A natural cotton blend in a neutral color like cream, sage, or terracotta works beautifully for that boho aesthetic.
- Crochet Hook: Size H/8 (5.0 mm). If you find your stitches are a bit loose, feel free to drop down to a G/7 (4.5 mm) to get a tighter, more structural fabric.
- Stitch Markers: These are essential for keeping track of your rounds since we will be working in a spiral.
- Tapestry Needle: For weaving in your ends securely.
- Scissors: Sharp ones for trimming your fringe evenly.
- Optional: A piece of cardboard (about 6 inches wide) to help wrap your yarn for the fringe, or a sturdy book.
Crochet Terms, Stitches, or Key Concepts
Before we dive into the pattern, let’s refresh the terminology we will be using throughout the project.
- Slip Stitch (sl st): Used for joining rounds or creating a flat surface.
- Single Crochet (sc): The foundation of our bag, offering a dense and sturdy fabric.
- Chain (ch): The basic starting loop system.
- Increase (inc): Working two single crochet stitches into the same space to expand the circle.
- Foundation Round: How we start our circular base.
- Working in the Back Loop Only (BLO): This specific, easy-to-learn technique creates a subtle ridge and gives your bag a professional, “knit-like” texture.
Helpful Notes Before You Start
Tension is the secret ingredient to any good bag. Because we want this pouch to hold its shape, don’t be afraid to pull your yarn slightly tighter than you might for a blanket. If you notice your stitches look very loose, your bag might end up feeling a bit floppy. Also, when working in a spiral, it is very easy to lose count. Always place a stitch marker in the first stitch of every round so you know exactly where your row ends.
For the construction, we will be working from the bottom up. We will start with a flat circular base and then move into the “body” of the bag, where the stitches will naturally begin to pull upward to create the walls of the pouch.
Main Tutorial: Boho Pouch Pattern
Part 1: The Circular Base
We are working in a spiral. Do not join rounds unless specified.
Round 1: Make a magic ring. Ch 1, work 8 sc into the ring. (8 stitches)
Round 2: Work 2 sc in each stitch around. (16 stitches)
Round 3: 1 sc in next st, 2 sc in next st. Repeat from to around. (24 stitches)
Round 4: 1 sc in next 2 sts, 2 sc in next st. Repeat from to around. (32 stitches)
Round 5: 1 sc in next 3 sts, 2 sc in next st. Repeat from to around. (40 stitches)
Round 6: 1 sc in next 4 sts, 2 sc in next st. Repeat from to around. (48 stitches)
Round 7: 1 sc in next 5 sts, 2 sc in next st. Repeat from to around. (56 stitches)
Part 2: Working the Body
Now we stop increasing so the bag begins to grow upward.
Round 8: Working in the Back Loop Only (BLO), work 1 sc in each stitch around. (56 stitches)
Round 9 – 25: Work 1 sc in each stitch around (both loops now). Continue until the bag measures your desired height.
Part 3: The Finishing Edge and Strap
Round 26: Sc in each stitch around, but create small gaps for a drawcord if you choose. To do this, ch 2, skip 2 stitches, 2 sc around the top edge.
Strap: You can make a simple twisted cord or a crochet chain strap. For a boho look, create a long chain of 150 stitches, then work a slip stitch into each chain, or simply braid three long strands together. Thread this through the gaps created in Round 26.
Part 4: Adding the Fringe
This is where the personality of your bag really shines.
- Cut your yarn into 12-inch lengths.
- Taking two strands at a time, fold them in half.
- Using your crochet hook, pull the folded loop through a stitch at the base of the bag.
- Pull the ends of the yarn through the loop and tighten gently.
- Repeat this every two stitches around the bottom edge of the bag. Trim the ends so they are perfectly even.
Step-by-Step Explanation
Think of this bag as having three “chapters.” The first chapter is the base, which is like drawing a circle on paper—it expands evenly. By increasing consistently, we ensure the bottom is flat. Once we move to the body, we switch to working in the back loops (BLO) for that first row. This acts like a “hinge,” forcing the bag to stand up on its own rather than laying flat. For the rest of the body, we simply go in circles, which is the most relaxing part—no need to count or worry, just keep going until the bag feels like the right size under your arm. The final chapter, the fringe, is pure decoration. Don’t stress about perfection here; the slightly messy, flowy look is exactly what makes the boho aesthetic so charming.
Common Mistakes to Avoid
- The “Twisted” Start: When you finish your first round, make sure your stitches are facing the right way. If the base looks like a bowl, you are on the right track!
- Losing Your Place: Always move your stitch marker up to the newest row. If you rely on memory, you will almost certainly lose track, and the sides of your bag will grow unevenly.
- Over-stuffing the Fringe: Placing fringe in every single stitch can make the bag bottom too heavy. Every two or three stitches is usually plenty for a nice, thick texture without the bag dragging on the ground.
- Loose Tension: If you are a naturally loose crocheter, use the smallest hook recommended on your yarn label. A sturdy bag requires “tight” stitches.
Pro Tips for a Better Result
- Blocking for Structure: Once you are finished, lightly steam your bag (if using cotton) or dampen it slightly and shape it with your hands. Let it dry completely in that shape, and it will hold its form much better.
- The “Lining” Secret: If you feel like your items might poke through the stitches, you can easily sew a simple rectangular piece of scrap fabric inside. This elevates the bag from “handmade” to “custom artisan.”
- Yarn Choice: If you want a more rustic, earthy look, look for cotton yarn that has a “matte” finish rather than a shiny or mercerized one.
Variations, Examples, or Personalization Ideas
The beauty of this pattern is that it is a blank canvas.
- Color Blocking: Use one color for the base, a different one for the body, and a third for the fringe.
- Beaded Accents: String a few wooden beads onto your strands before knotting the fringe to give it a true 70s-inspired boho vibe.
- Strap Customization: Instead of a crochet strap, try using a twisted rope handle or even a leather strap, which gives the bag an immediate upgrade in durability and style.
Care, Storage, or Next Steps
Because this bag is made of cotton, it is quite durable. If it gets dirty, hand wash it in cool water with a gentle detergent and lay it flat to dry. Do not hang to dry, as the weight of the water will stretch the yarn and distort the shape. When not in use, store it stuffed with a small towel to help it maintain its circular base.
FAQ
Can I make this bag bigger?
Yes! Simply continue the increase rounds for the base (e.g., Round 8 would be 1 sc in next 6 sts, 2 sc in next st) before you start the straight body section.
Does the yarn weight matter?
For this specific pattern, medium-weight (worsted) yarn is best. If you use a thicker yarn, you will need fewer stitches; if you use thinner yarn, you will need a larger hook and more stitches to attain the same size.
Why is my bag leaning to one side?
This often happens when working in a spiral because of the natural slant of the single crochet stitch. It is very minor, but if it bothers you, you can join each round with a slip stitch instead of working in a continuous spiral.
How do I join a new skein of yarn invisibly?
The best way is to hold the old and new strands together for about 3 or 4 stitches, then trim the excess. This secures the yarn without needing a bulky knot that shows on the outside.
Is this project really suitable for a beginner?
Absolutely. Since we are using basic single crochet stitches in a spiral, the only challenge is keeping the stitch count consistent in the first few rounds. Once you hit the “body” of the bag, you can put on your favorite podcast and just crochet away.
Conclusion
Creating your own boho pouch is a journey that starts with a single magic ring and ends with a unique accessory that reflects your personal style. I hope this tutorial has given you the confidence to trust your hands and enjoy the process. There is a deep, quiet joy in realizing that you have the skills to make something beautiful and functional.
Once you’ve mastered this pouch, you’ll find that the techniques you’ve used—working in the round, managing tension, and adding decorative details—are the building blocks for almost every other project you’ll take on in the future. Remember, every “mistake” is just a part of the handmade process that gives your item character. Don’t rush, enjoy the texture of the yarn, and most importantly, have fun with the fringe! I cannot wait to see how yours turns out. Happy crocheting!