
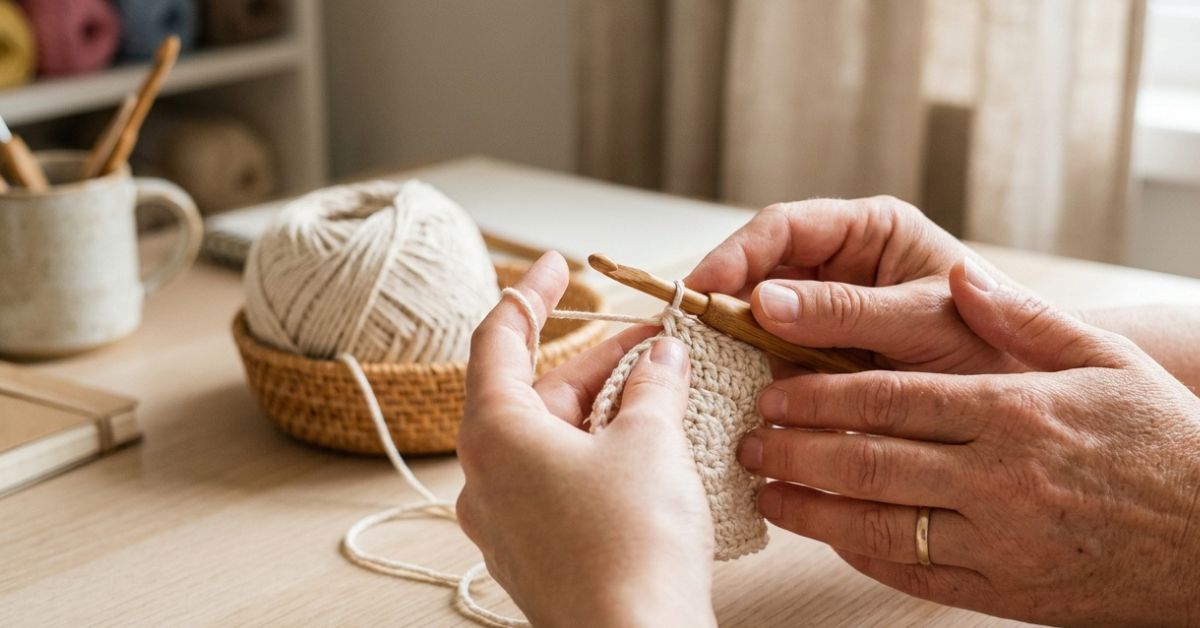
There is something truly magical about picking up a crochet hook for the first time. It is a quiet, rhythmic act of creation that turns a simple ball of yarn into something tangible, useful, and infused with your own care. Whether you are finding your way to crochet to quiet an anxious mind, to create handmade gifts for the people you love, or simply to add a cozy handmade touch to your living space, you have arrived at the perfect place.
Learning to crochet can sometimes feel like trying to solve a puzzle with moving parts, but I promise that once the tension settles into your fingers and the stitches start to flow, it becomes as natural as breathing. This guide is designed to be your friendly companion. We won’t just talk about the technical side of stitches; we will walk through the process of creating a beautiful, functional piece that will give you the confidence to call yourself a maker. Grab a comfortable seat, a cup of tea, and let’s begin this journey together.
Quick Project Overview
For your first big success, we will be creating the “Everything Pocket” Everyday Tote. This project is ideal for beginners because it relies on the most fundamental stitches while resulting in a sturdy, stylish bag that you will actually use.
- Skill Level: Beginner
- Estimated Time: 4 to 6 hours
- Finished Size: Approximately 12 inches wide by 10 inches tall (excluding handles)
- Best Use: Use it for farmers’ market runs, as a small project bag for your current WIP (work in progress), or as a thoughtful DIY gift for a friend.
- Why You’ll Love It: You will master the transition from flat rows into a seamless structure, providing you with the holy grail of crochet skills: understanding how to build volume.
Materials Needed
- Yarn: Approximately 300 yards of medium-weight (Category 4/Worsted) cotton yarn. Cotton is recommended because it is durable and holds its shape well.
- Crochet Hook: Size H/8 (5.0 mm). This is the “gold standard” for beginners as it is comfortable to hold and easy to see.
- Tapestry Needle: For weaving in your ends.
- Scissors: Any sharp pair will do.
- Stitch Markers: These are optional but highly recommended to help you keep track of your first and last stitches.
Stitches and Abbreviations
Using standard U.S. terminology:
- ch (chain): Bring the yarn over the hook and pull it through the loop on your hook.
- sc (single crochet): Insert hook into stitch, yarn over, pull up a loop, yarn over, pull through both loops on the hook.
- hdc (half double crochet): Yarn over, insert hook into stitch, yarn over, pull up a loop, yarn over, and pull through all three loops on the hook.
- sl st (slip stitch): Insert hook into stitch, yarn over, and pull through both the stitch and the loop on your hook.
- st(s) (stitch/stitches): The individual loops you create.
Pattern Notes Before You Start
- Tension: If your work looks like lace when it should be tight, or if it ripples, your tension is likely too loose. If it is stiff as a board and hard to poke your hook into, you are pulling the yarn too tightly. Try to keep a consistent, relaxed grip.
- Stitch Count: At the end of every row, take a quick moment to count your stitches. It saves so much frustration later on.
- Turning: When turning your work at the end of a row, always turn in the same direction—like turning the page of a book—to keep your edges neat.
Full Crochet Pattern
This bag is worked in one continuous piece, folded, and seamed up the sides.
Part 1: The Foundation
Row 1: Ch 41. Sc in the second ch from the hook and in every ch across. (40 sts).
Row 2: Ch 1 (this does not count as a stitch), turn. Sc in each st across.
Rows 3-40: Repeat Row 2. Your piece will now look like a long rectangle.
Part 2: The Borders and Handles
Round 1: Do not fasten off after Row 40. Ch 1, turn your work to rotate it so you are now working along the long edge of the rectangle. Space 40 sc evenly along the side edge. Continue around the bottom and the other side edge, placing 40 sc along each side. Join with a sl st to the first sc.
Round 2: Ch 1, sc in each st around the entire perimeter of the rectangle. Join with a sl st. Fasten off.
Part 3: Assembly
Fold your rectangle in half, matching the short ends together. Using a length of yarn and your tapestry needle, whip stitch the two side edges together. This creates the pocket of your bag.
Part 4: Finishing
Weave in all your yarn ends securely on the inside of the bag. If you want to block your bag, soak it in cool water, gently squeeze out the excess (do not wring), and lay it flat on a towel, shaping it into a crisp rectangle until dry. This gives your project that professional, polished look.
Step-by-Step Tutorial Explanation
When you start that first chain of 41, don’t worry if it looks a bit uneven. That is completely normal. The first row of single crochet is always the trickiest because the chains can be tight. Use your fingers to gently spread the chain open if you have trouble finding the space to insert your hook.
As you work up to Row 40, you will notice a rhythm developing. You are essentially building a fabric. If you find your edges are curling, don’t panic! Crochet fabric often looks slightly wavy before it is finished or blocked. By the time you do your border, those edges will settle right into place. When you fold the piece to seam, ensure the edges are perfectly aligned. If you don’t have stitch markers, you can use a small scrap of contrasting yarn to “pin” the corners together before you begin sewing.
Common Mistakes to Avoid
The most common mistake beginners make is dropping stitches at the ends of rows. This causes your rectangular bag to become a triangle or a trapezoid. Always count your stitches at the end of every row. If you started with 40, you should end with 40.
Another frequent issue is the “twisted chain.” When you make your long starting chain, lay it flat on your lap to ensure all the little “V” shapes are facing the same direction before you join or start the first row. Finally, be kind to your hands. If you feel tension in your shoulders or cramping in your fingers, take a break. Your crochet will be there when you get back.
Pro Tips for a More Beautiful Result
To elevate your project from “handmade” to “expert-looking,” focus on your finishing. Weaving in your ends is boring, but it is the secret to a piece that doesn’t fall apart after one use. Thread your needle and run the tail through the base of the stitches in two different directions—this locks the yarn so it won’t pop out.
If you are choosing colors, don’t be afraid to mix solids with a variegated yarn, but remember that the “visual noise” of a multi-colored yarn can hide your stitch definition. If you are learning, stick to a light or medium solid color (like sage green, soft blue, or cream) so you can clearly see exactly where your hook needs to go.
Variations and Personalization Ideas
Once you have mastered this basic tote, the world is your oyster. You can incorporate a different stitch, like the half double crochet, for a faster project with a slightly more relaxed drape.
For a seasonal touch, add a simple crochet flower or a tassel in a contrasting color to the corner of the bag. If you are gifting this to a friend, consider making a smaller version to act as a reusable gift bag—it is much more eco-friendly and thoughtful than a paper alternative.
Care Instructions
Since this bag is made of cotton, it is quite hardy. If it gets dirty, you can hand wash it in cool water with a gentle detergent. Avoid harsh bleaches. To dry, roll the bag in a clean towel to absorb the moisture, then lay it flat in the shade. Direct sunlight can fade your beautiful colors over time, so keep your finished piece out of harsh, direct beams.
FAQ
How do I stop my stitches from getting larger as I go?
This is usually a tension issue. Try to keep your yarn tension consistent by keeping your index finger slightly raised while you work. Practice makes perfect; your hands will naturally find their “sweet spot” after a few rows.
Why does my crochet piece look wavy instead of flat?
Wavy edges often happen when you increase stitches by accident or have uneven tension. Count your stitches every two rows to ensure you haven’t accidentally added an extra stitch at the end of a row.
Can I use a different yarn weight for this pattern?
You can! However, remember that changing the yarn weight will change the final size of the bag. If you use a thicker yarn, you will need a larger hook and fewer starting chains.
How do I fix a stitch that I messed up three rows ago?
Don’t be afraid to “frog” it. That is the affectionate term crocheters use for ripping out stitches (because you “rip it, rip it”). It is a normal part of the process, even for experts! It is better to pull back a few rows than to look at a mistake every time you use your bag.
Is it normal for my hook to feel uncomfortable?
If your hand is cramping, you might be gripping the hook like a pencil or a knife too tightly. Try relaxing your grip or consider looking for a hook with a cushioned, ergonomic handle.
Conclusion
Teaching yourself a new craft is an act of bravery and patience. I hope this “Everything Pocket” bag serves as a proud milestone in your crochet journey. Remember, the beauty of handmade items lies not in machine-perfect symmetry, but in the personality and care you stitch into every loop.
Once you finish your first bag, take a moment to really look at it. You created that fabric out of thin air! Keep your hook and yarn handy, and don’t be afraid to experiment with new colors and textures. There is always something new to learn and a new pattern just waiting for your personal touch. Happy stitching, and may your yarn always be tangle-free and your stitches always count exactly how they should. You have done wonderful work today.