
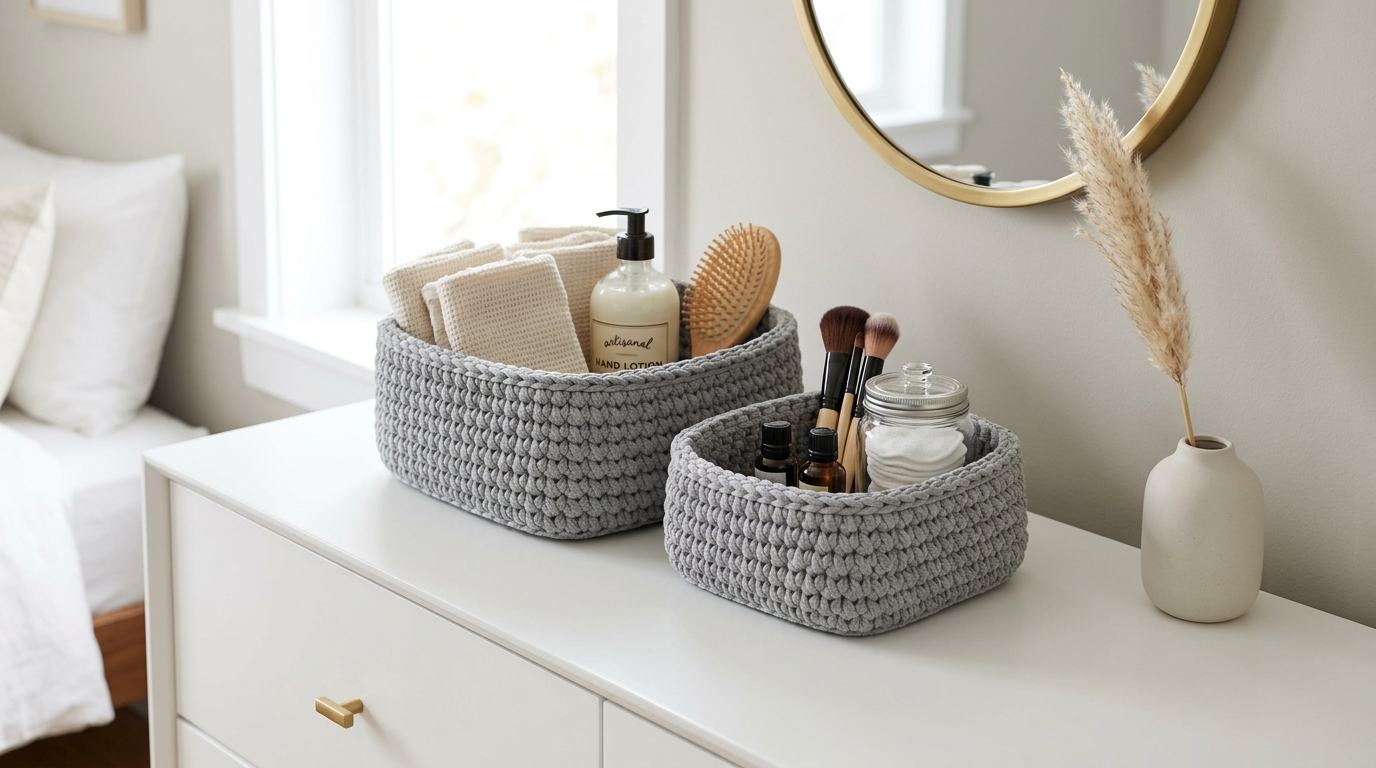
There is something inherently soul-soothing about organizing your home. Whether it’s clearing off a cluttered entryway console or finding a permanent home for your collection of essential oils and trinkets, keeping our spaces tidy brings a sense of peace to our busy lives. When you can combine that need for order with the cozy, tactile joy of handmade crochet, you get the perfect weekend project: the modern crochet basket.
Crocheting baskets for home organization is a fantastic way to elevate your interior style while putting your creativity to work. Unlike delicate clothing or lacy doilies, baskets are designed to be substantial, structured, and incredibly useful. If you have been looking for a project that works up quickly, uses minimal yarn, and results in a polished, professional-looking item to display in your home, this tutorial is for you. We are going to focus on structural integrity, choosing the right fiber, and mastering those “sturdy stitches” that keep your baskets standing tall without sagging.
Quick Overview
This guide is designed for both beginners and intermediate makers. You will learn the secrets to creating structural, heavy-duty crochet pieces that hold their shape.
- Skill Level: Beginner-Friendly Intermediate
- Estimated Time: 2 to 4 hours, depending on size
- Finished Size: Customizable (instructions provided for an 8-inch diameter basket)
- Best Use: Storing craft supplies, organizing bedside tables, or holding small plants
- Why You Will Love It: It teaches you the “secret sauce” of rigid crochet, helping you move beyond soft blankets into structural home decor.
Materials and Tools Needed
To achieve a sturdy result, your choice of materials is the most critical step.
- Yarn: Opt for a bulky or super bulky weight cotton cord. Cotton is non-stretchy and holds its shape beautifully compared to acrylic or wool. A 3mm or 5mm braided cotton rope or recycled cotton yarn works best for a “modern” aesthetic.
- Crochet Hook: A hook size smaller than the yarn label recommends. If your yarn calls for a 10mm hook, try an 8mm. This tightens your gauge significantly, creating a stiff fabric.
- Stitch Markers: Essential for keeping track of your rounds, especially in spiral patterns.
- Tapestry Needle: For weaving in your ends securely.
- Scissors: Sharp ones, especially if cutting through heavy cotton cord.
Essential Concepts for Sturdy Results
The key to a standing basket isn’t just the yarn; it’s the technique. We will be using the “Back Loop Only” (BLO) method to create a crisp, defined edge where the base meets the sides. We will also focus on having a tight, consistent tension. If your stitches are too loose, the basket will collapse. Don’t be afraid to pull that yarn taut!
Helpful Notes Before You Start
Crocheting with thick, stiff cotton cord can be a workout for your hands. Take frequent breaks and stretch your wrists. Because this pattern is worked in a continuous spiral, you will not be joining rounds with a slip stitch unless specified. This keeps the spiraling seamless and prevents a jagged “seam” line on the side of your basket.
The Modern Sturdy Basket Pattern
This pattern creates a sophisticated, minimalist cylinder.
The Base
Round 1: Using a magic ring, work 8 single crochet stitches into the center. Pull the tail tight to close the ring. Do not join (8 stitches).
Round 2: Work 2 single crochet in each stitch around (16 stitches).
Round 3: 1 single crochet in the first stitch, 2 single crochet in the next. Repeat from to around (24 stitches).
Round 4: 1 single crochet in the next 2 stitches, 2 single crochet in the next. Repeat around (32 stitches).
Round 5: 1 single crochet in the next 3 stitches, 2 single crochet in the next. Repeat around (40 stitches).
Note: Continue increasing following this pattern until your base reaches your desired diameter.
Transition to Sides
Round 6 (The “Turning” Round): Work 1 single crochet in each stitch around, but work in the BACK LOOPS ONLY (BLO). By working in the back loop, you push the front loop outward, creating a structural “shelf” or ridge that makes the sides of your basket stand up at a 90-degree angle.
The Sides
Round 7 through 15: Work 1 single crochet in both loops of every stitch around. Use a stitch marker to track the start of your round. Continue until the basket reaches your desired height.
Finishing the Edge
To finish with a polished, thick edge, work one final round of slip stitches loosely around the top rim. This reinforces the opening of the basket and prevents stretching. Fasten off and weave in your ends securely through the base of the stitches on the inside of the basket to keep them hidden.
Step-by-Step for Success
When you start the transition round (the back loop only row), you will physically see the basket start to “cup” upward. This is the magic moment! If you feel the base is still laying flat, you may be using too loose a tension. If it feels like it is curling too much, you may be missing your increases. Keep your stitches tight, and look for that distinct line forming at the base. Once you move to the sides, you simply continue working in a spiral. You won’t have to worry about joining rounds, which makes this a very meditative, “low-stress” project.
Common Mistakes to Avoid
- Using Elastic Yarn: Avoid soft, fluffy acrylics. They make beautiful blankets but terrible baskets. They will stretch under the weight of whatever you put inside, causing your basket to sag.
- Using a Hook That is Too Big: If you use a hook the size recommended on the yarn label, your gaps will be large. Go smaller to ensure the fabric is dense.
- Ignoring the Turning Loop: Skipping the BLO round will result in a rounded bottom that wants to roll over. That ridge is the structural foundation of your basket.
- Leaving Ends Loose: Because baskets are meant to be picked up and handled, always weave your ends in over several inches and in different directions to ensure they don’t pop out later.
Pro Tips for a Better Result
- Steam Blocking: If your basket looks a little wonky after finishing, place a heavy pot inside it and lightly steam the exterior with an iron (if the fiber permits). Let it dry completely with the weight inside to “set” the shape.
- Leather Details: If you want a “store-bought” look, add a small leather luggage tag to the side punched with a brass rivet. It completely elevates the finish.
- Holding Double Strands: If you only have thinner yarn on hand, hold two or three strands together at once. This creates a marled effect and adds the bulk necessary for structure.
- Personalized Palette: Using neutral colors like cream, tan, or slate grey gives a modern farmhouse feel, while vibrant cotton cords can make a basket feel playful and bohemian.
Variations and Personalization Ideas
You are not limited to round baskets! Once you master the base technique, you can easily adapt the shape:
- Square Baskets: Instead of a circle, start with a 4-corner increase (work 4 corners, adding stitches at the corners each round). These are excellent for fitting neatly into square cubby organizers.
- Nested Sets: Make one small, one medium, and one large basket. They look professionally styled when grouped together on a shelf.
- Handle Additions: You can chain 6 or 8 stitches and skip 6 or 8 base stitches periodically in the final two rounds to create “cutout” handles, turning your project into a functional storage tote.
Care and Next Steps
These cotton baskets are durable. If they get dusty, simply use a lint roller or a quick run with a vacuum attachment. If they need a deeper clean, spot-clean them with a damp cloth and mild soap. Never submerge a structured basket in a washing machine, as the agitation can distort the shape irreversibly.
Now that you have created a beautiful, functional anchor for your home, why not try matching coasters or a larger floor bin for throw blankets? The beauty of crochet home decor is that once you start, you’ll find endless ways to bring warmth into every corner of your living space.
FAQ
Why does my crochet basket keep collapsing?
This usually happens because the tension is too loose or the yarn is too soft. Try using a smaller hook size to make your stitch density tighter, and ensure you are using a non-stretchy fiber like cotton cord rather than wool or acrylic.
Can I make a basket without using a magic ring?
Absolutely. You can chain 4 and join with a slip stitch to form a small circle, then work your first round of stitches into the center of that ring. It is essentially the same result as a magic ring and works perfectly for beginners.
How do I make the sides stand up straighter?
The secret is the “Back Loop Only” round at the transition from the base to the sides. This creates a sharp angle. If you still find it slouchy, you can hold your yarn a bit tighter as you work, or consider lining the inside with stiffened fabric.
What is the best yarn weight for a sturdy basket?
Bulky or super bulky is best. If you don’t have super bulky, hold two strands of worsted weight yarn together. The more substance the yarn has, the more “architecture” your basket will naturally have.
Is it hard to crochet in the back loops?
It is a very simple technique once you look at the top of your stitch. You will see two loops forming a “V.” Simply push your hook under ONLY the back strand of that V. It doesn’t require extra skill, just a little extra attention during that one specific round.
Conclusion
Learning to crochet home decor, particularly something as useful as a basket, is a beautiful way to marry artistry with utility. It’s an incredibly rewarding feeling to look at your shelves and see an object that not only holds your life together but reflects the time and care you put into creating it. Don’t worry if your first basket isn’t perfect; each round you work is progress. The more you practice that essential, tight tension, the better your results will become. Happy crocheting, and enjoy the cozy, organized home you are building one stitch at a time!