
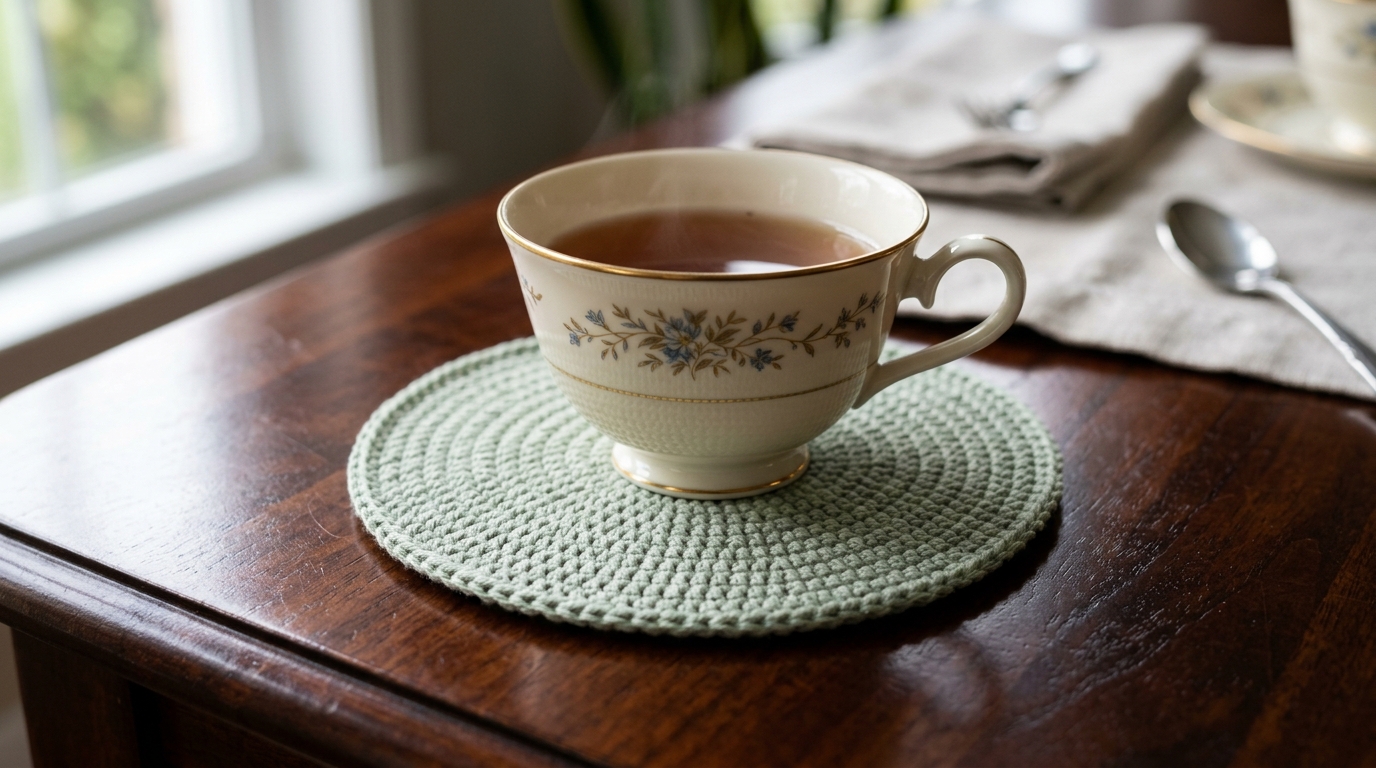
There is something deeply satisfying about sitting down with a warm cup of coffee or tea at the start of a quiet morning. As the steam rises and the house is still, you want your space to feel intentional and cozy. If you love your wooden furniture, you likely know the quiet anxiety of placing a damp mug down and hoping it doesn’t leave a ring. That is exactly where our handmade crochet coasters come in.
These little projects are the heartbeat of a home—they are small, manageable, incredibly fast to whip up, and they add a touch of handmade elegance to your coffee table, nightstand, or home office. Whether you are searching for the perfect beginner project to practice your tension or an intermediate crocheter looking for a relaxing “palette cleanser” between larger, more complex blankets, coasters are the ultimate stash-buster. They are functional art that protects your surfaces while showcasing your personal color palette and style. In this guide, we’ll walk through everything you need to create beautiful, long-lasting coasters, ensuring your home decor remains as protected as it is charming.
Quick Overview
This guide is designed for any skill level. If you are a beginner, these projects will help you master circular work, stitch counting, and finishing techniques in a low-pressure environment. For my intermediate friends, these are perfect for experimenting with textured stitches and complex color changes.
- Skill Level: Beginner-Friendly.
- Estimated Time: 30–45 minutes per set.
- Finished Size: Approximately 4 to 4.5 inches in diameter.
- Best Use: Use them in your own home, group them as a thoughtful handmade gift, or use them as a “market” item for seasonal craft fairs.
- Why You’ll Love Them: They require very little yarn, they work up fast enough to provide instant gratification, and they are essentially “washable art” for your home.
Materials and Tools Needed
To create a sturdy, elegant coaster, your choice of materials is the most important step.
- Yarn: I highly recommend using 100% cotton yarn in a worsted weight (Category 4). Cotton is highly absorbent, durable, and holds its shape beautifully even after repeated moisture exposure. Acrylic yarn can be slippery and doesn’t absorb moisture, which might defeat the purpose of the coaster.
- Crochet Hook: A size H/8 (5.0 mm) hook is perfect for most worsted weight cotton yarns, creating a stitch density that is tight enough to look professional but loose enough to drape well.
- Tapestry Needle: You will need this for weaving in your ends securely.
- Stitch Marker: Extremely helpful for keeping track of the end of your rounds so you don’t lose your place.
- Scissors: Any sharp pair will do.
Crochet Terms and Key Concepts
Before we dive into the pattern, let’s get comfortable with the vocabulary. We will be using standard U.S. terminology:
- Chain (ch): The foundation of your work.
- Single Crochet (sc): A compact, tight stitch perfect for stability.
- Half Double Crochet (hdc): Offers a bit more height and a beautiful, classic look.
- Double Crochet (dc): A taller stitch that creates a bit of airy elegance.
- Slip Stitch (sl st): Used to join rounds or move across the work without adding height.
- Magic Ring (or adjustable loop): A technique to start a project in the round, allowing you to pull the center tight so there is no gap in the middle.
- Increase (inc): Usually working two stitches in the same space to make your circle grow.
Helpful Notes Before You Start
Tension is your best friend here. Since coasters will be holding warm, potentially damp mugs, you want your stitches to be relatively tight. If you find your work turning out “wavy” or looking like a ruffled potato chip, your tension might be a little loose, or you are adding too many stitches in a round. If the coaster is cupping into a bowl shape, you might be adding too few stitches. Don’t worry if the first one isn’t perfect—that is exactly what practice is for!
The Classic Sturdy Coaster Pattern
This pattern is designed to be timeless. It uses a “flat circle” technique, which is a fundamental skill every crocheter should have in their toolkit.
Round 1
Start with a Magic Ring. Ch 2 (this does not count as a stitch). Work 12 double crochet stitches into the ring. Pull the tail of the yarn to close the ring tightly. Join with a slip stitch in the first double crochet. (12 stitches)
Round 2
Ch 2. Work 2 double crochet in the same stitch as your slip stitch. Work 2 double crochet in every stitch around. Join with a slip stitch in the first double crochet. (24 stitches)
Round 3
Ch 2. Work 1 double crochet in the first stitch, 2 double crochet in the next. Repeat from to around. Join with a slip stitch to the first double crochet. (36 stitches)
Round 4 (The Decorative Edge)
Ch 1. Work 1 single crochet in each stitch around. To make it extra fancy, you can work a “picot” stitch every 6th stitch (ch 3, slip stitch into the base of the chain, then continue with single crochets). Join with a slip stitch to the first single crochet.
Finishing
Fasten off your yarn, leaving a 4-inch tail. Use your tapestry needle to weave the end in on the back side of the coaster, going back and forth through the stitches to ensure it won’t unravel when washed.
Step-by-Step Explanation
If you are a visual learner, here is the “why” behind the process. In Round 1, we start with 12 stitches to create a solid center. In Round 2, we double the count to 24 by placing two stitches in every hole, which keeps the circle perfectly flat as it grows outward. In Round 3, we alternate between one stitch and two in the same hole—this increase pattern is the magic secret to keeping any flat crochet circle from rippling. Finally, the last round of single crochet acts like a “frame” for your piece, giving it a polished, finished look that keeps the edges from curling over time.
Common Mistakes to Avoid
Even experienced crocheters run into these, so don’t be hard on yourself!
- The “Starting Chain” Confusion: Many beginners count the turning chain as a stitch. In this pattern, we are using the ch-2 only for height, not as a stitch. This is why we pay close attention to skipping the chain and joining directly into the first double crochet.
- The Ripple Effect: If your coaster starts to look like a ruffle, you are likely increasing too frequently. Check your stitch counts at the end of each round to ensure you aren’t accidentally adding extra stitches.
- Too Much Tail: When you finish, if you leave the ends too short, they will eventually come undone after a few trips through the wash. Always leave at least 4 inches so you can weave the tails back and forth securely.
- Choosing the Wrong Fiber: Avoid wool for coasters if you plan on using them for hot drinks, as it can felt over time if it gets damp and is then rubbed against the table. Cotton is king here.
Pro Tips for a Better Result
- Blocking is the Secret Weapon: Once you finish your coasters, they might look a little “wonky.” Don’t stop there! Pin them down to a towel in a perfect circle, lightly mist them with water, and let them dry completely. This “blocks” the stitches into place and makes them look professional and crisp.
- Group Your Colors: If you have small bits of yarn left over from a larger project, make a set of four where each coaster is a different shade in the same color family (an ombre effect). It looks beautiful on a coffee table.
- Stitch Markers Save Time: Always place a stitch marker in the first stitch of your round. It lets you work faster, knowing exactly where your round started without having to stop and count every single time.
Variations and Personalization Ideas
- The Seasonal Twist: Use cotton yarn in burnt oranges and deep browns for a fall-themed set, or bright reds and greens for Christmas. They make the most incredible DIY gifts.
- Texture Additions: If you want a more rustic look, try using a “cord” style cotton, which provides a lovely tactile element that looks fantastic in farmhouse-style homes.
- Nested Sets: You can make three coasters of different sizes (add an extra round of increases for the larger ones) to create a multi-sized set for different types of glassware.
Care and Next Steps
Since these are made of cotton, they are fully machine washable. Place them in a mesh laundry bag and wash on a gentle cycle with like colors. Lay them flat to dry—avoid the dryer, as high heat can occasionally cause natural fibers to shrink or lose their shape. Now that you have mastered the flat circle, you are ready to tackle larger projects like mandalas, round rugs, or even decorative wall hangings!
FAQ
How do I stop my coasters from curling at the edges?
Curling usually means your tension is too tight. Try going up one hook size, or consciously relax your grip on the yarn while you work. If they are already finished, a good steam blocking will often flatten them out permanently.
Can I use acrylic yarn for these?
You can, but it is not recommended for heavy usage. Acrylic is plastic-based and doesn’t absorb spills or condensation the way cotton does, so your mug might end up sliding around or the coaster might stay wet longer.
How do I make them larger?
To increase the size of the circle, simply continue the increase pattern of Round 3. For example, if you wanted a larger placemat, you would follow the sequence: 1 sc, 1 sc, 2 sc in the next stitch for the next round, and so on.
Is it necessary to weave in the ends?
Yes! Since coasters endure moisture and friction, a simple knot will eventually come loose. Weaving the ends back and forth through the stitches in multiple directions is the only way to ensure your hard work stays put.
How many coasters should I make for a gift?
A set of four is the standard “gift size.” However, a set of six is even better if the recipient likes to entertain guests. Add a little ribbon around the stack, and you have the perfect handmade housewarming present.
Conclusion
Creating your own homeware is a special way to inject your personality into your living space. There is a quiet, meditative joy in transforming a simple ball of cotton yarn into something useful and beautiful. You now have the skills to not only protect your wooden tables but to do so with style. Remember, every stitch you make is a reflection of your own creativity. Don’t be afraid to experiment with colors, try new textures, and most importantly, enjoy the process. Happy crocheting!