
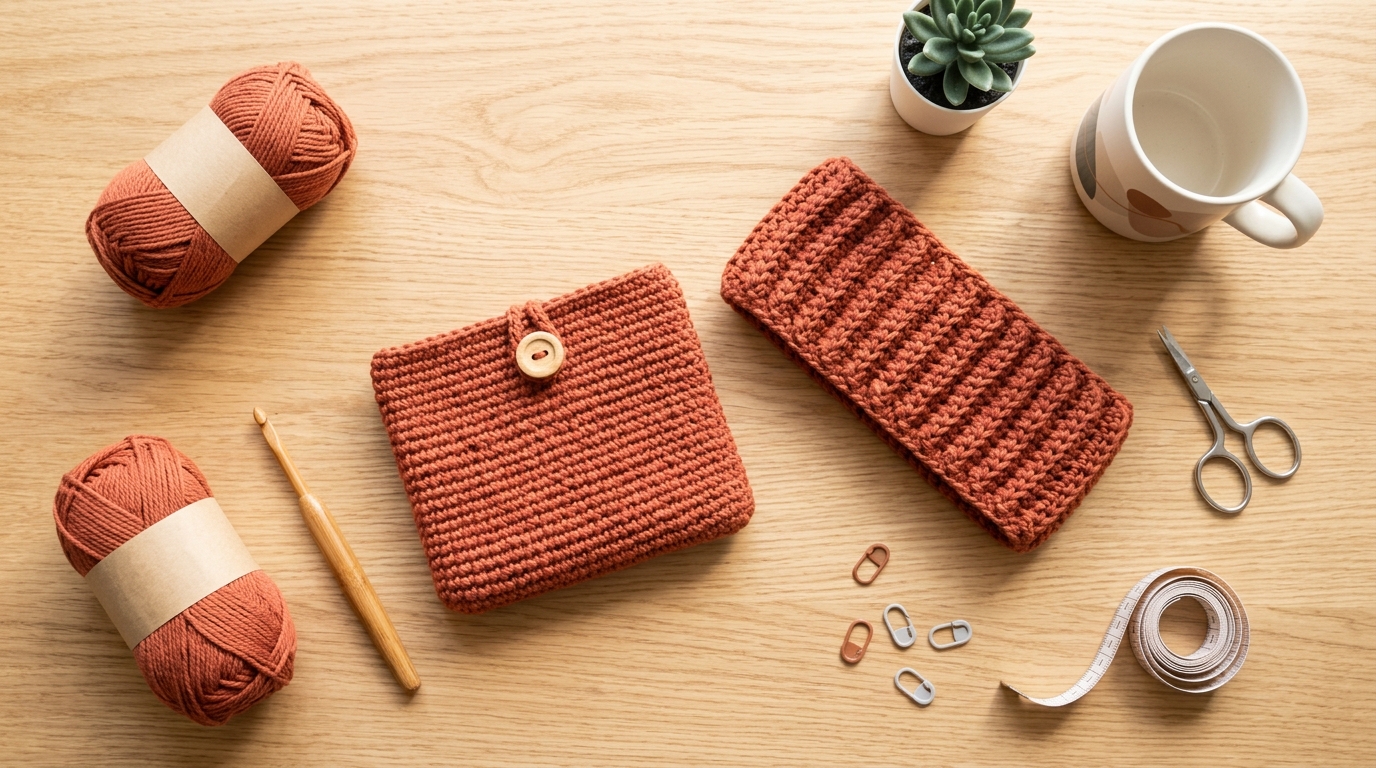
Welcome to the wonderful world of crochet! There is something truly magical about taking a single hook and a ball of yarn and transforming them into a beautiful, tangible piece of comfort. If you have been looking for an inviting, stress-free way to dip your toes into this craft, you have come to the right place. Crochet is not just about making things; it is a meditative act of creation, a way to slow down, and a beautiful skill that stays with you for a lifetime.
Starting a new hobby can sometimes feel overwhelming with all the terminology and patterns floating around, but we are going to keep things simple, modern, and accessible. Whether you want to add a touch of handmade warmth to your home, create cozy accessories for yourself, or whip up thoughtful DIY gifts for friends, the journey begins with just a few basic stitches. This guide is designed to walk you through the foundational concepts and modern design ideas that will help you gain confidence as you explore this lovely fiber art. You are going to do great, and every single stitch you make is another step toward becoming a skilled maker.
Quick Overview
This guide is designed for the absolute beginner who feels a spark of curiosity but isn’t quite sure where to begin. You will learn the essential tools needed for your first projects, how to understand the “language” of crochet, and how to identify beginner-friendly modern aesthetics that look professional without requiring years of practice. We will focus on the “Big Three” of beginner success: technique, yarn choice, and project selection. This guide is for the creative woman who values quality, beauty, and the satisfaction of building something beautiful with her own hands.
Essential Tools to Get Started
You do not need a massive collection of supplies to start your crochet journey. In fact, starting small is much better for building your confidence.
To begin, you will need:
- A Crochet Hook: A size H/8 (5.0 mm) is the “gold standard” for beginners. It is large enough to be easy to hold but small enough to work with standard worsted-weight yarn.
- Yarn: Opt for a light or medium shade of light-colored acrylic or cotton-blend yarn. Avoid dark colors like black or navy, as they make it very difficult to see your stitches. Look for “worsted weight” (category 4) on the label; it is the most forgiving for practice.
- Stitch Markers: These little plastic clips are lifesavers. They help you keep track of the start of your rows and prevent you from accidentally skipping stitches.
- A Yarn Needle: A large-eye, blunt-tipped needle is essential for weaving in your ends safely and neatly.
- Sharp Scissors: Any pair will do, but keep them exclusively for your yarn to ensure they stay sharp.
Understanding Crochet Terms and Stitches
Before you dive into a project, it is helpful to familiarize yourself with the vocabulary. You will see these terms in almost every pattern you encounter.
- Foundation Chain: The starting row of loops that forms the base of your project.
- Single Crochet (sc): The most essential stitch. It is short, dense, and perfect for sturdy items like bags or dishcloths.
- Half Double Crochet (hdc): A slightly taller stitch that is incredibly versatile and works up faster than a single crochet.
- Double Crochet (dc): A tall, airy stitch that is a staple for making garments and blankets.
- Slip Stitch (sl st): Used for joining rounds or moving your yarn across a row without adding height.
- Gauge: This is the measurement of stitches-per-inch. While it sounds intimidating, it simply means checking that your project matches the intended size.
- Fasten Off: The act of cutting the yarn and pulling the tail through the final loop to secure your work.
Helpful Notes Before You Start
Crochet is meant to be enjoyable, not a test of perfection. One of the biggest hurdles for beginners is tension. When you first start, you might find your hands cramping or your stitches looking uneven. This is completely normal! Your muscles are learning a new motor skill that takes thousands of repetitions to master. Relax your shoulders, don’t grip the hook too tightly, and remember: if a piece of crochet doesn’t look right, you can always pull it out (we call this “frogging”) and start that section again. It is not failing; it is learning.
Another tip is to practice your “tension” on a simple swatch of flat stitches before trying to shape anything complex. Aim to keep your yarn flowing steadily through your fingers. Consistency—even if it isn’t perfect—is the secret to making your finished projects look professional.
Modern Design Ideas for Beginners
When choosing your first few projects, look for designs that feature rectangular or square shapes. These avoid the need for complex shaping, sewing, or intricate stitch patterns.
The Chic Scarf
A long, simple rectangle using only double crochet stitches is the ultimate beginner project. Because scarves are forgiving in terms of size, you don’t have to worry about the “fit” of the garment. You can make it as short or as long as you like. To keep it modern, choose a high-quality wool or cotton blend in a solid, muted earth tone.
The Texture-Rich Dishcloth
If you want to practice your stitches without committing to a large project, try a set of farmhouse-style dishcloths. Use a 100% cotton yarn (which is absorbent and durable). Try alternating rows of single crochet to create a dense, functional fabric. It is a productive way to see your progress in a short amount of time.
The Minimalist Market Bag
Once you’ve mastered the basic stitches, a simple bag is your next best friend. Many modern market bags are constructed as one long rectangle that is folded and joined at the sides. This is an excellent introduction to construction techniques without the stress of working in the round.
How to Successfully Navigate Your First Project
Learning to crochet is a process of building blocks. Here is how to approach any pattern you find:
- Read the Pattern Through: Read through the entire set of instructions before you even pick up your hook. This helps you understand where the project is going and identifies any parts that might look tricky.
- Work the First Few Rows Slowly: Don’t rush. Watch your stitches. Are they all the same height? Are you accidentally adding an extra stitch at the end? Using a stitch marker at the first and last stitch of every row will keep your edges straight.
- Weave as You Go: Some prefer to wait until the end, but weaving in your yarn tails as you progress (or every few inches) prevents a mountain of work at the finish line.
- Embrace the “Handmade” Look: Your stitches will have a “hand” or character that a machine-made item lacks. That slight irregularity is the mark of your unique creator’s touch.
Common Mistakes to Avoid
Even the most experienced crocheters were once beginners who wrestled with their hook. Avoid these common pitfalls to make your journey smoother.
- The “Twisted” Chain: When you join your foundation chain in a circle, it is very common for it to twist. Always lay your chain flat on a table and straighten it before joining your first stitch.
- Tight Tension: If you find it nearly impossible to insert your hook into a stitch, your tension is likely too tight. Try to consciously relax your working hand and pull the loop on your hook up just a tiny bit higher than you think you need to before completing the next stitch.
- Counting Errors: The most common mistake is skipping the last stitch in a row. It is easy to miss the “turning chain” as a valid stitch spot. Always count your stitches at the end of every row to ensure they match your starting number.
- Ignoring the Label: Every ball of yarn comes with a label (the “ball band”) that tells you the recommended hook size. As a beginner, stick to these recommendations until you have enough experience to know how different hook sizes change your fabric.
Pro Tips for a Polished Professional Finish
If you want your projects to look like they came from a high-end boutique, attention to the finish is key.
Blocking is Essential: After you finish a project, soak it in cool water with a tiny drop of delicate soap, gently squeeze out the moisture, and lay it flat on a towel into the shape you want. Let it air dry completely. This process, known as “blocking,” evens out your stitches and makes your final piece look crisp, clean, and intentional.
The “Clean Join”: When you need to attach a new ball of yarn, don’t just tie a knot. Look up a “Russian Join” or a “Magic Knot” technique. These methods allow you to join the yarn within the fabric itself, creating a smooth transition that won’t come undone or leave unsightly bumps.
Color Palette: If you are nervous about your stitches, choose lighter, more neutral colors. As your confidence grows, you can start incorporating bold, variegated, or dark yarns. Sticking to a consistent color palette—like creams, soft greys, or muted sage—will immediately make even a simple scarf or bag look sophisticated and trendy.
Variations and Personalization
Once you learn one stitch, the possibilities for personalization are endless. You can transform a simple scarf into a modern cowl by joining the ends, or add a classic wooden button to a folded bag to turn it into an envelope-style clutch.
If you are making a gift, personalization adds so much value. Consider adding a small leather tag with your initials, or using a metallic yarn for a simple border to give it a festive, modern look. The beauty of crochet is that it is infinitely customizable—you are the architect of your own project.
Care and Storage of Your Creations
To keep your handmade items looking their best, always treat them with care.
For most cotton projects, a gentle machine wash on a delicate cycle in a mesh laundry bag works beautifully, followed by laying them flat to dry. Avoid hanging heavy wet items, as this can cause them to stretch out of shape. For wool or other delicate fibers, hand-washing is always the best way to ensure longevity.
Store your finished projects in a cool, dry place. If you are storing them for off-season, try to use acid-free tissue paper and avoid plastic bags, which can trap moisture and cause mildew. Giving your project a little “breathing room” in your closet will keep it fresh for years to come.
FAQ
Is crochet difficult to learn for someone with no experience?
Not at all. While the first few hours might feel like your hands are trying to do something strange, it is actually quite intuitive once the muscle memory sets in. Most people find that after three or four days of short practice sessions, the movements become quite rhythmic and relaxing.
How do I know if my tension is too tight?
If your hook feels like it is “fighting” to get into the stitches, or if your fabric feels very stiff and hard rather than soft, your tension is likely too tight. Try using one size larger crochet hook than the yarn label recommends to give yourself a bit more space while you learn.
Why do my edges look wavy or uneven?
This usually happens when you are accidentally adding or losing stitches at the end of your rows. Counting your stitches after every row is the best way to keep your edges perfectly straight. Remember that the “turning chain” (the stitches you make to start a new row) sometimes counts as a stitch and sometimes does not; read your pattern carefully to see what it requires.
Which is better for beginners: crochet or knitting?
Crochet is often considered more beginner-friendly because you only ever have one live loop on your hook at a time. If you drop a stitch in crochet, it is much easier to fix than in knitting, where a dropped stitch can cause your whole row to unravel.
What should I do if my yarn keeps tangling while I work?
This is a rite of passage! To prevent it, pull your yarn from the center of the ball (the “center pull” method) rather than from the outside. This keeps the ball from rolling around your floor or couch while you are working.
Next Steps for Your Journey
Congratulations—you are now officially part of a creative community that spans the globe. The most important advice for a beginner is simply to keep going. Do not aim for the perfect project right away; aim for the finished project. Each item you make—even if it is just a small square practice piece—is evidence of your growing skill.
Take your time, enjoy the feel of the yarn, and don’t be afraid to experiment. Once you have mastered your first scarf, consider looking for local crochet meetups, joining online crafting forums, or trying a slightly more complex stitch like the “moss stitch” or “granny square.” Your path is your own, and every loop you pull through is a victory. Happy crocheting!