
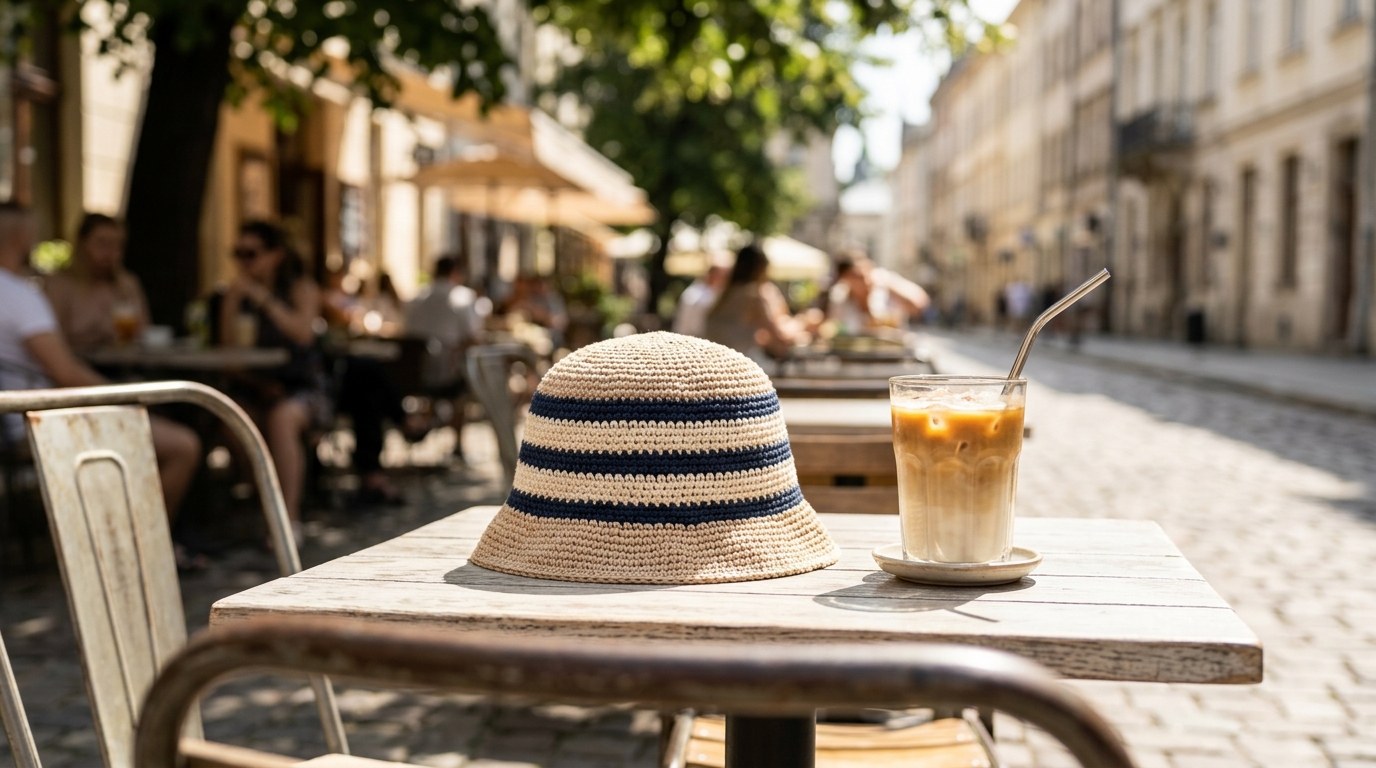
There is something undeniably magical about wearing a handmade accessory that you crafted with your own two hands. As the sun begins to shine brighter and the days grow longer, the crochet bucket hat has emerged as the quintessential summer staple. It is trendy, functional, and surprisingly simple to construct, even for those who are just beginning their crochet journey. Whether you are planning a trip to the beach, heading to a weekend farmers’ market, or simply enjoying a walk in the park, a custom-made bucket hat is the perfect way to shield your eyes from the sun while showcasing your unique sense of style.
In this guide, we will walk through the process of creating your very own classic crochet bucket hat. I have designed this pattern to be as straightforward as possible, using essential stitches that you likely already know or can master in an afternoon. We will focus on creating a comfortable, structured fit that keeps its shape while remaining soft enough to fold away into your beach bag. If you have been intimidated by garment making in the past, consider this your gentle invitation to dive in—you are going to be so proud of what you create.
Quick Overview
This project is perfectly suited for beginners who are comfortable with the basic crochet stitches. It is a quick project, usually taking between three to five hours depending on your speed. The finished hat is designed to fit an average adult head size (approximately 21 to 23 inches in circumference). You will love this project because it is highly customizable; you can play with stripes, solids, or different yarn textures to match your wardrobe. It is the ultimate everyday accessory, providing a bit of shade and a whole lot of personality.
Materials and Tools Needed
To get started, you will want to gather a few simple supplies. For a summer bucket hat, I highly recommend using a cotton or cotton-blend yarn. Cotton has a wonderful stitch definition and, most importantly, it does not stretch out as much as acrylic yarn when exposed to humidity or sweat.
- Yarn: Approximately 200–250 yards of medium weight (Category 4) cotton yarn.
- Crochet Hook: A US Size H/8 (5.0 mm) hook. This size generally creates a nice, dense fabric that helps the hat maintain its structure.
- Stitch Marker: Essential for keeping track of the start of your rounds, as we will be working in a continuous spiral in some sections.
- Tapestry Needle: For weaving in your ends securely.
- Scissors: Any sharp pair will do.
- Optional: A flexible measuring tape to check your work against your head size as you go.
Crochet Terms and Key Concepts
Before we jump into the rows, let’s briefly review the terminology used here. We will be working in United States crochet terms throughout this tutorial.
- Chain (ch): The foundation of your work.
- Single Crochet (sc): The workhorse stitch that creates a tight, durable fabric perfect for a hat.
- Double Crochet (dc): Used here to create a slightly more relaxed section if you prefer, though this pattern relies heavily on single crochet for that classic structured look.
- Slip Stitch (sl st): Used to join rounds or fasten off smoothly.
- Increase (inc): Worked by placing two single crochet stitches into the same stitch to expand the circle.
- Stitch Marker: Place this in the first stitch of every round so you don’t lose your place.
- Working in the Round: This means you are crocheting in a continuous spiral rather than joining and turning, which eliminates unsightly seams.
Helpful Notes Before You Start
Tension is your best friend when it comes to accessories. If your stitches are too loose, the hat will stretch out and lose its “bucket” shape. If you find your stitches are naturally quite loose, consider going down one hook size.
Remember that this pattern is worked from the top down. We start with a flat circle, which forms the crown of the hat, and then we work the sides and the brim. You can easily adjust the size by increasing the diameter of your starting circle—if you have a slightly larger head, just add one or two more increase rounds. Always measure as you go!
Main Tutorial: The Classic Summer Bucket Hat
Part 1: The Crown
The crown is the flat circle at the very top of your head. We want this to be flat and sturdy.
- Round 1: Make a magic ring. Chain 1 (does not count as a stitch), then work 8 single crochet into the ring. Tighten the ring. (8 stitches)
- Round 2: Work 2 single crochet in each stitch around. (16 stitches)
- Round 3: 1 single crochet in the first stitch, 2 single crochet in the next. Repeat from to around. (24 stitches)
- Round 4: 1 single crochet in each of the next 2 stitches, 2 single crochet in the next. Repeat from to around. (32 stitches)
- Round 5: 1 single crochet in each of the next 3 stitches, 2 single crochet in the next. Repeat from to around. (40 stitches)
- Round 6: 1 single crochet in each of the next 4 stitches, 2 single crochet in the next. Repeat from to around. (48 stitches)
- Round 7: 1 single crochet in each of the next 5 stitches, 2 single crochet in the next. Repeat from to around. (56 stitches)
- Round 8: 1 single crochet in each of the next 6 stitches, 2 single crochet in the next. Repeat from to around. (64 stitches)
Note: For an average adult head, 64 stitches is usually the “sweet spot” for the crown diameter.
Part 2: The Sides
Now that we have the flat top, we need to create the depth of the hat so it sits properly on your head.
- Rounds 9 through 20 (or until your desired depth): Work 1 single crochet in each stitch around. Do not increase. You will see the fabric naturally begin to curl downward, forming the “bucket” shape. Keep working until the hat reaches your eyebrows or your desired depth.
Part 3: The Brim
The brim is where the hat gets its style. To get that signature flare, we need to increase consistently.
- Round 21: 1 single crochet in each of the next 7 stitches, 2 single crochet in the next. Repeat from to around. (72 stitches)
- Round 22: Work 1 single crochet in every stitch around.
- Round 23: 1 single crochet in each of the next 8 stitches, 2 single crochet in the next. Repeat from to around. (80 stitches)
- Round 24: Work 1 single crochet in every stitch around.
- Round 25: 1 single crochet in each of the next 9 stitches, 2 single crochet in the next. Repeat from to around. (88 stitches)
Assembly and Finishing
Once you have reached your desired brim width, do not simply fasten off. To create a crisp edge, work one final round of slip stitches loosely into every stitch. This adds weight to the brim, helping it stay down and not curl up. Fasten off and use your tapestry needle to weave in the tail into the inside of the hat so it is completely invisible.
Step-by-Step Explanation
When you are working the crown, it may look small at first, but trust the process! The “magic” happens once you reach the side rounds. If you hold the piece up, you will see it transform from a flat disk into a bowl shape. If at any point the hat feels like it is “ruffling” (wavy edges), you have increased too quickly. If it is pulling tight like a bowl, you haven’t increased enough. Using a stitch marker at the beginning of each round ensures you stay on track, which is the secret to a professional-looking finish.
Common Mistakes to Avoid
The most common trap for beginners is ignoring gauge. If you find your hat is coming out too small, it is usually because you are crocheting with a very tight tension. Similarly, if you start your magic ring too loosely, you will end up with a hole at the very center of your crown. Take extra care to pull that center tail tight!
Another frequent mistake is “losing” a stitch during the side rounds. Because we aren’t joining rows, it is very easy to accidentally skip a stitch or place an extra one. Since you have a specific stitch count for the side rounds, take five seconds at the end of each round to quickly count your stitches. It sounds tedious, but it prevents the “spiral drift” that can make hats look crooked.
Pro Tips for a Better Result
If you want your hat to have extra structure—almost like it was bought at a boutique—try using a slightly smaller hook than what your yarn label calls for. A dense fabric is much better for a hat than a loose, lacy one.
For the brim, if you want a lot of drama, you can add a piece of thin craft wire or even a strand of stiff fishing line into your final round of stitches. As you crochet your last round, simply “crochet over” the wire, keeping it hidden inside your stitches. This allows you to mold the brim into any shape you like.
Variations and Personalization
The beauty of this project is that it serves as a blank canvas. If you are feeling creative, try color blocking! You can switch colors at the start of the brim to create a two-toned look, or add simple stripes throughout the side section. If you want a more “cottage-core” or feminine vibe, consider using a variegated yarn in pastel colors. For a more sophisticated look, a solid, rich navy blue or sage green cotton yarn looks absolutely stunning. You can even sew on a small charm or a ribbon around the base of the crown to elevate the style for a specific outfit.
Care and Next Steps
Because this hat is likely made of cotton, it is quite durable. If it gets dirty, you can hand wash it in cool water with a gentle detergent. Do not put it in the washing machine, as the agitation can cause the hat to lose its shape. After washing, gently squeeze out the water (do not wring it!) and lay it perfectly flat on a towel in the shade to dry. To help it keep its shape while drying, you can place a small bowl or a melon inside the crown to act as a hat form.
Now that you have mastered the bucket hat, you are ready to tackle other structured projects. If you enjoyed this, I highly recommend trying a matching crochet tote bag next—it uses the same principles of working in rounds and reinforces your ability to control fabric density.
FAQ
How do I stop my hat from ruffling?
Ruffling occurs when there are too many stitches in a round. If you notice the edge of your circle starting to look wavy, you have likely increased too much. Try going back to the previous round and skipping one or two increase stitches until the circle lays flat again.
Can I make this hat for a child?
Absolutely! To make a child’s version, simply stop increasing once your crown reaches about 5.5 to 6 inches in diameter, then proceed to the side rounds as written in the pattern.
Why is my hat leaning into a spiral?
Working in a continuous spiral naturally causes the stitches to lean slightly. This is normal in crochet! If the “lean” is very noticeable, you can switch to joining your rounds with a slip stitch and chaining one at the start of each new round.
Is cotton the best yarn choice?
Yes, especially for summer accessories. Wool can be too warm, and acrylic may lack the structural firmness required for a hat brim. Cotton is sturdy, breathable, and holds its shape exceptionally well over time.
How do I measure my head for the perfect fit?
Use a soft tape measure, placing it about an inch above your eyebrows and just above your ears. The measurement in inches is your “head circumference.” Your flat crown circle should be roughly 1/3 of that circumference.
Conclusion
I hope this tutorial has empowered you to pick up your hook and yarn with confidence. There is nothing quite as satisfying as stepping out into the sunshine knowing your beautiful, stylish bucket hat was created entirely by your own hands. Remember, crochet is a practice—if your first hat isn’t perfect, it is simply a record of your learning journey. Each stitch you finish makes you a better creator. I would love to hear how your hat turned out! Be sure to take your time, keep your tension consistent, and most importantly, enjoy the relaxing, meditative rhythm of the stitches. Happy crocheting!