
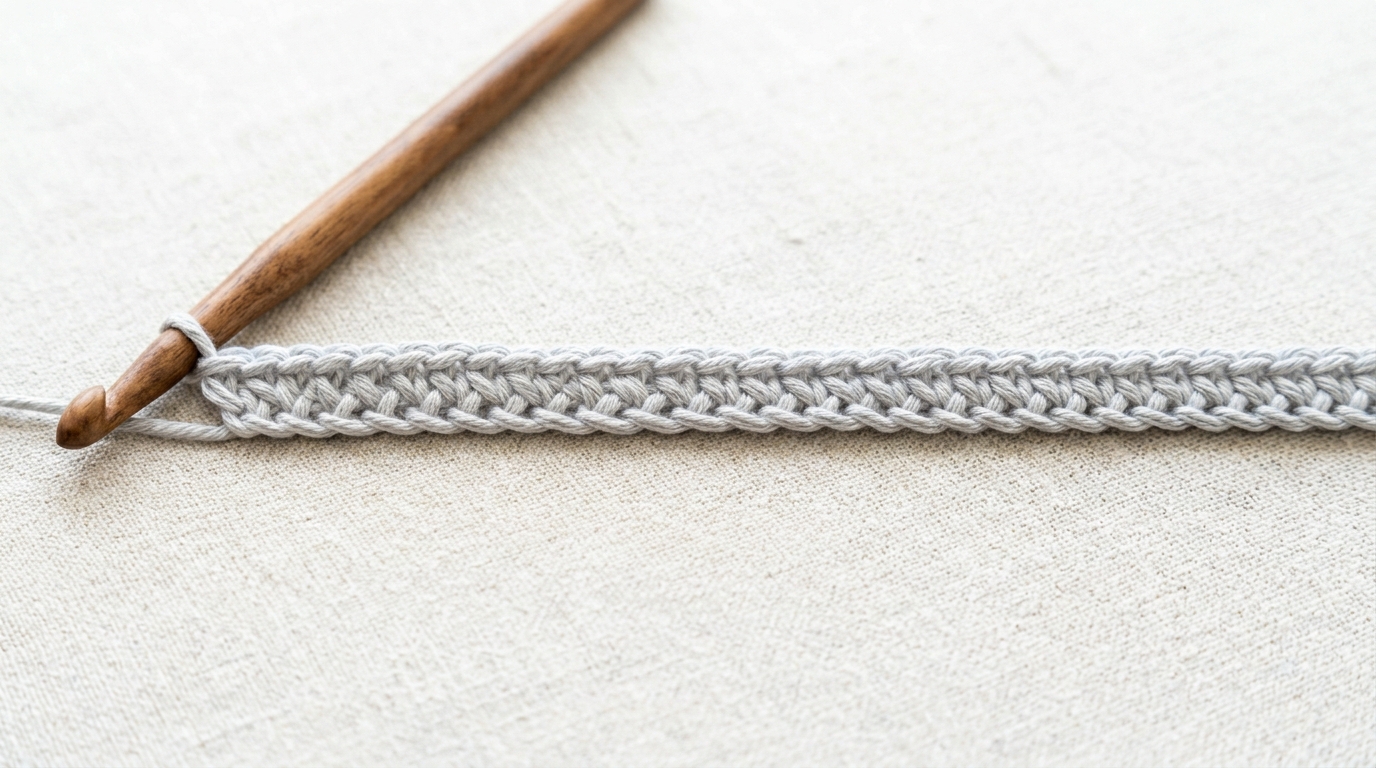
The Beautiful Beginning: Mastering the Slip Knot and Foundation Chain
Welcome to the wonderful world of crochet! There is something deeply meditative and incredibly rewarding about watching a simple strand of yarn transform into something beautiful, cozy, and entirely made by your own hands. Whether you have been dreaming of creating a chunky blanket, a delicate baby sweater, or just want to learn a new, relaxing hobby, you have come to the right place.
Everything you make with a crochet hook—from the simplest dishcloth to the most intricate heirloom shawl—starts in exactly the same way: with a slip knot and a chain. These two foundational skills are the gatekeepers to your creativity. They might seem humble, but mastering them is the single most important step you will take on your journey. When you learn to control your yarn and hook with confidence at the very beginning, your entire project becomes smoother, more enjoyable, and significantly more professional. Let’s take a deep breath, settle into a comfortable chair, and learn how to start your crochet adventure.
Quick Overview: What You Will Learn
This guide is designed for absolute beginners who are picking up a crochet hook for the first time, as well as intermediate crocheters who want to polish their technique to achieve more consistent results.
In this article, you will learn:
- How to create a secure, sliding slip knot that acts as your anchor.
- The mechanics of creating a foundation chain, which forms the building block for almost every crochet project.
- How to hold your yarn and hook to promote comfort and reduce strain.
- Important tips for maintaining consistent tension, which is the secret to beautiful, even stitches.
- How to troubleshoot common mistakes that happen during the setup process.
Learning these basics is about building muscle memory. Don’t worry if your first few attempts feel a bit awkward; even the most expert designers once fumbled with their hook and yarn. Practice is part of the process, and every loop you create is progress.
Materials Needed to Start
One of the greatest joys of crochet is how few materials you actually need to get started. You don’t need an entire shelf of supplies; just a few basic items will suffice.
- A Crochet Hook: For beginners, I recommend a medium-sized hook, specifically a size H/8 (5.0 mm). This size is “goldilocks” territory—it’s not too small to be fiddly, and not so large that it feels unwieldy. Aluminum or ergonomic soft-grip hooks are excellent for beginners because they allow the yarn to glide easily.
- Yarn: Choose a light-colored, worsted weight (category 4) yarn. A smooth acrylic, wool, or cotton blend is perfect. Please avoid dark colors (like black or navy) and textured or “fuzzy” novelty yarns for your first few practice rounds. Light colors make it much easier to see your stitches and understand how they are formed.
- A Comfortable Space: Good lighting is your best friend. Choose a well-lit area so you can clearly see the “V” shapes of your stitches.
Key Crochet Concepts for Beginners
Before your hook hits the yarn, it’s helpful to understand a few basic terms. Crochet is essentially the art of pulling loops of yarn through other loops. Every stitch you learn will be a variation of this simple action.
- The Slip Knot: This is the initial loop that sits on your hook. It is adjustable, meaning it can be loosened or tightened, but it acts as the starting point for every project that begins with a chain.
- The Foundation Chain (abbreviated as “ch”): This is a series of loops pulled through one another. It looks like a little braid. Most patterns start by asking you to “chain X number of stitches.”
- Tension: This is the most important concept in crochet. It refers to how tightly or loosely you hold your yarn. If you hold it too tightly, your work will be stiff and hard to work into; if you hold it too loosely, your stitches will be oversized and floppy. The “perfect” tension is consistent, meaning every loop you pull up is roughly the same size as the last.
- The Working Yarn: This is the yarn that comes directly from your skein or ball. Keep this yarn flowing smoothly through your fingers.
Helpful Notes Before You Start
- The “Hook Hold”: There is no single “right” way to hold a hook. Some prefer the “pencil hold,” where you hold the hook like you are writing with a pen. Others prefer the “knife hold,” gripping it with your palm over the top of the handle. Try both for a few minutes and choose the one that feels most natural for your hand.
- Relax Your Shoulders: Sometimes, when we focus hard, we hold our breath or tense our shoulders. Remind yourself to drop your shoulders and breathe. A relaxed hand makes for a much better stitch.
- Don’t Aim for Perfection: Your first chain might look uneven, and that is perfectly okay. The goal of this practice session is not to make a masterpiece; it is to understand the motion. You can always unravel (or “frog”) your yarn and try again.
How to Make a Slip Knot
The slip knot is the anchor that keeps your yarn from unraveling before you even begin your stitches. Here is how to create one easily:
- The Loop: Lay your yarn on the table or hold it in your hands. Make a loop by crossing the working yarn (the end connected to the ball) over the tail end. The working yarn should be on top.
- The Reach: Reach through the center of that loop with your crochet hook.
- The Grasp: Hook the working yarn and pull it through the center of the loop.
- The Cinch: Gently pull on both the tail end and the working yarn to tighten the knot around your hook.
- The Adjust: Slide the knot until it is snug against your hook, but not so tight that it doesn’t move. You want to be able to slide the hook back and forth through the loop with just a tiny bit of friction.
How to Make a Foundation Chain
Once you have your slip knot securely on your hook, you are ready to start chaining. Think of this as knitting a braid with your hook.
- The Setup: Hold the hook in your dominant hand. With your other hand, hold the tail of the slip knot to stabilize it.
- Yarn Over (YO): Bring the working yarn over the top of your hook from back to front. This is often abbreviated in patterns as “YO.”
- The Pull Through: Use the throat (the hooked part) of your crochet hook to catch that strand of yarn and pull it through the loop already on your hook.
- The Result: You have just made one chain stitch! You should have a new loop on your hook.
- Repeat: Continue to “Yarn Over” and “pull through” to add more chains. As you go, keep your fingers near the hook to control the tension. Move your holding fingers up the chain as your work grows longer to keep everything steady.
Step-by-Step Explanation of the Motion
If you feel like your hands are getting tangled, slow the process down into what I call the “Three D’s”: Drop, Draw, and Drive.
- Drop (or Wrap): Bring the yarn over the hook. This is the “Yarn Over” movement.
- Draw: Draw the hook down slightly so the yarn settles into the mouth/throat of the hook. This prevents the yarn from falling off.
- Drive: Drive the hook, with the yarn securely in its throat, through the loop sitting on the hook.
Watch the loop that is currently on your hook. Does it stay the same size as you pull the new loop through? If your loop is getting bigger or smaller, try to keep your hook steady and use your index finger on your non-dominant hand to act as a guide, lightly pressing against the loop to keep it from stretching out too much.
Common Mistakes to Avoid
- The “Death Grip”: This is the most common beginner mistake. If you hold the yarn so tightly that your hook won’t slide easily, you will get tired quickly and your fabric will be very stiff. Aim for a “firm but gentle” hold.
- Twisted Chains: When you start adding a row of stitches into your chain, it is easy to let the chain twist. Lay your chain flat on a table every few inches to ensure the “V” shapes are all facing the same way.
- Mixing up U.S. and U.K. Terms: When reading patterns, always check if they are written in U.S. or U.K. terminology. While the basics like a slip knot are the same, other stitches have different names. This article uses standard U.S. terms.
- Inconsistent Tension: Some of your chains look huge and others look tiny. This is completely normal! As you practice, your brain and hands will learn how much pressure to apply. Don’t compare your first attempt to the work of someone who has crocheted for years.
Pro Tips for a Better Result
- The Blocking Method: If your foundation chain looks a little wonky after you finish the first row of stitches, don’t panic. Many uneven edges are straightened out during the “blocking” process, which is simply using moisture and heat to set your finished fabric into its final shape.
- Use Stitch Markers: If you are chaining a long length for a blanket, place a stitch marker every 20 chains. This saves you from having to recount the entire length if you get distracted.
- Practice “Frogging”: Making a mistake and unraveling your work (pulling the hook out and tugging the yarn) is a skill in itself. We call this “frogging” because you “rip-it, rip-it.” Don’t be afraid to pull it out and start over. It is the best way to learn how the structure of the stitch works.
- The “Index Finger” Trick: Experiment with how you hold the yarn in your non-dominant hand. Some people find that draping the yarn over their index finger gives them the best control, while others prefer weaving the yarn between their fingers for more friction. Find which one keeps your tension most consistent.
Variations and Personalization Ideas
While a chain is just a chain, you can vary the “feel” of your project by changing your hook size.
- For a Drapier Fabric: Use a hook that is one or two sizes larger than what the yarn label recommends. This makes for a loose, airy chain.
- For a Structured Fabric: Use the size recommended on the yarn label.
- Working into the Back Bump: Once you are ready to start stitching into your chain, try turning the chain over and working into the little “bumps” on the back. This is an intermediate technique that creates a much cleaner, more professional-looking edge that mimics the look of a knitted cast-on. It is a wonderful way to elevate your projects from “handmade” to “what, this? I made it!”
Next Steps for Your Crochet Journey
Now that you have mastered the slip knot and the foundation chain, you are officially a crocheter! Where should you go from here?
- The Single Crochet: Practice working rows of single crochet into your chain. It’s the most basic stitch, but it’s sturdy and beautiful.
- The “One Square” Challenge: Try to crochet a simple 6-inch square using only single crochet. This is the perfect way to practice turning your work at the end of every row.
- Explore Tutorials: Once you feel confident with the chain and the single crochet, look for tutorials on “turning chains” and “heightening your stitches” to move into half-double and double crochet.
- Build a “Swatch Library”: Save your practice squares! Over time, they will show you how much your tension has improved, and they can eventually be sewn together to make a whimsical, colorful “memory blanket.”
FAQ
Why does my slip knot keep coming undone while I chain?
Usually, this happens because the knot was not pulled tight enough, or the tail end is too short. Make sure you leave at least 4 to 6 inches of yarn when you make your initial loop, and give both ends a firm tug before you begin.
How do I stop my chain from being too tight?
If your chain is so tight you can’t insert your hook into the stitches on the second row, try using a hook that is one size larger just for the foundation chain. Then, switch to your “main” hook for the rest of the project.
Does the slip knot count as the first stitch?
Generally, no. In most patterns, the slip knot is simply the anchor and is not counted as a stitch. Your first “real” stitch is usually worked into the second or third chain from the hook, depending on the pattern instructions.
Should I count every single chain?
Yes, especially if you are working a specific pattern! Counting as you go prevents the frustration of reaching the end of the row and realizing you have the wrong number of stitches.
What if I drop a stitch?
Don’t panic! Simply pull your hook out, gently pull on your working yarn until you reach the stitch you missed, and put your hook back into the loop. It is just like catching a dropped stitch in knitting—easy to rescue if you stay calm.
Conclusion
You have taken the first, most important steps in a creative journey that can last a lifetime. Crochet is more than just a technique; it is a way to slow down, practice mindfulness, and create something tangible and warm in a busy world. Whether you go on to make heirloom-quality blankets or simple accessories, your hands now possess a skill that allows you to translate ideas into reality.
Keep your yarn and hook handy, celebrate the small victories, and remember that every expert was once a beginner clutching their yarn a little too tightly. You are doing great. Happy stitching!