
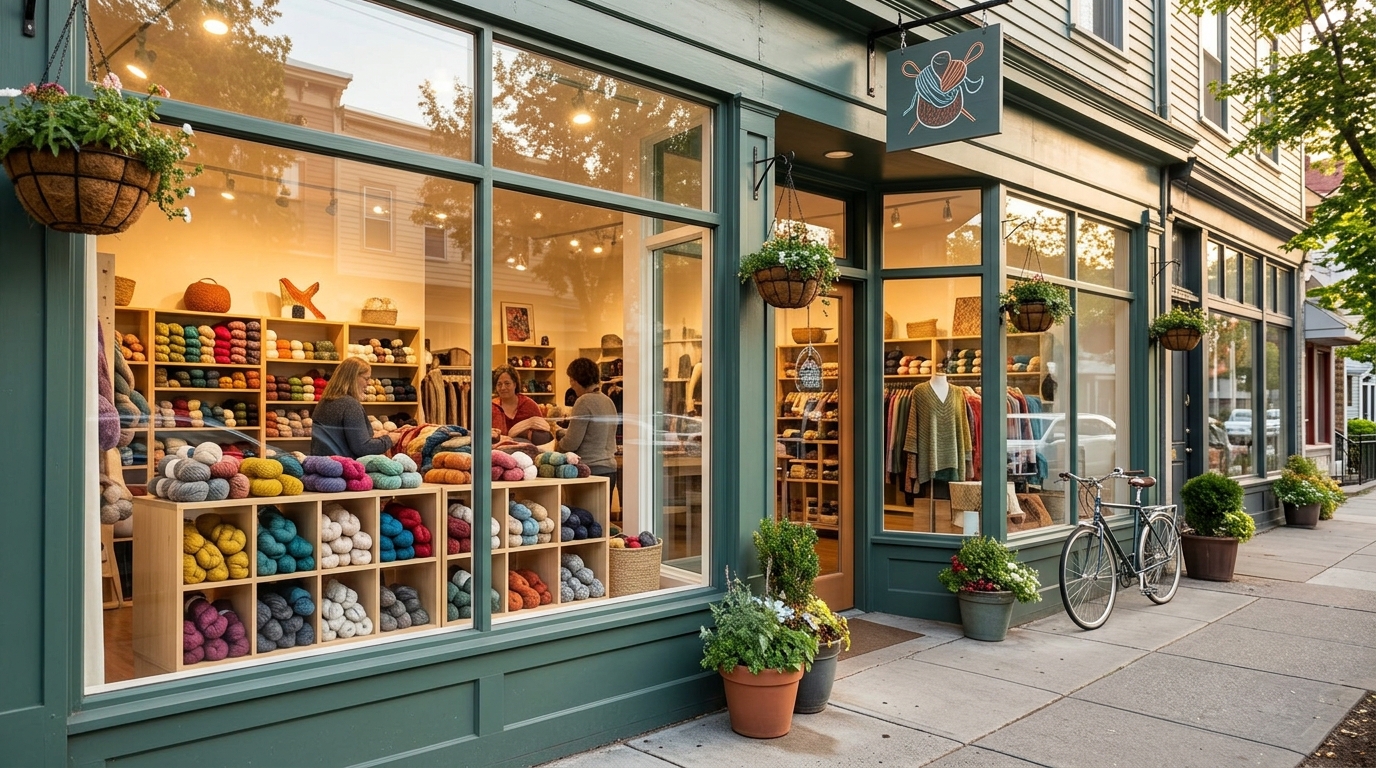
There is a special kind of magic that happens the moment you pick up a crochet hook. Whether you are seeking a quiet meditative escape after a long day, or you are looking to create a thoughtful, handmade gift for someone special, the world of crochet offers a sanctuary of creativity. Learning to crochet is more than just mastering stitches; it is a gateway to a lifelong hobby that turns simple strands of yarn into cozy blankets, stylish accessories, and heirloom-quality treasures. If you have been wondering where to start your journey, you have come to the right place.
In this guide, we aren’t just going to discuss the resources available to help you learn; we are going to dive straight into a practical, beautiful project that will build your confidence from the very first stitch. We will explore the best ways to find local yarn shops, curate your supplies, and master the foundational techniques needed to complete a classic, beginner-friendly project. Whether you are a total novice or a returner looking to brush up on your skills, this tutorial is designed to feel like a friendly, encouraging companion by your side. Let’s pick up our hooks and create something truly lovely together.
Quick Project Overview
For this tutorial, we are creating the “Evergreen Cozy Pocket Shawl.” This project is perfect for beginners because it relies on simple, repetitive stitches that create a beautiful, textured fabric. It serves as an excellent entry point into garment construction without the intimidation of complicated increases or decreases.
- Skill Level: Beginner-Friendly
- Estimated Time: 10–12 hours of total crafting time
- Finished Size: Customizable, typically 60 inches wide by 20 inches deep
- Best Use: A perfect everyday accessory to drape over your shoulders while reading or enjoying a brisk fall afternoon
- Why You’ll Love It: The pocket shawl is the ultimate comfort project. It’s useful, fashionable, and makes an incredible DIY gift for friends or family members any time of the year.
Materials Needed
Having the right tools is the first step toward a stress-free crafting experience. I recommend selecting a soft, squishy yarn that is easy to see your stitches in.
- Yarn: Approximately 1,000 yards of Category 4 (worsted weight) yarn. Wool blends or high-quality acrylics work best for warmth and durability.
- Crochet Hook: A US size H/8 (5.0 mm) hook. This is the “gold standard” for beginners.
- Tapestry Needle: Essential for weaving in your ends securely.
- Measuring Tape: To keep your dimensions consistent.
- Scissors: Any sharp pair will do.
- Stitch Markers: Extremely helpful for keeping your row counts accurate during the long stretches of the shawl.
Stitches and Abbreviations
Using standard U.S. crochet terminology, here are the stitches you will need to know for this pattern:
- Ch (Chain): Yarn over and pull through the loop on your hook.
- Sc (Single Crochet): Insert hook into the next stitch, yarn over, pull up a loop, yarn over, and pull through both loops on the hook.
- Dc (Double Crochet): Yarn over, insert hook into the stitch, yarn over, pull up a loop, yarn over, pull through two loops, yarn over, and pull through the remaining two loops.
- Sl St (Slip Stitch): Insert hook into the stitch, yarn over, pull through the stitch and the loop on your hook.
- St(s) (Stitch/Stitches): The individual loops that make up your crochet fabric.
Pattern Notes Before You Start
Crochet is all about your personal tension. Tension refers to how tightly or loosely you hold your yarn. If your stitches look tight and pull the fabric inward, try using a slightly larger hook. If they look messy and uneven, try to keep your yarn consistent as it flows through your fingers.
Before starting, it is a great idea to make a small “gauge swatch”—a 4-inch by 4-inch square of patterns. However, for a pocket shawl, exact gauge isn’t mandatory. The beauty of this project is its forgiving, oversized nature. Always place a stitch marker in the first and last stitch of every row to ensure your edges remain straight and aligned.
Full Crochet Pattern
Part 1: The Main Body
This section creates the wide rectangular wrap.
- Row 1: Chain 180 (or your desired width). Dc in the 4th chain from the hook and in every chain across. Turn.
- Row 2: Ch 3 (counts as first dc), dc in each stitch across to the end. Turn.
- Rows 3 through 60: Repeat Row 2 until your rectangle reaches approximately 20 inches in height.
- Fastening Off: Once you have reached your desired length, yarn over and pull through the final loop, leaving a 6-inch tail to weave in later.
Part 2: The Pockets
Now we create the two squares that will hold your treasures.
- Row 1: Chain 30. Dc in the 4th chain from the hook and in each chain across. Turn. (28 stitches).
- Rows 2 through 20: Ch 3, dc in each stitch across. Turn.
- Final Row: Secure your yarn and cut, leaving a long tail of about 15 inches; you will use this to sew the pocket onto the shawl.
Assembly
Lay your main rectangular piece flat on a table. Decide where you want your pockets to sit—usually about 2 inches from the bottom corners. Pin them in place with stitch markers. Using your tapestry needle and the long tail provided, whip stitch the pockets onto the shawl, ensuring you only sew the bottom and the two sides, leaving the top open.
Border
To give your project a polished look, join your yarn at any corner and sc in each stitch around the entire perimeter of the shawl. Work 3 sc into each corner to help the edges lay flat without curling.
Finishing
Weave in all your loose ends along the wrong side of the fabric. I find it very helpful to go in two different directions with the needle to ensure the ends don’t pop out over time.
Step-by-Step Tutorial Explanation
When you begin your shawl, try to sit in a well-lit area. Your first few rows are the most important for establishing a rhythm. Don’t worry if your stitches look a bit uneven at first; that is completely normal! As you progress toward row 20, you will notice your hands naturally finding the correct tension. If you feel like your edges look “wobbly,” remember to count your stitches at the end of each row. Matching the number of dc stitches in each row will keep your rectangular body from accidentally becoming a trapezoid. When assembling the pockets, take your time; sewing them on securely ensures your shawl will last through years of use.
Common Mistakes to Avoid
Even experienced crocheters make mistakes! Here is how to keep your project looking professional:
- The Twisted Foundation Chain: When working your first row into your long starting chain, ensure the chain isn’t twisted before you join it.
- Skipping the Last Stitch: A very common mistake is missing the final stitch in a row because it looks like a turning chain. Always place a stitch marker in that last stitch so you know exactly where to work when you come back.
- Tight Tension: If your crochet is pulling tightly, you are likely gripping your hook too hard. Shake out your hands every 15 minutes to stay relaxed.
- Inconsistent Edges: If your shawl is getting narrower, you are likely dropping stitches at the end of your rows. Count your stitches every 5 rows to ensure you are staying consistent.
Pro Tips for a More Beautiful Result
The secret to a “store-bought” look is all in the finishing. A gentle wash and “blocking” can transform a project. Blocking involves laying your finished, slightly dampened shawl on a flat surface or blocking mat, gently stretching it to the desired dimensions, and pinning it in place until it is completely dry. This simple step evens out your stitches and gives the entire garment a professional, polished drape.
For your color palette, consider the season you are in. Deep, earthy tones like forest green or burnt orange are wonderful for autumn, while soft, muted creams or dusty pinks are timeless for everyday wear.
Variations and Personalization Ideas
The beauty of the pocket shawl is its versatility. If you want to make it an intermediate project, try substituting the double crochet stitches for a “crossed double crochet” or a “shell stitch” to add intricate texture. You can also add a fringe to the bottom for a bohemian flair. If you are gifting this to a younger recipient, consider using a variegated (multi-colored) yarn to make the piece feel youthful and vibrant. For a home decor version, you can adapt the rectangle shape to create a cozy throw blanket for your couch, simply by increasing your starting chain.
Care Instructions
To keep your handmade items looking their best, always check the label on your yarn. Generally, most acrylic and wool blends should be hand-washed in cool water with a gentle detergent. Avoid wringing the piece out, as this can stretch the fibers; instead, lay it flat on a fresh towel and roll it up like a burrito to remove excess moisture. Then, unroll and lay it flat to air dry. Avoid hanging your shawl on a hanger, as the weight of the yarn can distort the shape over time.
FAQ
Where can I find local yarn shops in my area?
A quick search for “local yarn store near me” or “independent craft shop” in your city’s online directory is the best place to start. Many local yarn shops hold weekly “sit and stitch” nights where you can meet fellow crafters and get hands-on help from experts.
What are the best video resources for beginners?
The best video resources are those that offer a clear, top-down view of the hands. Large platform search results for “slow motion basic crochet stitches” will bring up thousands of high-quality tutorials. Look for creators who demonstrate the “yarn over” technique clearly without rushing the steps.
How do I know if I am holding my hook correctly?
There is no single “correct” way to hold a hook! Most crocheters use either the “pencil grip” (holding the hook like you would a pen) or the “knife grip” (holding it like a dinner knife). Experiment with both and see which one feels more comfortable for your wrist health.
Why does my crochet project look different from the picture?
Crochet is a craft, not a manufacturing process. Variations in tension, yarn type, and even the natural way you hold your hook will result in a unique piece. Embrace these differences—they are the hallmarks of a handmade item.
How do I fix a mistake I made several rows back?
If you find a mistake, try not to panic! You can “frogging” the work—which means gently pulling out your stitches back to the point of the mistake. It is well worth the time to have your project look exactly the way you want.
Conclusion
Learning to crochet is a beautiful commitment to yourself. It is a slow, rhythmic practice that rewards patience and curiosity. By starting with this simple pocket shawl, you have already taken the first step toward building a library of skills that will last a lifetime. Remember, every master crocheter was once a beginner who didn’t give up.
I encourage you to visit a local yarn shop this week, touch the different textures of fiber, and choose a color that makes you smile. Use the resources available to you—whether it is a local group, a library book, or those helpful online videos—to keep learning. When you finish that final stitch and weave in your last end, take a moment to appreciate the work your hands have done. You have created something that didn’t exist before, and that is a truly special accomplishment. Happy hooking, and may your future projects be as cozy and lovely as you are!