
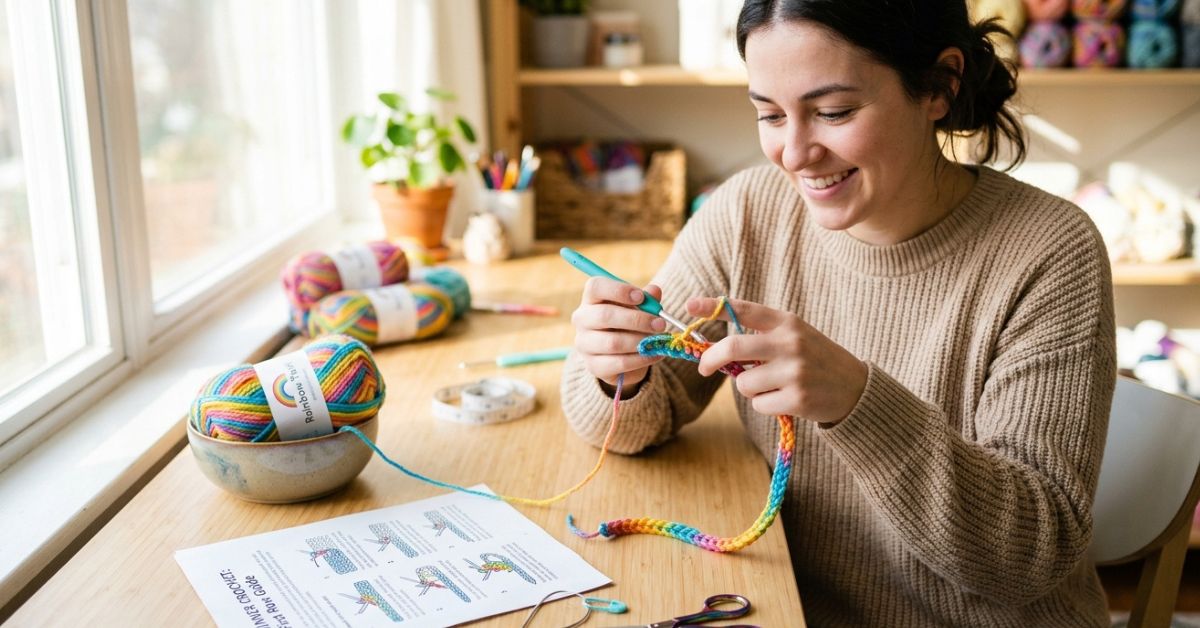
There is something truly magical about picking up a crochet hook for the very first time. The quiet rhythm of the yarn, the gentle clinking of the hook, and the way a simple string of fiber begins to transform into fabric is a soothing, creative escape from the bustle of everyday life. If you have ever looked at a soft, handmade blanket or a charming little plush toy and wondered, “Could I really make that?”, the answer is a resounding, joyful yes.
The single crochet stitch is the absolute foundation of everything beautiful you will create in your journey as a maker. It is the steady, reliable “workhorse” stitch of the craft. Once you learn how to work your very first row, you have unlocked the ability to create scarves, cozy home decor items, and detailed amigurumi. This guide is written specifically for you, designed to walk you through that initial, uncertain stage with patience and encouragement. We will strip away the mystery, keep things simple, and ensure that your first experience with crochet is as cozy and rewarding as possible. Take a deep breath, find a comfortable chair, and let’s begin this beautiful hobby together.
Quick Overview
In this guide, you will learn the mechanics of the single crochet stitch (abbreviated as “sc” in U.S. patterns). We will focus on the transition from your foundation chain to the actual work of creating your first row of stitches. This guide is intended for the absolute beginner who may feel slightly overwhelmed by the terminology or the physical act of holding the yarn. You will understand how to identify the “V” shapes of your stitches, where to insert your hook, and how to maintain the consistent tension that makes handmade items look so polished and professional. By the end of this article, you will feel empowered to pick up your hook with confidence and start your very first project.
Materials to Get Started
You do not need a fancy studio to begin your journey. In fact, keeping your tools simple is the best way to learn. For your very first attempt, I recommend gathering just a few essentials:
- Yarn: Opt for a light, solid-colored acrylic or cotton-blend yarn in a medium (worsted) weight. Light colors—like soft cream, sage green, or baby pink—are essential because they allow you to clearly see the “V” shapes of your stitches. Avoid black or navy yarn for your first go; it is very difficult to see your hook placement!
- Crochet Hook: A size H-8 (5.0 mm) hook is the “Goldilocks” of hooks—not too small, not too large, and very easy to handle for beginners.
- Scissors: Any pair of sharp household scissors will do.
- Stitch Markers: These are small, plastic clips that are incredibly helpful for marking the first and last stitch of a row, preventing you from accidentally losing a stitch as you go.
Crochet Terms and Concepts
To master the single crochet, you only need to understand a few basic terms that you will see in almost every pattern you encounter in the future.
- Foundation Chain: This is the base row of loops that you create before you start your actual stitching. It acts as the “ground” for your project.
- Working Yarn: This is the yarn strand that is attached to your skein or ball; it is the yarn that feeds into your hook as you work.
- The “V”: When you look at the top of a finished row of crochet, you will see a series of small, braided “V” shapes. Learning to identify these is the most important skill for a beginner, as this is where you will be inserting your hook for future rows.
- Tension: This refers to how tightly or loosely you hold the yarn. Early on, you might notice your stitches feel very tight or quite loose; this is completely normal. Tension naturally smooths out with practice.
Helpful Notes Before You Start
Before you make that first loop, remember that crochet is a tactile, physical skill. Your hands are learning a new way to move, just like learning to knit, play an instrument, or write in cursive. It is common to feel a bit “clunky” in the first thirty minutes. Do not worry if your first row looks a little uneven or if you find yourself pulling the yarn tighter and tighter—this is completely expected!
If your hook feels like it is struggling to pass through the yarn, try consciously relaxing your shoulders. Most beginners hold their breath and clench their hands, which inadvertently tightens the yarn. Keep your grip loose, and remember that the hook should glide, not force, its way through the loops. If you become frustrated, place your work down, have a glass of water, and come back in ten minutes. The yarn will still be there waiting for you.
Understanding the Single Crochet Foundation
The single crochet is often the first technique taught because it creates a dense, sturdy fabric that is perfect for everything from washcloths to structured bags. The “anatomy” of the stitch involves inserting your hook, pulling up a loop, and then securing that loop with a second pull of yarn.
Preparing Your Foundation
Start by making a slip knot and placing it on your hook. Chain 15 stitches. This gives you a nice, manageable length to practice on without the row becoming so long that it feels endless. Once you have your 15 chains, you are ready to turn and work back across them.
Step 1: The Initial Insertion
To work your first row, you skip the very first chain closest to your hook. You will be working into the second chain from the hook. Insert the tip of your hook into the center of that second chain stitch. You should see two “legs” of the chain sitting on top of your hook, with one “leg” underneath.
Step 2: The Yarn Over
With the hook inserted, hook the “working yarn” and pull it back through that chain stitch. You should now have two loops sitting on your hook. This is the moment of truth! Stop and look at your hook. Do you have two loops? Great! You are halfway through the stitch.
Step 3: Completing the Stitch
Now, yarn over again, and pull the yarn through both of the loops currently on your hook. You have now completed your very first single crochet. You should see one little “V” sitting at the top, and one loop remaining on your hook. Repeat this process in every chain stitch until you reach the end of the row.
How to Count Stitches Effectively
One of the biggest hurdles for beginners is realizing their row has gained or lost stitches mysteriously. The secret is to count consistently. After every row, pause and count the “V” shapes at the top of your work. If you started with 15 chains, you should end up with 14 single crochet stitches if you skip the first chain as your “turning chain.” If your count is decreasing, you are likely missing the very last stitch at the end of the row, which is often hidden slightly beneath the turn.
Common Mistakes to Avoid
Every crocheter has been exactly where you are. Here are the most common bumps in the road and how to glide over them:
- The Twisted Chain: If your foundation chain looks curled or looks like a spiral, don’t keep working! It happens when the chain twists while you are working the first row. Ensure your chain is lying flat, like a straight line, before you insert that first hook.
- The “Tight-Stitch” Syndrome: If you cannot get your hook into the stitches, you are holding the yarn too tightly. Aim for a relaxed, gentle tug. If you are struggling, try moving up just one hook size (e.g., from 5.0 mm to 5.5 mm); a slightly larger hook makes managing the loops much easier.
- Skipping the Last Stitch: The last stitch of a row often looks like it’s tucked away. Always look for that final horizontal loop at the end of the row. If your row looks like it’s becoming a triangle, you are accidentally skipping that last stitch.
- Variable Tension: Don’t be discouraged if one loop is huge and the next is tiny. This is known as fluctuating tension. With a little more time, your muscle memory will take over, and your stitches will become uniform all on their own.
Pro Tips for a Polished Result
Once you feel comfortable executing the stitches, you can elevate your work with these professional habits:
- The “Turning Chain” Rule: In patterns, you will see instructions like “Chain 1, turn.” This simple chain acts as a step-ladder to bring your hook up to the proper height for the next row. Never skip this!
- Use Stitch Markers: Seriously, they are the best friend of both beginners and experts. A simple locking stitch marker in your first and last stitch of every row will keep your edges perfectly straight.
- Mind the “V”: Always ensure you are inserting your hook under both legs of the “V” stitch from the previous row unless your pattern specifies otherwise. This provides strength and beauty to your fabric.
- Practice Swatching: It sounds boring, but spending one full evening just making a small square of single crochet—no pressure to make a “thing”—is the absolute best way to build the confidence you need for your first real scarf or blanket.
Exploring Variations
Once you have mastered the basic single crochet, you can play with different looks. You might try “Single Crochet through the Back Loop Only,” which creates a lovely, ribbed texture that is perfect for cuffs or cozy headbands. You can also experiment with variegated yarn, which changes color as you work, or try holding two strands of yarn together for a thick, squishy fabric. The single crochet is such a versatile, humble stitch that it can look totally different depending on the weight of the fiber and the color you choose.
Care and Next Steps
When you have finished your first practice swatch, do not feel like you have to throw it away. Keep it! Seeing your progress—from the messy, tight loops at the start to the even, beautiful stitches at the end of the swatch—is incredibly rewarding. Crochet items generally prefer a gentle hand wash in lukewarm water with a bit of mild detergent, followed by laying them flat to dry on a towel.
For your next step, search for “easy single crochet dishcloth” patterns. They are the perfect low-stakes project to practice your new skill, they are incredibly useful for your home, and they are much faster to finish than a full-size blanket.
FAQ
How do I know if my tension is too tight?
If your hook feels impossible to insert into a stitch, or if your fabric is stiff and does not drape like cloth, your tension is likely too tight. Try to consciously relax your grip on the yarn and consider using one size larger hook next time.
Why does my work look like a triangle instead of a rectangle?
You are likely missing the final stitch of every row. The last stitch can be tricky to spot because it hides under the “turning chain.” Try using a stitch marker to keep track of that final stitch until it becomes second nature.
Do I need to count my chains before I start the first row?
Yes! Keeping an accurate count of your foundation chain is vital for keeping your project square. If you find counting chains difficult, use a stitch marker every ten chains so you don’t lose your place.
Should I join my rounds or work in rows?
Most beginners start by working in “rows”—back and forth like reading a book. “Rounds” are used for items like hats or bags where you work in a circle. Stick to rows for your first few projects to master your stitch consistency.
Can I fix a mistake without unraveling the whole project?
Absolutely. This is called “frogging” (because you pull the yarn in, or “rip it, rip it”). Simply take your hook out, gently pull the working yarn until you reach the stitch before the mistake, replace your hook, and continue.
Conclusion
You have just taken the first step into a world of endless creativity. The single crochet is more than just a technique; it is the gateway to making your own clothes, creating personalized gifts for loved ones, and developing a meditative practice that honors your time and energy. Whether you are creating a simple dishcloth for your kitchen or planning a future heirloom blanket, remember that every stitch you make is a testament to your patience and your growing skill. Don’t strive for immediate perfection; strive for the joy of the process. Keep your hook handy, your yarn nearby, and enjoy every single loop you make. You are doing something wonderful.