
Introduction
There is a unique, quiet magic that happens the moment you pick up a crochet hook and a ball of yarn. It transforms a simple length of fiber into something tangible—a soft blanket for a loved one, a cozy hat for a chilly morning, or even a whimsical little toy. If you have ever felt intimidated by the sight of intricate, lacy stitches or complex-looking patterns, I want you to take a deep breath and set those worries aside. Crochet is not about being perfect; it is about the gentle rhythm of your hands and the joy of creating something with your own two fingers.
This guide is designed exactly for you, whether you have never held a hook before or you are returning to the craft after years away. We are going to strip away the confusion and focus on the fundamentals: how to hold your tools, how to build your first foundation, and how to master the essential movements that make up almost every project you will ever encounter. Think of this as your stress-free bridge into a lifetime of creativity. You don’t need expensive equipment or natural talent—just a little patience and the willingness to enjoy the process of learning. Let’s embark on this cozy journey together, one stitch at a time.
Quick Overview
In this guide, we are looking at the essential building blocks of crochet. You will learn the anatomy of a stitch, the standard way to hold your tools in the United States, and how to navigate the “Big Four” stitches that serve as the foundation for virtually every project.
This guide is written for:
- Absolute Beginners: Those who have never picked up a hook and want a clear, jargon-free starting point.
- Returning Crocheters: Those who need a refresher on the basics after a long hiatus.
- Intermediate Makers: Those looking to refine their technique or ensure their “bread and butter” stitches are as neat and consistent as possible.
We will focus on understanding how to create a foundation, how to maintain even tension, and why certain movements feel “right.” By the end of this article, you will have the confidence to pick up a pattern and actually understand what it is asking you to do.
Tools of the Trade
Before we talk about stitches, let’s talk about your “kit.” You don’t need a craft store aisle full of supplies to get started. In fact, keeping things simple is the best way to avoid feeling overwhelmed.
- The Crochet Hook: For beginners, a size H/8 (5.0 mm) hook is considered the “goldilocks” size. It is large enough to see your stitches clearly but small enough to handle comfortably. Look for an aluminum or ergonomic soft-grip hook.
- The Yarn: Avoid dark colors or highly textured yarns (like mohair or eyelash yarn) for your first practice sessions. Choose a light-colored, worsted weight (size 4) acrylic or cotton blend yarn. Light colors make it much easier to see exactly where your hook needs to go.
- Stitch Markers: These little plastic clips are lifesavers. They act as “bookmarks” for your work, helping you keep track of where a row starts and ends so you don’t accidentally drop or add stitches.
- A Yarn Needle: Once you finish your project, you will need a large-eye blunt needle to tuck in those loose ends.
Understanding Crochet Terms and Abbreviations
When you eventually pick up a printed pattern, you will see abbreviations like “sc” or “ch.” Do not let these intimidate you! Most crochet language is simply a shorthand for the movements you are about to learn.
- Chain (ch): The foundation of almost all crochet.
- Single Crochet (sc): The most common, dense, and versatile stitch.
- Slip Stitch (sl st): Used for joining rounds or moving your yarn across a piece without adding height.
- Gauge: This refers to the number of stitches and rows in a specific area (usually 4×4 inches). While it sounds technical, it simply means “how big your stitches are.”
- Fasten Off: The process of cutting your yarn and pulling the tail through the final loop to lock your work in place so it doesn’t unravel.
Helpful Notes Before You Start
The biggest hurdle for every beginner is tension. Tension is simply how tightly or loosely you pull your yarn. If you pull too tight, your fabric will be stiff and it will be difficult to insert your hook into the next stitch. If you pull too loose, your work will be full of large holes.
My best advice? Don’t aim for perfection on your first row. Your first swatch might be a bit wonky, and that is completely normal. Tension comes with muscle memory. Hold your yarn in a way that feels comfortable to you—some people weave it through their fingers, while others just hold it loosely. As long as the yarn flows steadily without needing to be yanked, you are doing great.
The Foundation: How to Start
Every project begins with a slip knot. This is the “no-stitch” stitch that secures your yarn onto the hook.
The Slip Knot
Make a loop with your yarn, leaving a long tail. Reach through the loop and grab the yarn coming from the ball, pulling it through to create a new loop. Slip this onto your hook and pull the ends gently to tighten it to the shaft of the hook. It should be snug, but able to slide easily.
The Foundation Chain
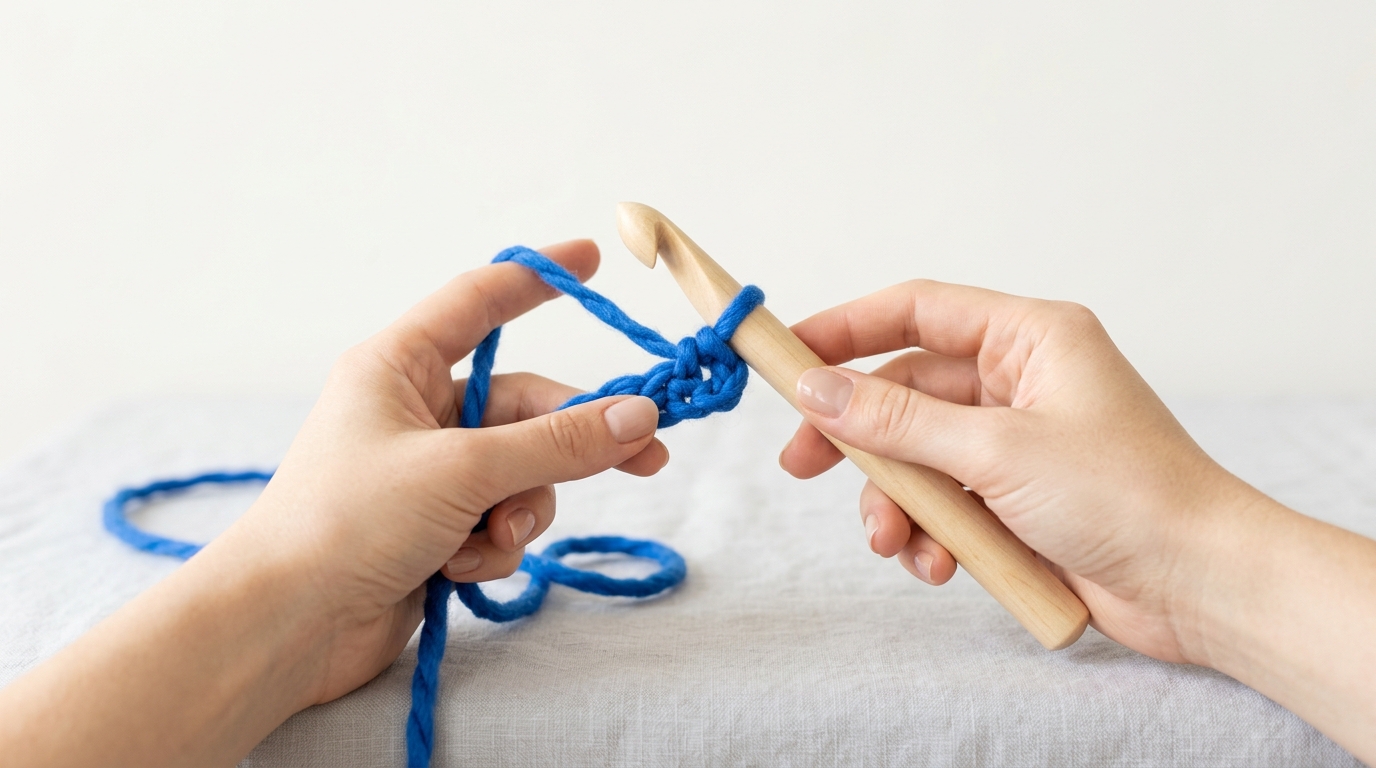
Holding your hook in your dominant hand, use your non-dominant hand to hold the yarn. You will “yarn over” (wrap the yarn from back to front over your hook) and pull that yarn through the loop currently on your hook. This creates your first chain. Repeat this until you have a string of about 15 chains. Practicing this until your chains look uniform in size is a perfect “Type A” way to start your crochet journey.
Mastering the Essential Stitches
Once you have your chain, you are ready to create actual fabric.
The Single Crochet (sc)
The single crochet creates a sturdy, fabric-like texture. To do this, insert your hook into the second chain from your hook. Yarn over, pull up a loop (you now have two loops on your hook). Yarn over again, and pull through both loops on the hook. You have made a single crochet! Continue this across the row. When you reach the end, chain one, turn your work, and start the next row by inserting your hook into the first stitch of the previous row.
The Half Double Crochet (hdc)
This stitch is slightly taller than the single crochet and has a beautiful, soft drape. To make one, yarn over before you insert your hook into the stitch. Insert your hook, pull up a loop. Now you have three loops on your hook. Yarn over one last time and pull through all three loops at once.
The Double Crochet (dc)
This is the most common stitch for blankets and garments because it grows quickly. Yarn over, insert your hook into the stitch, and pull up a loop. Yarn over and pull through the first two loops on your hook, then yarn over again and pull through the remaining two loops. It feels like a beautiful dance of movements once you get the hang of it.
Common Mistakes to Avoid
Even the most experienced designers started by making these “oops” moments. Don’t worry if you find yourself doing them!
- The “Vanishing” Stitch: The most common mistake for beginners is accidentally skipping the very first or very last stitch of a row. This causes your rectangular piece to slowly turn into a triangle. Always count your stitches at the end of every row.
- The Twisted Chain: When you join your foundation chain into a circle, make sure it isn’t twisted like a pretzel before you start your first round.
- Using a Hook That is Too Small: If your work feels like you are fighting against the yarn, check your hook. Beginners often have a tight grip; using a slightly larger hook than the yarn label recommends can make the process much more pleasant.
- Splitting the Yarn: If your hook keeps catching and splitting the strands of the yarn, you may be working too fast or using a hook that isn’t smooth. Slow down and ensure your hook passes through the entire thickness of the yarn strand.
Pro Tips for a Better Result
The difference between a “beginner” project and a “polished” one often comes down to just a few “pro” habits.
- Weaving in Ends Properly: Don’t just clip your yarn tail at the edge! Use a yarn needle to weave the tail back and forth through the stitches on the back side of your work. Weaving them in different directions (like an “N” shape) ensures they stay hidden and secure forever.
- Blocking Your Work: This is the “secret sauce” of crochet. Once you finish a project, spray it lightly with water or cover it with a damp press cloth, and gently pin it into shape on a towel. This relaxes the fibers and makes your stitches look professional and uniform.
- Consistent Practice: Try to crochet for just 15 minutes a day rather than four hours once a week. Your brain and your hands will build muscle memory much faster with consistent, short sessions.
Variations and Personalization Ideas
Once you have mastered the basic stitches, you can start to experiment.
- Color Changes: A simple way to make a project look advanced is to change colors every few rows. Just finish your last pull-through of a stitch with the new color, and let the old color hang (or cut it and weave it in).
- Texture Play: Try working only into the “back loop” of your stitches (the loop furthest from you). This creates a ribbing effect that looks like knitted fabric!
- Yarn Weight: Once you are comfortable, try using a slightly thicker (bulky) yarn for a faster project, or a thinner (fingering weight) yarn for delicate, heirloom-style items like doilies or lightweight scarves.
Care, Storage, and Next Steps
Once you finish your first practice swatch, don’t throw it away! There is something incredibly grounding about keeping your very first imperfect square. It’s a reminder of how far you’ve come.
When you move on to actual projects, always check the ball band of your yarn for care instructions. Most modern acrylics are machine washable in a mesh laundry bag, while wool often needs hand washing in cool water with a gentle detergent. Lay your finished items flat to dry—hanging wet crochet items can stretch the stitches and cause the project to lose its shape.
For your next step, look for a simple scarf pattern that uses only single crochet or double crochet. A scarf is a glorious “long rectangle” that teaches you about edges and consistency without requiring complex shaping.
FAQ
How do I know if my tension is too tight?
If your hook is difficult to pull through your loops, or if your fabric is stiff and won’t drape over your hand, your tension is likely too tight. Try consciously relaxing your shoulders and holding the yarn a little more loosely.
How do I stop my project from getting wider or narrower?
This usually happens because you are either adding an extra stitch at the end of a row or missing the last one. The best way to prevent this is to place a stitch marker in the first and last stitch of every row.
Does it matter which way I hold my crochet hook?
Not at all! There are two main ways to hold a hook: the “knife grip” (like you are holding a dinner knife) and the “pencil grip” (like you are writing). Neither is better than the other; choose the one that doesn’t make your hand cramp.
Why does my crochet yarn keep snagging?
If you are using a wooden or plastic hook, it might have a small manufacturing burr on it. Try a smooth metal hook, or check to see if your yarn is a “plied” yarn that is prone to splitting. Choosing a smoother, tightly twisted yarn can help immensely.
What should I make for my very first real project?
A simple dishcloth or a small washcloth is the perfect first project. It is essentially a square, it only uses basic stitches, and if you make a mistake, it’s a quick fix that doesn’t waste much yarn.
Conclusion
You have taken the first step into a hobby that will bring you warmth, focus, and a deep sense of accomplishment for years to come. Remember, even the most legendary crochet designers started exactly where you are today—with a tangled ball of yarn and a bit of uncertainty. Don’t be afraid to make mistakes; in crochet, a “mistake” is just an opportunity to practice your undo-work, which is just as important as the stitches themselves.
Keep your hook handy, celebrate every row you finish, and most of all, enjoy the softness of the yarn between your fingers. You are now part of a global community of makers, and this is only the beginning. Happy crocheting!