
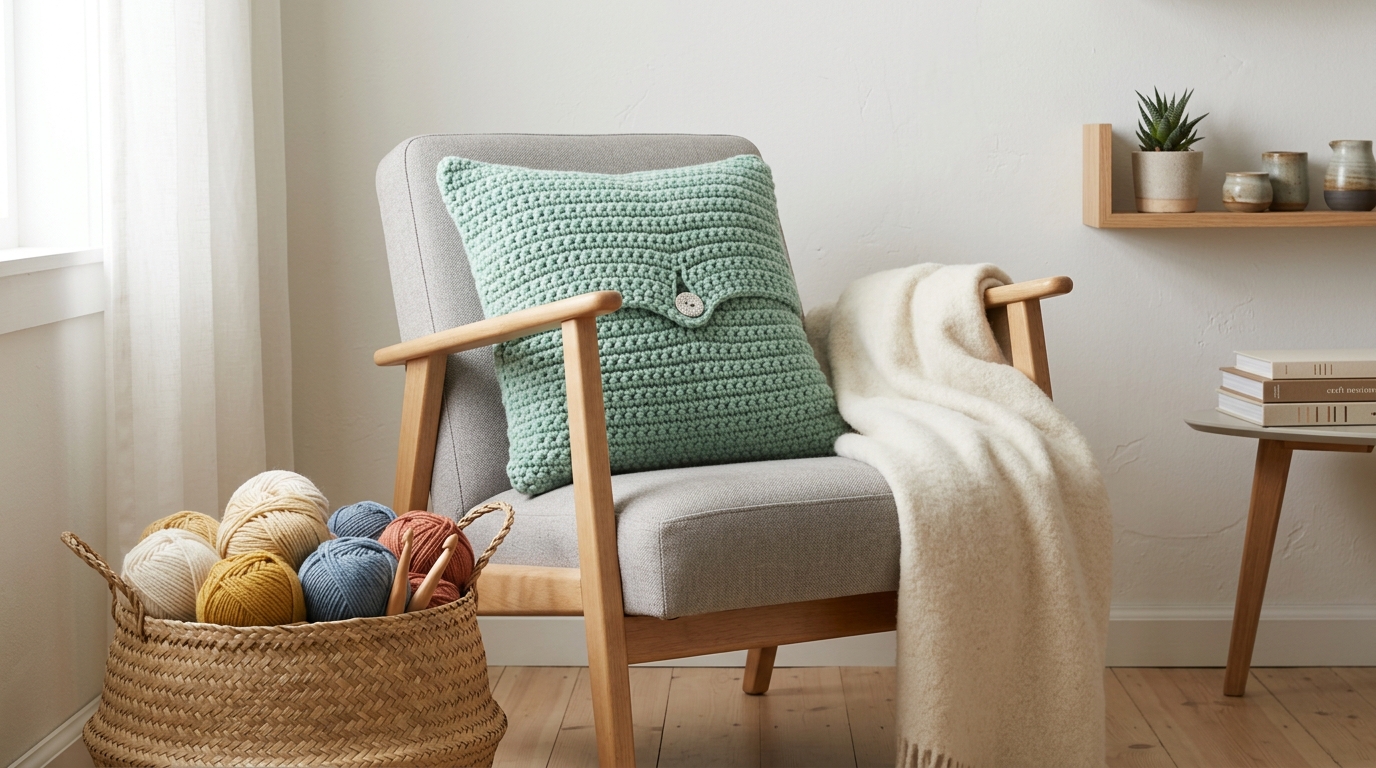
There is a unique, quiet magic that happens the moment you pick up a crochet hook and a ball of yarn for the first time. It is a slow, rhythmic craft that allows you to transform a single continuous strand of string into something tangible, useful, and breathtakingly beautiful. Whether you are dreaming of creating a cozy heirloom blanket for your living room, a soft accessory for a friend, or perhaps finding a peaceful, meditative hobby to unwind with after a long day, you have arrived at the perfect place.
Crochet is more than just a technique; it is a creative outlet that rewards patience and curiosity. Many people feel intimidated when they first see a finished handmade garment or a complex design, but the truth is that every master of the craft began exactly where you are right now: with a loop, a hook, and a bit of practice. This guide is designed to be your gentle companion, stripping away the mystery and focusing on the essential building blocks you need to feel confident and capable. You don’t need to be an artist to start—you simply need to be willing to learn, one stitch at a time. Let’s embark on this journey together, turning those first tentative loops into a lifelong love for handmade beauty.
Quick Overview
This guide is for those who are brand new to the world of crochet, as well as intermediate makers looking to refine their technical foundation. You will learn the core logic behind how stitches are formed, how to decode the language of patterns, and the essential tools required to ensure your projects turn out as polished as you imagine. By the end of this guide, you will understand the fundamental rhythm of the craft, how to choose the right materials to set yourself up for success, and how to troubleshoot the most common hurdles that new creators face. This is your roadmap to building a solid, stress-free foundation for every future crochet project.
Essential Tools to Get Started
Before you create your first row, it is important to understand the few tools that will become your constant companions. Unlike many other hobbies, crochet requires very little equipment to get started.
The most important tool is your crochet hook. Beginners often struggle because they start with a hook that is either too thick or too thin for the yarn they have chosen. I highly recommend starting with a size H/8 (5.0 mm) hook. This size is large enough to see your stitches clearly, which is the most important factor when you are first learning to spot your work.
Your yarn is the soul of your project. For your very first attempts, look for a smooth, light-colored yarn in a “medium” or “worsted” weight (often labeled as a number 4 on the yarn label). Avoid dark colors like black or navy, as they make it incredibly difficult to see where your hook needs to go. Avoid fuzzy or “novelty” yarns for now, as they tend to tangle and hide your stitch definition. A simple acrylic or wool-blend yarn in a soft, bright color will make your learning process so much more enjoyable.
Understanding Crochet Terms and Language
Crochet has its own language, but once you learn the basic “alphabet,” every pattern in the world becomes readable. The most important thing to remember is that we use standard U.S. terminology.
A “chain” is the foundation of almost every piece of work. It is the starting row and helps you build up height. The “single crochet” is your best friend—it is the most common, sturdy, and versatile stitch. You will also encounter the “half double crochet” and the “double crochet,” which are essentially taller versions of the single crochet that work up more quickly and offer a different texture.
A “round” usually indicates that you are working in a circle, often used for hats or amigurumi, while a “row” indicates you are working back and forth in a straight line. Finally, you will frequently see terms like “increase” (putting two stitches into one space to grow the piece) and “decrease” (combining two stitches into one to shrink the piece). Everything else in intermediate or advanced patterns is typically just a creative combination of these basic actions.
Helpful Notes Before You Start
Your “tension” is perhaps the most important concept to master. Tension refers to how tightly or loosely you hold the yarn as you crochet. If you pull the yarn too hard, your fabric will be stiff, board-like, and difficult to work into. If you hold it too loosely, the project will look messy and unintentionally holey. My best advice for beginners is to aim for consistency rather than perfection. Your tension will naturally balance out as you gain “muscle memory” in your hands.
Another helpful concept is the “gauge.” Every yarn label and every pattern will mention a gauge, which is simply a measurement of how many stitches and rows fit into a four-inch square. While you don’t need to worry about this on your very first practice square, understand that this is the secret to ensuring your sweaters fit correctly and your blankets end up the size you expected.
The Foundation of Every Stitch
To truly understand how to crochet, you must learn to “read” your stitches. When you look at your work, notice that each stitch resembles a “V” shape sitting on top of the fabric. Most crochet stitches are worked by inserting your hook underneath both of the legs of that “V.”
If you are just beginning, practice making a long chain, then turning around and working single crochet stitches back into it. This builds the fundamental habit of looking for those little loops. If you lose your place, don’t be discouraged. Even expert crocheters occasionally have to stop, count, and recount their stitches. It is part of the process, not a sign of failure.
Troubleshooting Common Beginner Pitfalls
Even the most talented designers faced classic mistakes when they started. The most common one is the “disappearing stitch.” Many beginners accidentally skip the very last stitch of a row, which causes their piece to slowly grow thinner and thinner, eventually ending in a triangle instead of a rectangle. You can fix this by using a “stitch marker” to mark the first and last stitch of every row. This gives you a physical reminder of where the edge should be.
Another frequent issue is a twisted starting chain. When you join your chain to form a ring, it is very common for it to flip over, creating a permanent twist in your fabric. Always lay your chain flat on a table before joining it to ensure the “V” shapes are all facing the same direction.
Lastly, do not confuse U.S. and U.K. crochet terms. They use the same names for stitches, but they mean different things. In the United States, a “single crochet” is the standard short stitch; in the U.K., that same stitch is often called a “double crochet.” Always check the header of a pattern to ensure it follows U.S. terminology.
Pro Tips for Polished Results
If you want your handmade items to look like they came from a high-end boutique, the secret is in the finishing. Weaving in your ends is often the step people want to rush through, but it is what keeps your project from unraveling. Use a tapestry needle to weave your yarn tails back and forth through the stitches, preferably going in a few different directions to lock them securely in place.
Blocking is another technique that surprises beginners. If your project looks a bit uneven or slightly curled, blocking—the process of lightly wetting or steaming your piece and pinning it into the correct shape until it dries—can be truly transformative. It evens out the tension and makes the stitches stand out beautifully.
Finally, remember that your crochet hook is an extension of your creative self. There is no one “right” way to hold the hook—some people hold it like a pencil, others hold it like a dinner knife. Whichever way feels comfortable and doesn’t make your hand cramp is the correct way for you.
Exploring Your Creativity
Once you have mastered the basic stitches, you can start combining them to create different textures. Try working into only the back loop of the “V” to create ridges, or alternate single and double crochet stitches to create a bumpy, pebbled texture.
As you grow more comfortable, look for projects that match your lifestyle. If you love home decor, start with a simple square coaster or a set of washcloths. These small, fast projects give you a win early on, which is vital for building confidence. If you prefer to make gifts, a beginner-friendly scarf is a classic right of passage. Because it is just a long rectangle, you don’t have to worry about complicated shaping or sizing—you can just focus on enjoying the flow of the yarn through your hand.
Next Steps for Your Fiber Journey
After you feel comfortable with your first rows and squares, the natural next step is to branch out into slightly different shapes. You might try “working in the round” to make a simple basket, or perhaps try a dishcloth using a different stitch pattern.
Don’t be in a rush to tackle a full-sized sweater or a complex blanket immediately. The joy of crochet is found as much in the process as in the result. Take the time to enjoy your practice pieces. They are the history of your learning, and you will look back on them fondly as you become more advanced.
Frequently Asked Questions
How do I stop my crochet fabric from curling?
Curling often happens if your tension is too tight or if you have made your starting chain too tightly. Try using a crochet hook one size larger for your starting chain than you use for the rest of the project. Additionally, blocking your finished item after washing it can help flatten out the stitches.
Why does my project look different than the picture?
This usually comes down to “yarn choice.” If you use a different weight of yarn than the pattern calls for, the size and the drape of the item will change. Always check the yarn weight on the pattern’s suggested materials list to ensure you are using a similar fiber.
Which crochet hook material is best?
This is largely personal preference! Metal hooks are smooth and allow the yarn to glide quickly, while bamboo or wooden hooks provide a little bit of “grip,” which can be very helpful for beginners who find their yarn slipping off the hook too easily. Try a few different types to see what feels best in your hand.
Is crochet easier to learn than knitting?
Many people find that crochet is easier to learn because there is only one “live” stitch on your hook at any given time. If you drop a stitch in crochet, you can usually pick it back up without the entire row unraveling, whereas in knitting, a dropped stitch can quickly lead to a “run” in your fabric.
How often should I practice to get better?
Even fifteen minutes a day is more effective than practicing for three hours just once a week. Your hands need time to develop muscle memory. Try to keep a small practice square in your bag so you can work on those stitches whenever you have a few moments of peace, such as while waiting for an appointment or sitting in the evening.
Conclusion
Stepping into the world of crochet is a beautiful gift you give to yourself. It is a hobby that offers both the thrill of creation and the comfort of repetition. Whether you are crafting a heartfelt gift for a loved one, adding a cozy touch to your home, or simply looking for a way to quiet your mind at the end of the day, you have everything you need to start right now.
Remember, there is no deadline for your progress. Every loop you make is a victory, and every stitch is a step toward becoming the maker you want to be. Be kind to your hands, embrace the occasional mistake as part of the learning curve, and most importantly, enjoy the texture and color of the yarn as it moves through your fingers. You are now part of a long, lovely tradition of makers. Pick up that hook, breathe, and enjoy the rhythm. You are doing something wonderful.