
Introduction
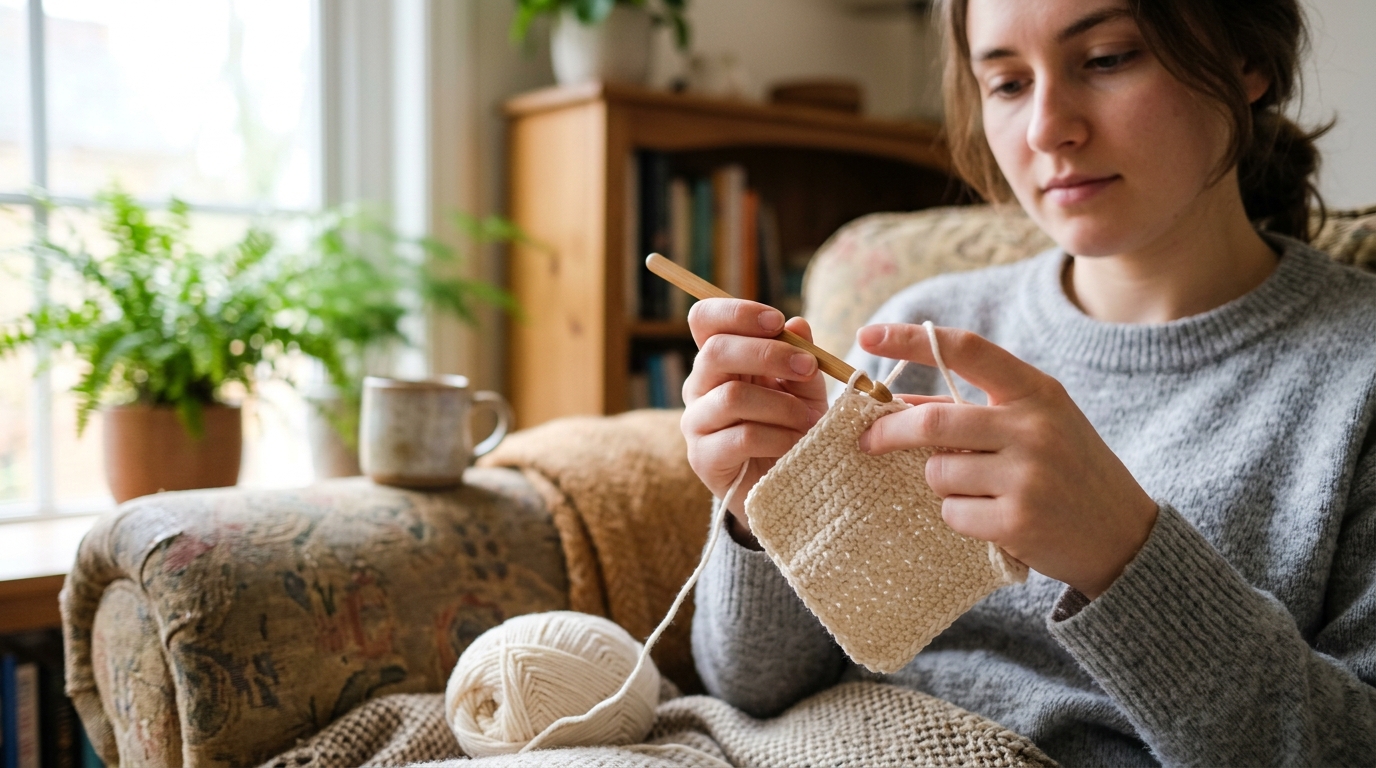
Welcome to the wonderful, rhythmic world of crochet! If you have ever looked at a beautifully textured blanket or a delicate handmade accessory and wished you could create something just like it, you are in the perfect place. Many people find crochet to be a source of calm, a creative outlet, and a truly rewarding way to spend a quiet afternoon in the comfort of your home. It might feel a little bit intimidating to look at a hook and a ball of yarn for the first time, but believe me when I say that anyone can learn this craft.
Crochet is much more than just looping yarn; it is the art of building a fabric one stitch at a time. This guide is designed to be your best friend as you embark on this journey. We will strip away the technical jargon and focus on the core fundamentals that you need to feel confident. Whether you want to make cozy gifts for your loved ones or simply find a beautiful way to unwind, learning the basic steps is all it takes to open up a world of endless DIY possibilities. Grab a cup of tea, find a comfortable chair, and let’s get started on your very first crochet project together.
Quick Overview
This guide is specifically crafted for the absolute beginner. You will learn the essential anatomy of a crochet project, how to hold your tools, and how to master the most fundamental stitches. This is an educational guide intended to build your foundation. Once you understand these core concepts, you will be able to read pattern instructions, troubleshoot your own work, and feel empowered to start your first actual project, like a simple dishcloth or a classic scarf. This guide is for the hobbyist, the DIY enthusiast, and anyone looking for a meditative, hands-on craft.
Tools You Need to Get Started
You don’t need an entire rack of expensive items to begin. In fact, keeping your toolkit simple is the best way to stay focused.
- A Crochet Hook: For beginners, a size H/8 (5.0 mm) hook is often the “goldilocks” size—not too small to hold, but not so large that it is clunky. Look for one with an ergonomic handle if you happen to have sensitive wrists.
- Yarn: Avoid dark colors, fuzzy “fun” yarns, or thin, delicate threads. Start with a smooth, medium-weight yarn (often labeled as “Worsted” or “4” on the label). A light, solid color makes it much easier to see your stitches.
- Scissors: Any household pair will do.
- A Yarn Needle: A large-eye blunt needle is essential for weaving in your ends to finish your work neatly.
- Stitch Markers: These little clips help you keep track of where you are. If you don’t have these, a spare piece of scrap yarn in a contrasting color works perfectly.
Understanding Crochet Terms and Abbreviations
Crochet is written in a standardized “shorthand.” When you look at patterns, you will see abbreviations for the stitches you are creating. Here are the most important ones to memorize early:
- CH (Chain): The foundation for almost every crochet project.
- SL ST (Slip Stitch): Used for joining rounds or moving across a row without adding height.
- SC (Single Crochet): The most common stitch; it creates a tight, dense, and sturdy fabric.
- HDC (Half Double Crochet): Slightly taller and softer than a single crochet.
- DC (Double Crochet): A standard, versatile stitch that works up relatively quickly.
- YO (Yarn Over): The action of wrapping the yarn over your hook, which is the mechanism behind every stitch.
Helpful Notes Before You Start
Before you make your first loop, please remember that tension is the biggest hurdle for every beginner. Tension is simply how tightly or loosely you hold the yarn. At the beginning, your stitches might look uneven; some may be tight, others loose. This is completely normal and expected. The only way to achieve “even” tension is through muscle memory, which comes with practice. Do not judge your first ten rows too harshly!
Another important note: always count your stitches. If you start a row with 20 stitches, you must end with 20 stitches. If you find your piece is growing or shrinking in size, you have likely added or dropped a stitch accidentally.
The Fundamental Process of Crochet
Learning to crochet is a linear process. You rarely have to jump into complex techniques on day one. Follow these stages to build your confidence.
Mastering the Slip Knot
Every project begins with a slip knot. This is the loop that secures the yarn to your hook. Make a loop with your yarn, reach through the loop from behind, and pull the working end (the part attached to the ball) through. Insert your hook and tighten gently.
Creating the Foundation Chain
Once your loop is on the hook, hold the hook in your dominant hand. With your other hand, hold the tail of the yarn and use your index finger to guide the yarn. YO and pull through the loop on your hook. This is your first chain. Repeat this. You are essentially making a long ladder of loops. Keep these uniform—try not to pull the yarn too tightly against the hook.
The Single Crochet: Your First Working Stitch
After you have a chain, insert your hook into the second chain from the hook. YO, pull up a loop (you now have two loops on the hook). YO again, and pull through both loops. You have now completed a single crochet. This stitch is your bread and butter for many projects.
Turning Your Work
When you get to the end of a row, you need to transition to the next. Add an extra chain (this is called a “turning chain”), turn your piece like you are turning the page of a book, and begin working back into the stitches of the previous row.
Step-by-Step Learning Strategy
If you feel overwhelmed, break your learning into bite-sized missions.
- Mission One: The Chain. Spend 15 minutes practicing chains. Aim for consistency in how they look. If one is huge and the next is tiny, keep practicing until they look like a tidy row of “V” shapes.
- Mission Two: The Single Crochet Swatch. Start a small square. Don’t worry about making a “thing”—just make a flat piece of fabric. Practice making 10 rows of 10 single crochet stitches.
- Mission Three: Turning. Focus on where you insert your hook at the end of a row. This is where most beginners struggle with “losing” stitches. Use a stitch marker in the very last stitch of the row so you know exactly where to go when you come back around.
Common Mistakes to Avoid
Even experienced crocheters made these mistakes when they started!
- Working too tightly: This is the most common beginner error. If you find it nearly impossible to push your hook into the next stitch, your tension is likely too tight. Try to relax your shoulders and hold the hook more loosely.
- Skipping the first or last stitch: It is very common to accidentally skip the very first stitch of a row or the very last, which causes your work to taper into a triangle rather than staying a square. Always count your stitches at the end of every row.
- Twisting the foundation chain: When you join a chain to start a circle, it is easy to accidentally twist it. Lay it flat on a table before you join.
- Ignoring gauge: If a project requires a specific size, you must match the designer’s gauge. For practice, however, just get comfortable with the motion of the stitches.
Pro Tips for a Better Result
- Give yourself grace: Your very first project is meant to be a learning experience, not necessarily a family heirloom. If it doesn’t look perfect, that is okay! It represents progress.
- The “Frog” method: If you see a mistake, don’t be afraid to pull your hook out and “rip it, rip it” (the sound of the yarn being pulled out sounds like “ribbit,” hence “frogging”). It is the best way to learn how stitches are constructed.
- Choose light-colored yarn: When you are learning to read your work, you need to see the “anatomy” of the stitch. A cream, light blue, or soft pink yarn will reveal the stitches much better than black or navy.
- Good lighting: Always crochet in a well-lit area. Your eyes will thank you, and it is significantly easier to find the top two loops of your stitches under a bright hobby lamp.
Variations and Exploration
Once you feel comfortable with a single crochet, you are ready to experiment. You can try the double crochet, which is taller and creates a more “drapey” fabric, perfect for scarves. You can also try changing colors by simply tying in a new yarn at the end of a row. Some crocheters love “granny squares,” which are worked in rounds instead of rows, allowing you to create beautiful patchwork blankets. Each new stitch you learn is just a variation of the ones you have already mastered.
Care and Next Steps
Once you finish your first swatch or project, you might wonder how to keep it nice. For most acrylic or wool yarns, a simple hand wash in cool water with a gentle detergent is perfect. Lay your project flat on a towel to dry; never hang a wet crochet piece, as the weight of the water can stretch it out of shape.
For your next project, look for patterns labeled “Beginner.” Look for items like a simple dishcloth, a headband, or a basic cowl. These projects use basic rectangles, which means you don’t have to worry about complicated shaping. You have already taken the hardest step, which is starting. Keep your hook near your favorite chair and try to crochet for just 10 minutes a day. The muscle memory will build faster than you expect.
FAQ
How do I stop my crochet project from getting smaller?
This is usually caused by dropping a stitch at the end of each row. Make sure you count your stitches after every row. If you are supposed to have 10, check that you have 10 before you turn. Using a stitch marker in the first and last stitch can act as a safety net.
Why is my crochet fabric stiff?
You are likely crocheting too tightly. Try using a crochet hook that is one size larger than what the yarn label recommends. This will naturally create slightly larger, looser loops and a softer fabric.
How do I read a pattern?
Patterns are written in a specific shorthand that tells you the stitch type and the placement. Start by looking for the “Abbreviations” section of any pattern. It acts as a legend, telling you exactly what the letters mean.
Does it matter which way I hold the hook?
Not at all! There are two main ways to hold the hook—the “pencil hold” and the “knife hold.” Neither is better than the other. Choose whichever feels comfortable and prevents your hand from cramping.
Can I fix a mistake without starting over?
If you catch a mistake in the row you are currently working on, you can simply pull your hook out and gently pull the yarn until you reach the mistake. This is much faster than starting the whole project over, and it is a key skill to learn.
Conclusion
Crochet is a lifelong hobby that provides a unique blend of focus, creativity, and relaxation. As you continue your journey, remember that every stitch you make is a lesson learned. There is no such thing as a “wasted” row in crochet; even the rows that don’t look quite right are helping you understand the structure of the yarn and how your hands move. We hope this guide has given you the courage to start your first project and the knowledge to feel confident as you do. Take your time, enjoy the cozy texture of the yarn in your hands, and most importantly, have fun with every loop. You are now a part of a beautiful community of crafters, and we are so excited to see what you create next!