
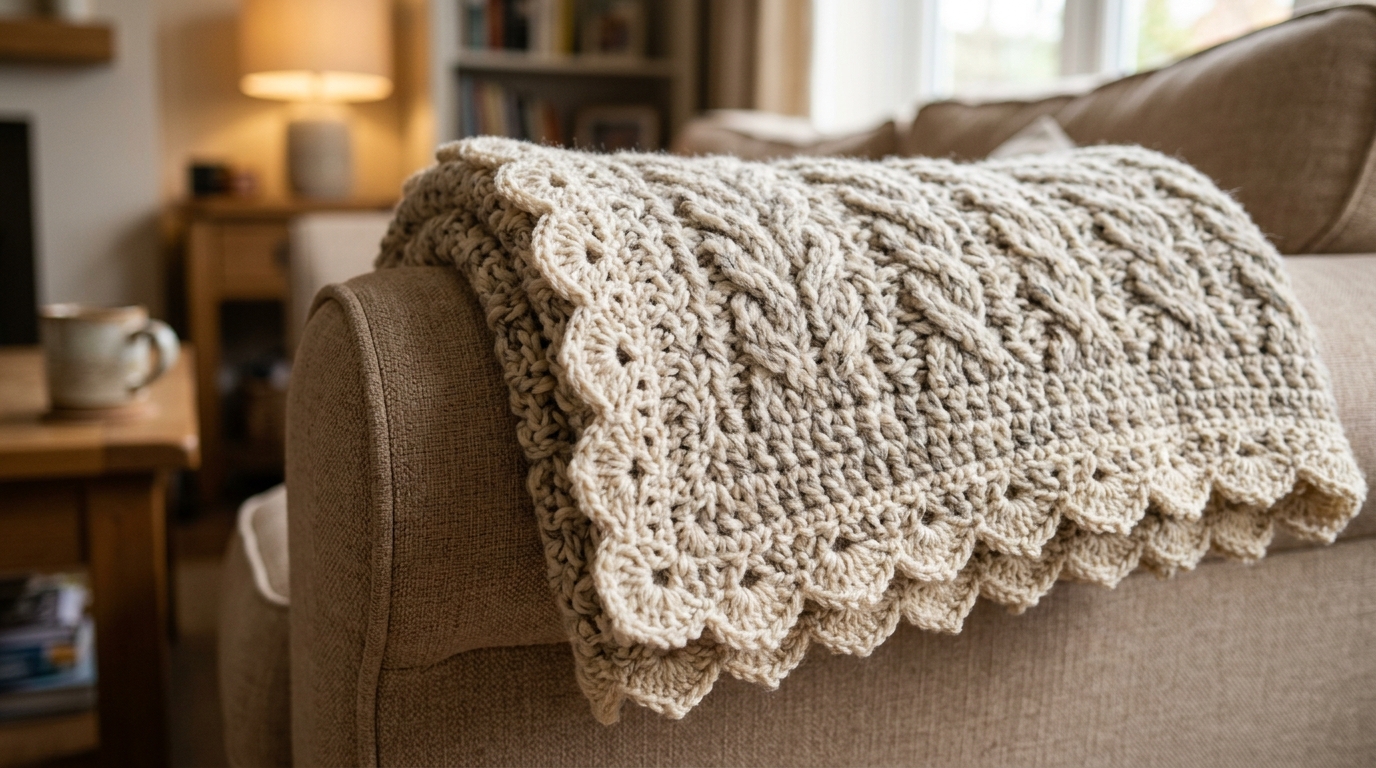
There is something truly magical about sitting down with a soft, squishy ball of yarn and a crochet hook, knowing that in a few hours or days, you will have created something warm to wrap around yourself. Creating a handmade blanket is perhaps the ultimate act of self-care and creativity. Whether you are aiming to make a cherished heirloom for a new baby, a sophisticated throw for your living room sofa, or a cozy companion for those chilly winter movie nights, the journey of designing your own blanket is deeply rewarding.
If you are just starting out, the sheer variety of stitches and borders can feel a bit overwhelming. The good news is that you don’t need to be an expert to create something stunning. Crochet is a forgiving, meditative craft that allows you to experiment with texture, color, and size at your own pace. In this guide, we will walk through the fundamentals of selecting the right combinations of stitches and borders, helping you develop the confidence to combine these elements into a project that feels uniquely yours. Let’s create something beautiful together.
Quick Overview
This guide is designed to help both beginners and intermediate crocheters elevate their blanket-making skills. You will learn: * How to select stitch patterns based on the drape and texture you desire. * The difference between simple and decorative borders and when to use them. * How to plan a professional-looking project from start to finish. * Tips for keeping your edges straight and your tension consistent. * Essential troubleshooting for common “blanket problems.”
This guide is for anyone who wants to move beyond basic rows of single crochet and discover the joy of combining stitches to create heirloom-quality home decor.
Understanding Your Tools
Before you start your first row, it is helpful to understand the materials that will define your blanket. For a cozy throw, the yarn weight is your most important choice. Worsted weight yarn (Category 4) is generally the gold standard for beginners because it provides a good balance between weight and warmth, and it builds up quickly without being too bulky.
You will also want to choose a hook that matches your yarn. Don’t feel pressured to use the exact hook suggested on the yarn label; many experienced crocheters prefer to go up one half-size or a full size larger than the recommendation. This creates a slightly looser, more “drapey” fabric that feels more like a luxurious blanket and less like a stiff piece of cardboard.
Essential Stitches for Blankets
The best blanket patterns often rely on a “texture rhythm.” If you mix a simple, solid stitch with a more decorative, open-work stitch, you can create a beautiful visual impact.
* Single Crochet: A dense, tight stitch that creates a sturdy foundation. It produces a fabric that is warm and great for baby blankets. * Half Double Crochet: The “goldilocks” of stitches—it is taller than a single crochet but denser than a double crochet. It’s perfect for blankets because it works up quickly but remains soft. * Double Crochet: A taller, more open stitch that offers incredible drape. It is the backbone of most afghan patterns. * Moss Stitch: Also known as the linen stitch, this is created by alternating single crochets and chain spaces. It is wonderful for beginners because it creates a woven, modern look with very little effort.
Helpful Notes Before You Start
The secret to a professional-looking blanket isn’t just the pattern—it is preparation. Always remember to check your tension by making a small swatch. If your stitches are too tight, your blanket will be rigid; if they are too loose, it might look messy.
Another pro-tip is to embrace the “turning chain.” When working in rows, the chain at the start of a row counts as a stitch in some patterns and not in others. Always read the pattern notes carefully to avoid adding or losing stitches at the end of each row, which is the most common reason why blankets turn into trapezoids instead of rectangles.
Combining Stitches for Texture and Drape
When designing your throw, consider alternating rows of different heights. For example, a “waffle” texture can be achieved by using front post double crochet stitches. Or, for a more airy, light summer blanket, try a “shell” stitch pattern.
The Importance of Color Transitions
Color planning can be just as important as the stitch choice. For beginners, a monochromatic look using different shades of the same color can look incredibly high-end. If you are feeling adventurous, consider a “faded” or ombre style by carrying your yarn colors across several rows before switching completely.
Incorporating Open Stitches
Using “chain spaces” (often abbreviated as “ch-sp”) allows you to create holes in your pattern. This adds visual interest and makes the final product lighter in weight. When working with open stitches, ensure your tension remains consistent so that the holes don’t look uneven.
Adding the Perfect Border
A border is the “frame” for your masterpiece. It hides any uneven edges and gives your project a finished, professional look.
The Simple Single Crochet Border
If you want something clean and minimalist, go around your entire blanket with one or two rounds of single crochet, placing three single crochets in each corner stitch to keep it from curling.
The Crab Stitch (Reverse Single Crochet)
This is a beautiful, twisted-looking border that creates a smooth, roped edge. It is worked from left to right instead of the usual right to left, which might feel strange at first, but the result is worth the practice.
The Picot Border
For a feminine, delicate touch, add a picot border. This involves chaining three and slip stitching back into the first chain to create a tiny “bump” or point. It is perfect for heirloom baby blankets.
Step-by-Step Guide to Planning Your Blanket
1. Choose your yarn weight and color palette first. 2. Select a base stitch (like the half double crochet) and an accent stitch (like an open cluster or shell). 3. Determine your width by chaining until you reach your desired size plus a few extra inches for safety. 4. Work your main body, remembering to count your stitches every five rows. 5. Pause to weave in loose ends as you go, rather than waiting until the end. 6. Complete your chosen border to seal the edges.
Common Mistakes to Avoid
* The “Expanding/Shrinking” Blanket: This happens when you accidentally add or skip stitches at the edges. Use a stitch marker on the first and last stitch of every row to ensure your count stays accurate. * Twisted Chains: When starting a long chain for a blanket-wide project, lay it flat on a table before joining or working your first row. This prevents the entire blanket from having a permanent twist. * Tension Shifts: We all have days where we crochet tighter or looser. Try to complete your project in consistent segments to keep the fabric uniform. * Not Blocking: Blocking your finished blanket by gently dampening it and pinning it into a perfect rectangle can transform the look of your stitches entirely.
Pro Tips for a Better Result
If you are working with multiple colors, carry the yarn up the side of your work whenever possible. This saves you from having to weave in dozens of loose ends once the blanket is finished. Additionally, always keep a notebook nearby to track how many rows you have completed—it is surprisingly easy to lose count when you are lost in the rhythm of a long row!
Variations and Personalization
The beauty of blankets is their customizability. If you are making a gift, consider the recipient’s home decor. A rustic, chunky yarn in neutral tones fits almost any style, while a soft, pastel-colored acrylic is perfect for a baby shower gift. You can even personalize a blanket by adding a large crochet initial in one of the corners.
Care and Storage Tips
To keep your handmade throw looking new, always check the yarn label for washing instructions. Most modern acrylics are machine washable, which is ideal for everyday blankets. When storing your blankets, fold them neatly and place them in a cool, dry area. Avoid hanging heavy blankets, as the weight can distort the stitches over time.
FAQ
How do I keep the edges of my blanket straight?
The best way to keep edges straight is to use stitch markers on your first and last stitches. This prevents you from accidentally skipping the very last stitch or working extra stitches into the turning chain.
What is the best yarn for a first-time blanket maker?
A smooth, medium-weight (worsted) acrylic or acrylic/wool blend is best. Avoid novelty, fuzzy, or dark-colored yarns, as these can make it difficult to see your stitches and identify where to insert your hook.
How do I calculate how much yarn I need?
A general rule of thumb is to check the yardage listed on your pattern. If you are designing your own, aim for at least 1,500 to 2,000 yards for a standard lap-sized throw. It is always better to buy an extra skein than to run out mid-row.
Does the foundation chain count as a row?
In most patterns, the foundation chain does not count as a row. You will usually start your first row of stitches into the second or third chain from the hook, depending on the stitch height.
Why does my blanket curl at the corners?
Curling often happens because there aren’t enough stitches in the corners to allow the fabric to “turn” smoothly. If your corners are curling, try adding one extra stitch into each corner during your border rounds.
Conclusion
Embarking on a crochet blanket project is such a lovely way to spend your time. Whether you choose a simple, meditative stich or a complex, intricate pattern, the time you pour into every loop and pull is what makes the finished piece so special. Don’t be afraid to make mistakes—they are simply part of the learning process, and often, even the most seasoned crocheter finds beauty in a slightly “perfectly imperfect” stitch.
Take your time, enjoy your yarn, and remember that every row brings you closer to a beautiful, cozy creation that will bring warmth to your home for years to come. Happy stitching!