
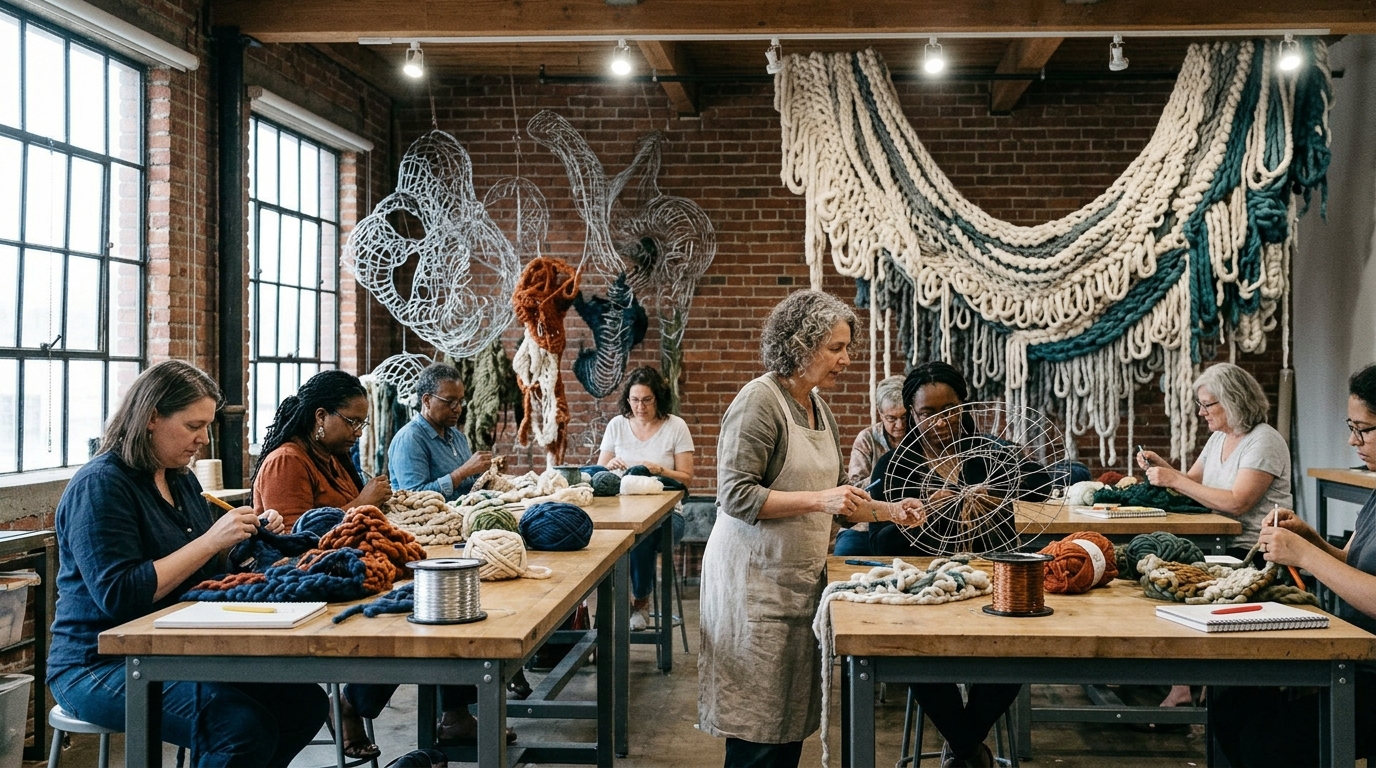
There is something truly magical about the way a simple length of yarn can transform into an heirloom-quality piece with just a hook and a little bit of patience. Whether you are a curious beginner picking up your first skein or an experienced crafter looking to refine your technique, diving into the world of elevated fiber arts feels like coming home. Have you ever wondered what separates a “homemade” project from a professional-looking, boutique-style creation? Often, it’s not just the materials, but the mastery of advanced techniques—the kind taught in dedicated crochet academies—that elevates a simple craft into a refined art form.
In this guide, we are focusing on creating a “Lacy Garden Pathway Shawl.” This project is designed specifically to help you bridge the gap between basic stitches and the intricate, airy lace that makes fiber arts so breathtaking. We will walk through the process of building structure, ensuring consistent tension, and finishing your work so it looks like it came straight from a curated craft studio. You’ll find that when you slow down and focus on the nuances of your stitch placement, the entire rhythm of your crochet changes. Let’s sit in a cozy corner, grab a cup of tea, and prepare to bring this beautiful, wearable piece of art to life.
Quick Project Overview
This shawl is designed for the modern maker who loves a project that feels sophisticated yet approachable.
- Skill Level: Intermediate (or an ambitious beginner ready to learn lace motifs).
- Estimated Time: 12–15 hours, depending on your speed.
- Finished Size: Approximately 60 inches wide by 30 inches deep at the center point.
- Best Use: This is perfect for breezy spring evenings, as a delicate cover-up for a summer wedding, or as a thoughtful handmade gift for someone who appreciates elegant, functional items.
- Why You’ll Love It: You will master the art of the “V-stitch” and learn how to manage tension in an open-work pattern. Plus, the final drape is absolutely buttery and soft against the skin.
Materials Needed
To achieve the best result, choose a yarn with natural fiber content.
- Yarn: 3 skeins (approx. 1,100 yards) of a fingering weight or sport weight yarn. A blend of wool and silk or bamboo gives the most beautiful drape.
- Crochet Hook: Size G/6 (4.0 mm). Always use the hook size that gives you the best drape; if your stitches feel too stiff, try moving up a half-millimeter.
- Tapestry Needle: For weaving in your ends securely.
- Measuring Tape: To ensure your triangle remains symmetrical as you grow.
- Blocking Pins and Mat: Essential for opening up the lace holes once the project is finished.
Stitches and Abbreviations
- Chain (ch): The foundation of most crochet projects.
- Single Crochet (sc): The most basic, sturdy stitch.
- Double Crochet (dc): A taller stitch that creates the height for our lace.
- Slip Stitch (sl st): Used for joining rounds or moving across a row without adding height.
- V-Stitch (V-st): (dc, ch 1, dc) all in the same stitch. This is our primary design element.
- Fasten Off: Cutting the yarn and pulling it through the final loop to secure it.
- Weave in Ends: The process of burying yarn tails into the back of your work for a clean finish.
Pattern Notes Before You Start
- Tension: Because this is a lace project, do not pull your yarn too tightly. You want the stitches to be relaxed so the finished shawl has an ethereal, fluid quality.
- Turning Chains: We will use a ch-3 as a starting dc throughout. This counts as a stitch.
- Construction: We will work from the top center out toward the bottom point, increasing steadily in every row to form a wide triangle.
- Marker Tip: If you struggle to find the center stitch, use a locking stitch marker to identify the middle peak. It will save you from having to recount your rows constantly.
Full Crochet Pattern
This pattern is worked in rows. You will be building out from the center to create a triangle shape.
Part 1: The Foundation
Start with a slip knot and chain 4. Join with a sl st to the first chain to form a tiny ring.
Part 2: Building the Core
Row 1: Ch 3 (counts as dc), work 2 dc into the ring, ch 2, work 3 dc into the ring. Turn. (Total of 6 dc and 1 ch-2 space).
Row 2: Ch 3, dc in the same stitch. Dc in the next 2 sts. In the ch-2 space, work (2 dc, ch 2, 2 dc). Dc in the next 2 sts, 2 dc in the last st. Turn.
Part 3: Establishing the V-Stitch
Row 3: Ch 3, dc in the same stitch. Ch 1, skip 1, dc in next st. Repeat from to until you reach the center ch-2 space. Work (dc, ch 2, dc) in the ch-2 space. Repeat across the other side, ending with 2 dc in the final stitch.
Row 4: Ch 3, dc in the base of the ch-3. Skip the next dc, work a V-st (dc, ch 1, dc) in the next dc space. Continue across to the center. Work (2 dc, ch 2, 2 dc) in the center space. Work V-sts across the second half, ending with 2 dc in the final top of the turning chain.
Part 4: Consistency and Growth
Continue repeating Row 4. As you progress, you will notice the triangle growing uniformly. Ensure you are always placing your center increase (2 dc, ch 2, 2 dc) in the center ch-2 space. This is what keeps the shawl flat and shaped like a triangle rather than a circle. Continue until the shawl reaches your desired wingspan, or until you have one skein of yarn remaining.
Part 5: The Final Border
To finish, work one row of (sc, ch 3, picot) into every V-stitch space. This creates a beautiful, scalloped edge that gives the shawl a professional, boutique look.
Step-by-Step Tutorial Explanation
When you look at your work, you should see a clear “spine” running down the center of the triangle. If you do not see this, you may have missed an increase in one of your rows. Don’t worry if this happens—crochet is an forgiving art. Simply unravel back to the row where the count went wrong.
The V-stitches should look uniform. If some look loose and some look tight, this is a sign of tension fatigue. Take a break! Crochet for 30 minutes at a time rather than three hours; your hands will thank you, and your stitches will look much more consistent.
Common Mistakes to Avoid
- The Twisted Chain: If your foundation chain is twisted, your work will naturally curve. Always lay your chain flat on a table before joining to ensure it’s straight.
- Skipping the Center Increase: If you forget the (2 dc, ch 2, 2 dc) in a row, the shawl will begin to look like a trapezoid or a rectangle. Check your center stitch every time you pass it.
- Tight Finishing: Avoid pulling your final knot too tight. It should be firm but not distorted.
- The “V” Gap: Ensure you are working your V-stitch into the ch-1 space of the previous row, not just into the stitches themselves. This is what creates that signature “lacy” look.
Pro Tips for a More Beautiful Result
The biggest difference between a beginner and a master crocheter is the blocking process. Once your shawl is finished, soak it in cool water with a little bit of wool wash. Gently squeeze (do not wring) the water out using a clean towel. Lay it flat on a blocking mat or even a clean carpet, and pin it into the shape of a perfect triangle. Let it dry completely. This “stretches” the lace and opens up the stitches, giving the finished project that airy, professional drape.
For your color palette, start with a solid, neutral color (like cream, sage green, or dusty rose) for your first lace project. It allows you to see your stitch placement much more clearly than variegated or dark yarns.
Variations and Personalization Ideas
- The Beaded Edge: If you want a bit of glamour for a evening event, thread small glass beads onto your yarn before you start the border. Incorporate one bead into each picot stitch.
- The Striped Look: You can use multiple colors to create a gradient effect. Just remember to change colors at the end of a row for the cleanest transition.
- Seasonal Styling: Use a thicker cotton-blend yarn in the fall for a wrap that is slightly more substantial. Use a bamboo or silk blend in the spring for maximum softness.
Care Instructions
Hand wash your shawl in cool water using a gentle, pH-neutral soap. Never toss this piece in a washing machine, as the lace delicate-work can easily tangle or snag. Lay it flat to dry. If you find the lace looks a bit “tired” after a season of wear, a light steam-blocking usually brings back the crisp, defined shape of the stitches.
FAQ
How do I know if my tension is too tight?
If your shawl is stiff and doesn’t want to “drape” or fold easily, your tension is likely too tight. Try going up one hook size. If that doesn’t work, consciously relax your shoulders while you crochet.
Can I change the size of the shawl?
Absolutely! Since this is a triangle, you can stop at any point. If you want a smaller kerchief-style scarf, stop when you get to 40 inches. If you want a dramatic wrap, keep going until you run out of yarn.
Why does my edge look uneven?
This often happens if you are missing the final stitch in a row. Always count your stitches at the end of each row. The “turning chain” is a stitch—don’t forget to work into it!
What is the best yarn for lace crochet?
Look for fibers that have high “stitch definition,” such as wool, alpaca, or a tightly spun bamboo. Avoid “fuzzy” yarns like mohair or thick acrylics for your first lace project, as they can hide your stitch mistakes and make the lace look cluttered.
How do I join a new skein of yarn invisibly?
The best way is to finish your join during a stitch. When you have about 6 inches of yarn left, pull the new color through as you finish the final loop of your last stitch. Use your tapestry needle to weave both ends into the back side of the work along the path of the stitches.
Conclusion
Mastering advanced techniques, such as the open-work lace we practiced today, is a journey that lasts a lifetime. By focusing on your tension, blocking properly, and understanding the architecture of your stitches, you have transformed a simple ball of yarn into a wearable piece of art. Crochet is about more than just the finished object—it is about the peace you find in the rhythm of the hook, the creativity involved in choosing your colors, and the pride you feel when you wear your handmade creation.
Continue to practice these stitches and don’t be afraid to experiment with new patterns. You are now part of a community of makers whose work is both functional and beautiful. Happy stitching!