
Introduction
There is something truly magical about taking a simple ball of yarn and a crochet hook and transforming it into a tiny, lovable friend. Amigurumi—the Japanese art of knitting or crocheting small, stuffed yarn creatures—has taken the crafting world by storm, and it is easy to see why. Whether you are looking to create a thoughtful handmade gift for a baby shower, a whimsical addition to your desk accessories, or simply a cozy afternoon project that fills your heart with joy, amigurumi offers endless creative possibilities.
If you are a beginner, you might feel a bit intimidated by the idea of shaping yarn into a 3D figure, but I want to reassure you: if you can master a single crochet stitch and the “magic ring,” you are already halfway to creating your first pet masterpiece. This guide is designed to walk you through the essential techniques that go beyond the basic stitches. We will explore how to achieve that perfect, tight tension that keeps your stuffing hidden, how to create seamless increases and invisible decreases, and how to bring personality to your creations through simple embroidery and finishing touches. Let’s embark on this charming journey together and learn how to bring your favorite pets to life, stitch by tiny stitch.
Quick Overview
- Skill Level: Beginner-Friendly Intermediate. While the stitches are basic, the construction requires attention to detail.
- Time Commitment: Most small animal projects take between 2 to 5 hours, depending on complexity.
- Purpose: Ideal for heartfelt DIY gifts, nursery decor, or building your technical repertoire as a crafter.
- What You Will Learn: This guide focuses on the “secrets” of amigurumi—shaping, stuffing, assembly, and those subtle flourishes that turn a simple yarn ball into a character with true personality.
Materials and Tools Needed
To create professional-looking amigurumi, your tool selection is just as important as your yarn choice.
- Yarn: For beginners, a smooth, cotton-blend worsted weight or a high-quality acrylic yarn is best. A solid color helps you see your stitches clearly.
- Crochet Hook: Choose a hook that is one or two sizes smaller than the recommendation on your yarn label. This helps create a tighter fabric, which is essential for ensuring your poly-fill stuffing doesn’t peek through the gaps.
- Stuffing: High-quality polyester fiberfill is standard.
- Safety Eyes/Noses: These plastic components add an instant “alive” look to pets.
- Tapestry Needle: A bent-tip needle is particularly helpful for sewing parts together.
- Stitch Markers: Absolutely essential for working in continuous rounds.
- Small Scissors: For precise trimming of yarn ends.
Crochet Terms and Key Concepts
Amigurumi is almost exclusively worked in what we call “continuous rounds.” This means you do not slip stitch or chain to join at the end of each round. Instead, you move in a spiral.
- Magic Ring (MR): The foundation of almost all amigurumi. It allows you to cinch the center of your work tightly closed.
- Single Crochet (sc): The workhorse stitch of amigurumi. It is sturdy and keeps the stuffing inside.
- Increase (inc): Working two single crochet stitches into one stitch to expand the piece.
- Invisible Decrease (invdec): The “secret” to smooth shaping. Instead of traditional decrease (where you draw up loops in two stitches), you insert your hook only into the front loops of the next two stitches, yarn over, pull through, and finish your single crochet. This creates a visually seamless surface.
- Fasten Off: Cutting your yarn and pulling the tail through the final loop to secure it.
Helpful Notes Before You Start
The most common struggle for those new to this craft is tension. If your work looks “holey,” your stitches are likely too loose. Try holding your yarn a bit tighter, or consider dropping down a hook size. Remember that amigurumi is worked on the “right side.” As you build your rounds, you might notice the work wanting to curl inward—this is normal! Just push the bowl-like shape outward so that the smooth “V” shapes of your stitches are facing you.
Main Tutorial: Bringing Your Amigurumi to Life
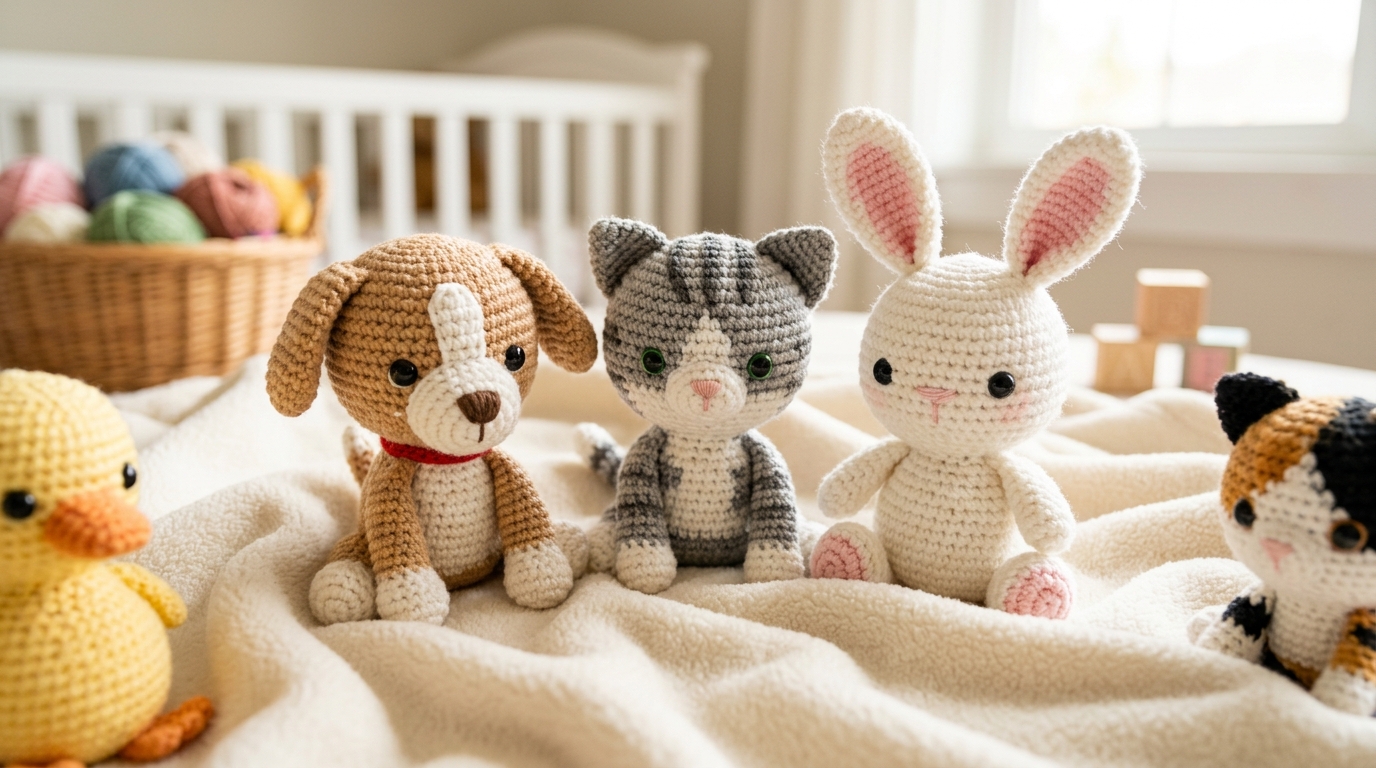
We will focus on the foundational techniques for creating a basic animal shape, which you can then customize into a cat, dog, bunny, or bear.
Part 1: The Foundation and Shaping
Always start with a Magic Ring. For most small animals, a 6-stitch MR is the industry standard. Work your increases in a consistent pattern (e.g., 6, 12, 18, 24) to maintain a perfect circle. When shaping, think of your project as a collection of geometric forms: spheres for heads, cylinders for limbs, and ovals for bodies. If you want a teardrop shape—common for sitting animals—increase your number of rounds before beginning your decreases.
Part 2: The Invisible Decrease
This is a game-changer. When you reach the stage of closing your rounds, do not use the standard “yarn over, pull up” method for decreases, as it leaves a bulky bump. Use the invisible decrease: insert your hook under the front loop of the first stitch, then immediately under the front loop of the second stitch. Yarn over, pull through two loops, then yarn over and pull through the remaining two. This hides the decrease and keeps the “V” pattern of your stitches consistent throughout the piece.
Part 3: Stuffing Science
Do not stuff all at once. Stuff as you go. If you are making a limb, add a small amount of fiberfill after every few rounds. When filling the head, use small tufts rather than one big clump to ensure an even shape. Use the back of a crochet hook or a chopstick to push stuffing into tight corners like ears, tails, or paws.
Step-by-Step Assembly
Assembly is where your project shifts from “yarn project” to “companion.”
- Pinning: Never trust your eyes alone. Use sewing pins to secure limbs to the body before you sew them. This allows you to check the silhouette from all angles.
- The Whip Stitch: When attaching arms or legs, use a matching yarn tail and a whip stitch, going through the underside of the limb and then catching a stitch on the body.
- Hiding Ends: Always tie your knots inside the body. Use your needle to thread the yarn tail through the body and out again, then trim close to the surface—the tail will snap back inside where it cannot be seen.
Common Mistakes to Avoid
- The “Twisted” Starting Point: If your first round looks like a mess, don’t force it. The magic ring should slide smoothly. If it doesn’t, redo it!
- Ignoring Stitch Markers: Working in continuous rounds means it is very easy to lose your place. Always mark the first stitch of every round.
- Stretching the Plastic Eyes: If you are using safety eyes, ensure they are placed before you stuff the head firmly. Once the stuffing is packed in, it can be very difficult to secure the washers on the back of the eyes.
- Overstuffing: It is tempting to make them very firm, but overstuffing can cause your stitches to stretch and reveal the white fiberfill inside. Aim for a firm “squish,” not a “bursting” feel.
Pro Tips for a Better Result
- Customizing Personality: You can change the entire mood of an animal by shifting eye placement. Eyes placed closer together look young and innocent; eyes placed wider apart look older and wiser.
- Embroidery Flourishes: Don’t underestimate the power of a simple white highlight on a black safety eye. A tiny stitch of white yarn at the top of the eye adds an instant spark of life.
- Color Changes: To change colors seamlessly without a jagged “step,” pull the new color through during the final yarn over of the last stitch of the previous color.
- Blocking (The Secret Weapon): Even amigurumi can be lightly steamed. A brief burst of steam from a steamer (do not touch the iron to the yarn!) can help settle the stitches and round out any lumps in your shape.
Variations and Personalization
Once you have mastered the basic animal shape, the world is your oyster.
- Texture: Use a fuzzy or eyelash yarn for a teddy bear effect.
- Accessories: Crocheting a tiny scarf or a little flower to place behind an animal’s ear can make the piece feel extra special for a gift.
- Features: A little pink blush, made by lightly dabbing a tiny amount of real cosmetic blush onto the cheeks (using a Q-tip), can add a sweet, rosy glow to your amigurumi characters.
Care and Storage
Amigurumi are delicate handmade friends! If they collect dust, use a lint roller or a piece of clear tape to gently lift debris. If a wash is necessary, place the project in a mesh laundry bag and wash on a gentle, cold cycle. Always air dry; the heat of a dryer can melt synthetic fibers or distort the shape of the poly-fill.
FAQ
How do I join rounds in amigurumi?
In traditional amigurumi, you generally do not join rounds. You work in a continuous spiral style, using a stitch marker to keep track of the start of each round. This eliminates that unsightly “seam” line that occurs when you slip stitch to join.
Are safety eyes really safe for kids?
Safety eyes are designed with a locking washer, but they are not recommended for children under the age of three. If you are making a gift for a baby, it is much safer to embroider the eyes using black yarn or embroidery floss to avoid any choking hazards.
Why is my circle looking like a hexagon?
This happens when your increases are stacked in the same spot every round. To avoid this, “stagger” your increases. For example, if your pattern calls for “6 single crochet, 1 increase,” try doing 3 single, 1 increase, then continue with the 6 single, 1 increase pattern. This helps distribute the increases and creates a more natural, rounded edge.
How do I fix a hole in my magic ring?
Don’t worry! This is very common. When you finish your project, just thread the starting yarn tail onto a needle, weave it through the stitches of the first round, and pull firmly to cinch the ring completely closed before securing it.
Can I mix yarn weights in one project?
It is generally best to stick to one weight of yarn for the entire piece. If you use a thin yarn for the ears and a thick yarn for the body, the proportions will look uneven, and the tension will be difficult to manage.
Conclusion
Creating your own collection of crocheted animals is one of the most rewarding ways to spend your crafting time. Each little creature that leaves your hook has its own spirit, shaped by your hands and your care. Remember that every crochet master started exactly where you are right now—with a hook, some yarn, and an eagerness to learn. Don’t be afraid to make mistakes; a lopsided ear or a slightly off-center nose is often exactly what gives your handmade work its charm and personality.
I hope this guide has given you the confidence to dive into your next project. Whether you are creating a classic teddy bear, a whimsical woodland creature, or a custom pet inspired by your own furry friend, cherish the process. Crochet is a journey of patience and creativity, and having a handmade companion to show for it is the ultimate reward. So, pick up your hook, choose a beautiful yarn color that makes you smile, and get to creating—the world could always use a little more handmade kindness. Happy stitching!