
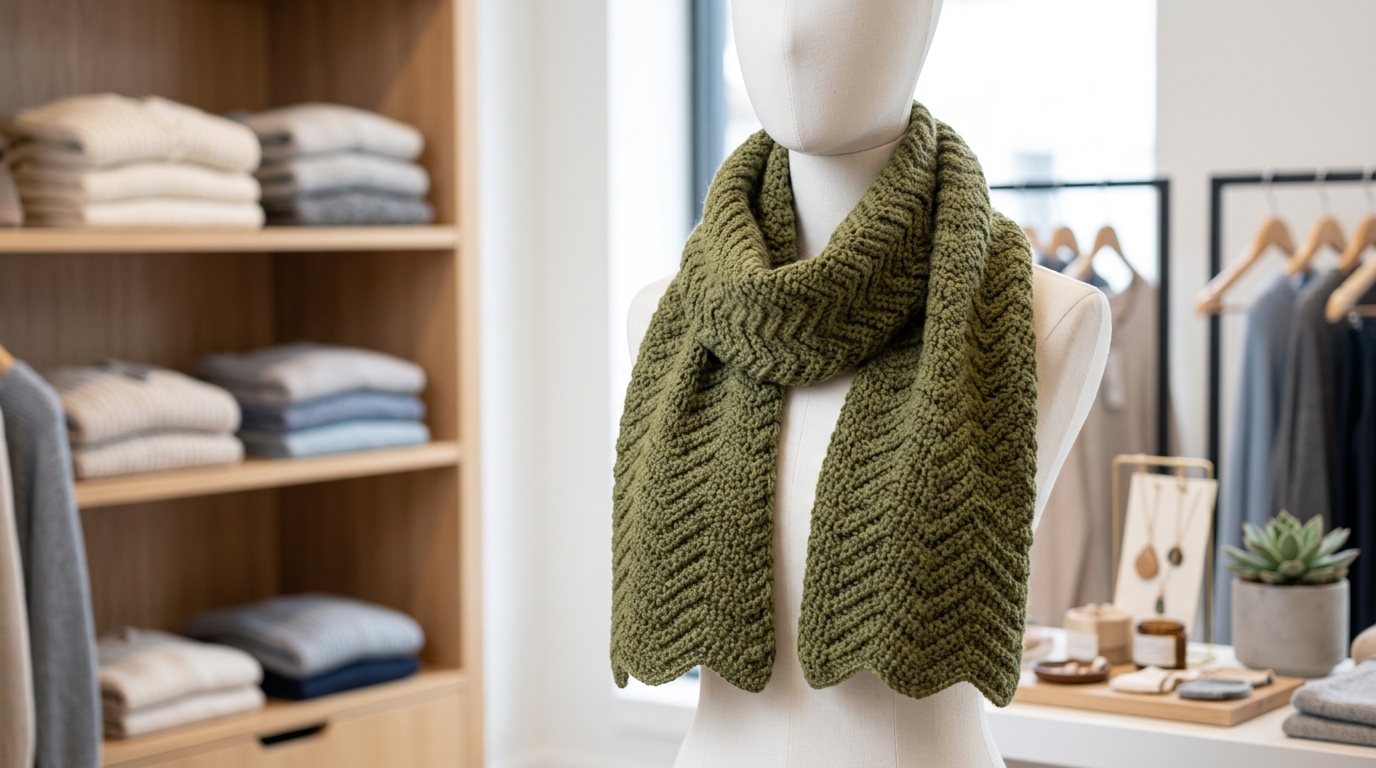
There is something inherently magical about grabbing a crochet hook and a soft skein of yarn on a chilly afternoon. Whether you are looking to create a thoughtful handmade gift for a loved one or simply want to treat yourself to a new accessory that feels like a warm hug, a crochet scarf is the ultimate project. The beauty of a scarf lies in its simplicity; it is a long, rhythmic canvas that invites you to slow down, breathe, and enjoy the meditative motion of each stitch.
If you have ever felt overwhelmed by the endless options in the crochet world, you are not alone. Choosing the right texture for a scarf can be the difference between a project that sits in your “to-do” basket forever and one that becomes your absolute favorite accessory. We are looking for stitches that offer a lovely drape—something that feels fluid around the neck rather than stiff or bulky. This tutorial is designed to guide you through a timeless, beginner-friendly, yet sophisticated stitch pattern that provides just the right amount of squish and elegance. Whether you are a total beginner picking up a hook for the first time or an intermediate maker looking for a relaxing project to work on during your favorite show, this guide will help you create a piece you will be proud to wear for years to come.
Quick Project Overview
- Skill Level: Beginner-friendly.
- Estimated Time: 6 to 10 hours, depending on your speed.
- Finished Size: Approximately 7 inches wide by 60 inches long.
- Best Use: An everyday accessory for autumn and winter, or a thoughtful handmade holiday gift.
- Why You Will Love It: The stitch chosen for this pattern creates a beautiful, dense, yet flexible fabric. It avoids the “board-like” feeling that some thicker stitches have, ensuring it drapes elegantly when wrapped around your neck.
Materials Needed
To achieve that dreamy, soft drape, selecting the right yarn is your first step. I highly recommend a DK-weight or light worsted-weight yarn.
- Yarn: Approximately 450 yards of a wool or merino blend for warmth and softness. If you have sensitive skin, an alpaca or a high-quality acrylic blend works beautifully.
- Crochet Hook: Size H/8 (5.0 mm). Always check your gauge, but this size is generally the “sweet spot” for ensuring the stitches aren’t too tight.
- Tapestry Needle: For weaving in your ends securely.
- Scissors: Any sharp pair will do.
- Blocking Mats and Pins: Optional, but highly recommended for a professional, polished finish.
Stitches and Abbreviations
We will use standard U.S. crochet terminology throughout this pattern.
- Ch (Chain): Yarn over, pull through the loop on your hook.
- Sc (Single Crochet): Insert hook into stitch, yarn over, pull up a loop, yarn over, pull through both loops on hook.
- Dc (Double Crochet): Yarn over, insert hook into stitch, yarn over, pull up a loop, yarn over, pull through two loops twice.
- St (Stitch/Stitches): The individual loops of your work.
- Sk (Skip): To bypass a stitch or a chain.
Pattern Notes Before You Start
This pattern relies on a variation of the “Moss Stitch” combined with double crochets to create a textured, draping fabric. One of the most common mistakes in scarf making is tension. Because we want a nice drape, keep your hands relaxed. If you find your foundation chain is curling or is too tight, try using a hook one size larger specifically for the beginning chain. Don’t worry if your edges look a little messy at first; the pattern includes a simple border that will clean everything up perfectly at the end.
Full Crochet Pattern
Part 1: The Foundation
Start by making a slip knot and placing it on your hook. Chain an even number. For this scarf width, start with 32 chains.
Part 2: The Main Body
Row 1: Dc in the 4th chain from the hook (this counts as your first dc and a turning chain). Dc in every chain across until you reach the end. Ch 3, turn. (You should now have 30 stitches total).
Row 2: Skip the first dc. Dc in the next stitch, ch 1, skip 1 stitch. Repeat from to across, ending with a dc in the top of the turning chain from the previous row. Ch 3, turn.
Row 3: Dc in the first chain-1 space. Ch 1, skip the next dc, dc in the next chain-1 space. Repeat from to across, finishing with a dc in the top of the turning chain. Ch 3, turn.
Row 4 and beyond: Repeat Row 3 until your scarf reaches your desired length—usually about 60 inches—ending on a row that mirrors your beginning.
Assembly
Once your scarf is the desired length, do not fasten off yet. Your piece should look uniform and have a lovely, light weight to it thanks to the chain-1 spaces.
Border
To give your scarf a professional look, we will crochet one round of single crochet around the entire perimeter.
Chain 1 at the corner. Work sc stitches evenly down the long side of the scarf. When you reach the corners, work 3 sc in the same stitch to help the corner lie flat. Continue working down the other long edge and across the ends. Join with a slip stitch to the first sc and fasten off.
Finishing
Cut your yarn, leaving a 6-inch tail. Use your tapestry needle to weave the ends back and forth through the stitches on the back side of the scarf. Trim any excess yarn, but do not cut too close to the knot to ensure the ends don’t pop out after washing.
Step-by-Step Tutorial Explanation
When you finish your first few rows, it might look like a simple grid. As you progress, you will see how the double crochet stitches “stack” on top of the chain spaces. This is the secret to a great drape. By skipping stitches and adding chains, we are technically creating a slightly “holey” fabric, which allows the yarn to move freely rather than locking into a rigid structure. If you find that the scarf feels a little stiff, go up a half-size in your hook. If it feels too gappy, go down a half-size.
Common Mistakes to Avoid
The most frequent error is “the accidental increase.” Beginners often add a stitch at the end of every row without realizing it, resulting in a scarf that grows wider as it grows longer—creating a triangular shape instead of a rectangle. Always count your stitches at the end of each row. Another common pitfall is the “twisted foundation.” Before you start your first row, lay your chain flat on a table to ensure it isn’t twisted before joining or turning. Finally, watch your tension on the turning chains; if these are too tight, the edges of your scarf will look pinched and uneven.
Pro Tips for a More Beautiful Result
- Block for Success: This is the most important “intermediate” step. Once your scarf is finished, dampen it slightly with a spray bottle, lay it flat on a towel, and gently stretch it to the desired dimensions. Pin it in place and let it dry completely. This aligns the stitches and transforms a “homemade” project into a “handmade boutique” piece.
- Color Palette: If this is your first scarf, consider using a solid color to really showcase the beauty of the texture. If you choose a variegated yarn, the texture will be less noticeable, so keep that in mind when selecting your materials.
- Yarn Choice: Avoid heavy, stiff cotton yarns for scarves if you want a soft, fluid drape. Look for fibers labeled “soft,” “baby,” or “merino” for the best physical results when wearing the scarf.
Variations and Personalization Ideas
For a more rustic, cozy look, you can add fringe to the ends using leftover yarn. Simply cut 10-inch lengths of yarn, fold them in half, and use your crochet hook to pull them through the edge stitches, securing them with a lark’s head knot. If you are making this for a warmer season, consider using a bamboo or linen blend yarn and increasing your hook size to create a light, lacy wrap. You can also experiment with alternating rows of two different colors to create a bold, modern striped effect.
Care Instructions
Handmade items deserve a little extra love. Always hand wash your scarf in cool water using a gentle wool-safe detergent. Never wring or twist the scarf, as this can distort the shape. Instead, lay it flat between two clean towels and press down gently to absorb the excess water. Reshape it on a flat surface and let it air dry away from direct sunlight. Store it folded in your drawer rather than hanging it, as weighted hanging can stretch the natural fibers over time.
FAQ
Is this scarf pattern suitable for absolute beginners?
Yes! This pattern uses basic stitches—double crochet and chains—making it an excellent choice for a first-time project after you have mastered the basics of holding a hook.
Does the yarn weight matter for this pattern?
It does. I recommend using the yarn weight specified in the pattern (DK or light worsted) for the intended drape. If you use a bulky yarn, the scarf will be much thicker and less fluid.
How do I fix a mistake if I find one three rows back?
Don’t panic! You can use the “frog” method—simply pull your hook out and gently pull the yarn until you reach the stitch before the mistake. It can be discouraging, but every crocheter has “frogged” work before; it is part of the learning process.
Can I make this scarf wider or narrower?
Absolutely. Since this pattern is worked in a repetition of stitches, simply increase or decrease your starting chain by 2 to adjust the width to your preference.
Should I use a synthetic or natural yarn?
Natural fibers like wool or alpaca offer the best drape and warmth. However, high-quality acrylics are wonderful for durability and easy care. Choose the one that fits your lifestyle and budget.
Conclusion
Creating a scarf is one of the most rewarding journeys in the crochet world. There is a quiet beauty in turning a humble ball of yarn into something that provides warmth and comfort to someone you care about. Remember, the goal is not perfection, but the joy of the process. If your tension is a little uneven or your stitches aren’t perfectly uniform, don’t worry—those tiny variations are the hallmark of a beautiful, handmade item created with love.
I encourage you to set aside an hour this weekend, pick out a color that makes you feel happy, and start your first row. You will be surprised at how quickly those rows grow and how therapeutic the rhythm of the hook can be. If you enjoyed this tutorial, keep experimenting with different yarns and textures. There is always a new project waiting to be discovered, and I am so glad that you chose to share this creative time with me. Happy stitching!