
Introduction
Welcome to the wonderful, rhythmic, and deeply rewarding world of crochet! There is something truly magical about taking a single strand of yarn and a hooked tool and transforming it into something soft, structural, and entirely your own. If you have been admiring cozy handmade blankets, delicate baby booties, or stylish accessories on your social media feeds and thinking, “I wish I could do that,” you are in exactly the right place. Crochet is more than just a hobby; it is a way to slow down, practice mindfulness, and express your unique creativity.
Many people feel intimidated when they first look at a crochet pattern, but I want to reassure you right now: crochet is a skill, not a talent. Anyone, with a little patience and a bit of guidance, can master the basic movements. This guide is designed to be your best friend as you navigate your very first steps with your crochet hook. We will move past the confusion and focus on the fundamentals that turn yarn into beautiful, handmade reality. Whether you are picking up your first skein of yarn today or you’ve tried in the past and felt discouraged, this is your invitation to start fresh. Let’s unravel the mysteries of crochet together, keep it simple, and get you ready to create your very first project with confidence.
Quick Overview
In this guide, you will learn the absolute essentials to begin your crochet journey. We are focusing on foundational knowledge: understanding tools, learning basic terminology, and mastering the core techniques that appear in almost every pattern you will ever encounter. This information is designed specifically for beginners who want a solid base, but it also serves as a great refresher for any maker who feels they could use a little more polish on their technique. By the time you reach the end, you will understand how to choose your gear, how to hold your hook and yarn with ease, and how to read the language of patterns so you can start stitching your first square or scarf with total peace of mind.
Materials to Get Started
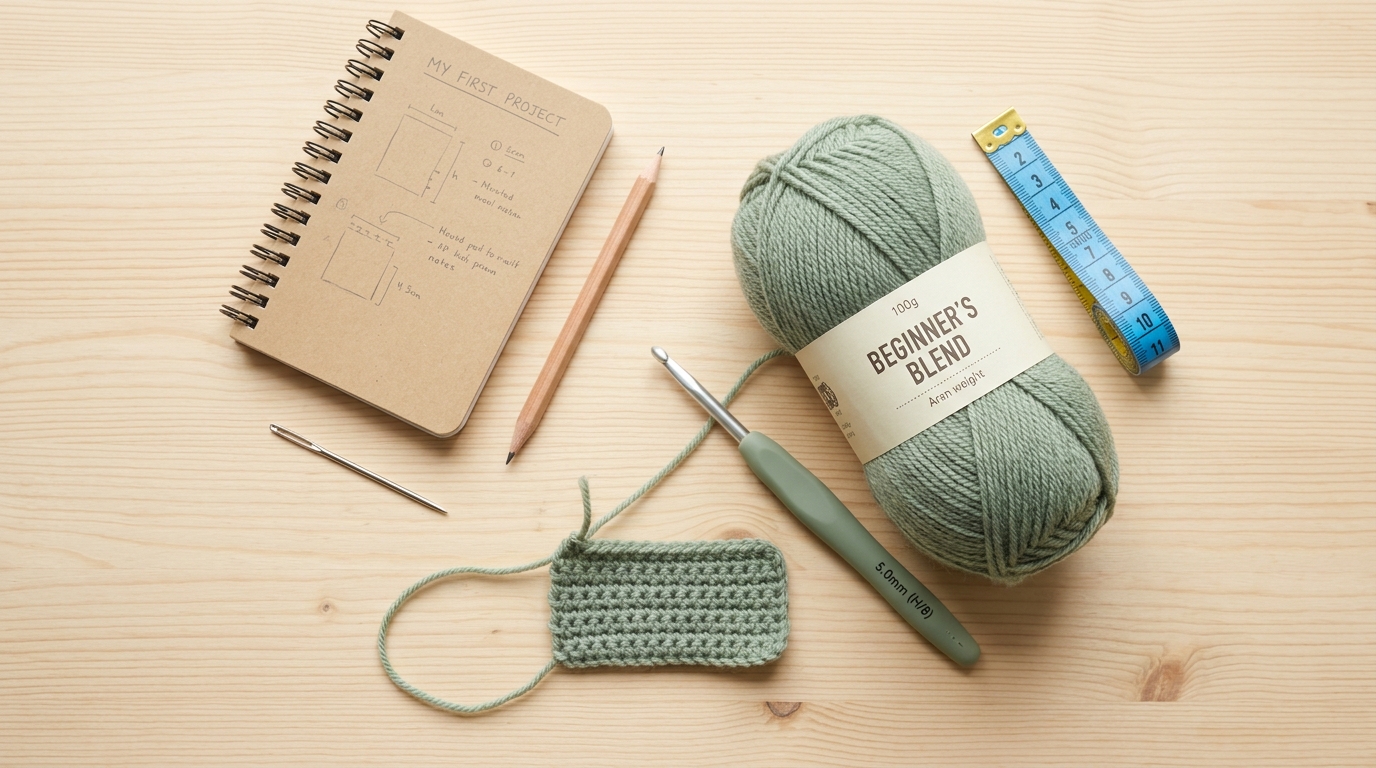
You do not need a fancy craft room or an expensive collection of tools to start crocheting. In fact, starting with just a few intentionally chosen items will make your learning process much smoother.
- Yarn: For your first project, avoid dark, fuzzy, or mohair-style yarns. Instead, look for a smooth “worsted weight” yarn (often labeled as a number 4 medium weight). Light-colored yarns, such as cream or light gray, are best because they allow you to see exactly where your hook should go, making counting stitches a breeze.
- Crochet Hook: A standard size H/8 (5.0 mm) hook is the “Goldilocks” size—perfect for most beginners. Aluminum hooks are fantastic because they allow the yarn to glide easily, which reduces frustration.
- Stitch Markers: These are small, colorful plastic clips, but they are a lifesaver. Even if you think you don’t need them, grab a pack. They help keep track of your first and last stitches so your edges stay straight.
- Yarn Needle: You will need a large-eye, dull-tipped needle to weave in your tails once you finish a project. It’s the secret to making your work look professional and finished.
- Scissors: Any pair of sharp household scissors will do the trick perfectly.
Understanding Crochet Terms and Language
One of the first things you will notice when looking at patterns is the set of abbreviations. Don’t let them overwhelm you; they are simply a shorthand code designed to save space. Once you learn them, reading a pattern becomes like reading a recipe.
- ch: Chain stitch. This is your foundation.
- sc: Single crochet. This is the shortest, sturdiest, and most common stitch.
- dc: Double crochet. A taller stitch that works up quickly, ideal for blankets and garments.
- st(s): Stitch or stitches.
- sl st: Slip stitch. Used to join rounds or move across a row without adding height.
- tog: Together. Usually used when decreasing, telling you to combine stitches.
Helpful Notes Before You Start
Before you make your first loop, please remember that tension is the biggest hurdle for every beginner. We tend to hold our yarn very tightly when we are nervous or concentrating. If your stitches feel stiff or your hook won’t fit through the loops, take a deep breath and loosen your grip. Your hands should be relaxed, not white-knuckled. Also, remember that “gauge” simply refers to how many stitches fit in a specific area. Don’t worry about gauge for your very first project—your first few rows are for practice, so focus on consistency rather than perfection.
The Foundation: Building Your Skills
Holding Your Tools
There is no “right” way to hold your crochet hook, but there are two main styles: the Pencil Grip (holding it like you’re writing) and the Knife Grip (holding it from above like you’re using a table knife). Try both for five minutes and see which feels more comfortable to you. Most importantly, ensure your yarn hand (usually the left, for right-handed people) has a comfortable way to tension the yarn, perhaps by weaving it through your fingers, so it feeds smoothly as you work.
Mastering the Slip Knot and Chain
Every project begins with a slip knot and a series of chains (the foundation chain). Think of the slip knot as the anchor; it’s the loop that stays on your hook. From there, you will wrap your yarn over the hook and pull it through the loop on your hook to create a chain. Practice making a long string of chains that are all the same size. If they are too tight, you will struggle to put your hook into them; if they are too loose, the edges will look messy. Patience here pays off immensely.
Working the Single Crochet
The single crochet is where the physical fabric begins. Once you have a chain, you will insert your hook into the second chain from the hook, wrap the yarn, pull up a loop (two loops now on your hook), wrap the yarn again, and pull through both loops. This is the “pull up a loop, pull through two” rhythm that you will use in almost every basic stitch. Practice this on a flat row until you feel the muscle memory building.
Step-by-Step Learning Stages
To truly master the craft, break your learning into these manageable stages. Attempting a complicated sweater on day one is a recipe for burnout.
- The Loop Stage: Spend 20 minutes just making slip knots and long chains. Undo them and redo them until the chain looks uniform, like a neat row of little “V” shapes.
- The Flat Square: Practice rows of single crochet. Don’t worry about making a “thing”—just make a small rectangle. This helps you learn how to turn at the end of a row and how to keep your stitch count consistent.
- The Count Check: Every row, count your stitches. It sounds tedious, but it is the number one way to prevent your rectangular piece from turning into a trapezoid or a triangle. If your row starts with 20 stitches, it should end with 20 stitches.
- The Joining Phase: Once you are comfortable with single crochet, try making a simple square and joining a new color. Learning how to fasten off one strand and attach another is an essential skill for all intermediate projects.
Common Mistakes to Avoid
The most common mistake is, ironically, the most fixable: The Twisted Chain. When you start your first row, verify that your chain isn’t twisted like a curly fry before you begin stitching into it. If it is, the whole project will buckle. Another frequent error is missing the first or last stitch. As beginners, we often skip the very first chain of the row because it looks like a knot, or we stop before hitting the final stitch of the row. Using a stitch marker in that first chain will solve this problem instantly. Finally, using the wrong hook size for your yarn type can make your work look “holey” (too big) or rigid (too small). Stick to the size recommended on the yarn label until you feel comfortable experimenting.
Pro Tips for a Better Result
You want your projects to look like they came from a boutique, not a beginner’s basket. The secret is all in the “finishing.” Even if your stitches aren’t perfectly even, you can significantly improve the look of your work through blocking. Once you finish a project, soak it in cool water with a tiny bit of gentle wash, squeeze the water out (gently! never wring it), and lay it flat on a dry towel in the shape you want it to have. Let it dry completely. This relaxes the yarn and evens out your tension miraculously. Also, always weave in your ends securely. Don’t just trim a knot; weave the tail through the back of your stitches in at least two different directions. It makes your work durable and clean.
Variations and Personalization
Once you master the basic single crochet, you have endless options. You can change your yarn color at the end of every few rows to create a beautiful, modern striped effect. You can use different yarn weights—a bulky yarn with a large hook creates a chunky, cozy blanket in just a weekend, while a thin, cotton yarn creates delicate washcloths or coasters. You can also experiment with stitch textures. Once you grasp the single crochet, the double crochet involves just one extra “wrap” of the yarn (a yarn-over) before you insert the hook. This small change creates a taller, drapier fabric that is perfect for scarves and cardigans.
Care, Storage, and Next Steps
To keep your handmade creations looking beautiful, always check your yarn labels for care instructions. Most modern acrylic yarns are machine washable on a gentle cycle, while wool usually requires hand washing. Always store your crochet projects in a clean, dry place, away from direct sunlight, which can fade colors over time. As for your next steps, I encourage you to look for a “granny square” tutorial next. It is the classic rite of passage for every crocheter. It uses all the basic skills you’ve learned and is a fantastic way to learn to work in rounds rather than rows. Most importantly, keep your supplies accessible. If your yarn and hook are tucked away in a closet, you won’t reach for them. Keep them in a pretty basket next to your favorite chair, and you’ll find yourself sneaking in “just one more row” every single day.
FAQ
Is it hard to learn crochet if I am not naturally crafty?
Not at all. Crochet is primarily about muscle memory and repetition. Much like learning to ride a bike or type on a keyboard, your hands will eventually learn the movements instinctively. Don’t worry about being “artistic”; just focus on the rhythm of the hook.
Does it matter if I crochet left-handed?
It doesn’t matter at all! The techniques are identical, just mirrored. If you are left-handed, you can follow any standard tutorial. Many online platforms allow you to search for “left-handed crochet,” and there are creators who specialize in showing you exactly how to hold your hook and tension your yarn for the left hand.
How much does it cost to start?
Crochet is one of the most affordable hobbies. A starter kit with a pair of scissors, a tapestry needle, and a few hooks is inexpensive, and a single skein of high-quality, beginner-friendly yarn usually costs less than ten dollars. You can easily get started for under twenty dollars.
How long does it take to learn the basics?
Most people can learn the basic single crochet stitch and complete a practice square within one to two hours of dedicated, focused practice. It won’t be perfect at first, but within a few days of steady practice, you will feel much more confident.
Can I teach myself using only videos?
Yes, absolutely! There are thousands of incredible, high-quality video tutorials available online. Many learners find that watching a video alongside a printed guide is the best way to grasp how the yarn moves. Don’t feel pressured to get it right the first time; hit “pause” and “rewind” as often as you need.
Conclusion
You have taken the first, most important step by simply being curious about this beautiful craft. Remember, every master of crochet was once exactly where you are today, struggling to hold the hook and wondering how that tangle of yarn would ever become a piece of fabric. The “mistakes” you make early on are simply the evidence of your learning process—they are part of your story as a maker.
Be patient with your hands, be kind to yourself, and celebrate every row you finish. Crochet is a wonderful companion for life, offering a quiet, creative space whenever you need to recharge. Before you know it, you won’t just be learning; you will be creating heirloom-quality gifts for your loved ones and cozy pieces for your home. Keep your hook near your favorite chair, keep your yarn colorful, and most of all, enjoy every single loop. Happy crocheting!