
Introduction
There is something truly magical about picking up a crochet hook for the first time. The rhythmic loop-and-pull motion is more than just a craft; it is a gentle way to unwind, create something tangible with your hands, and eventually find yourself surrounded by cozy, handmade treasures. Yet, almost every crocheter, from the newest beginner to the most seasoned crafter, hits the same familiar hurdle: those jagged, uneven edges that seem to appear out of nowhere despite our best efforts. If you have ever reached the end of a row only to find your project getting slightly wider or narrower, you aren’t doing anything wrong—you are simply learning one of the most important technical skills in the craft.
Creating straight, clean edges is the secret to professional-looking blankets, scarves, and home decor items. It transforms a piece from looking “homemade” in a disorganized way to looking “handmade” with love and precision. In this guide, we are going to explore the nuances of starting and ending your crochet rows. We will look at exactly where to place your first and last stitches, how to handle turning chains, and how to troubleshoot those pesky missing stitches that often result in a tapered edge. Grab a bit of your favorite yarn and a comfortable hook; let’s smooth out those edges together and build your confidence row by row.
Quick Overview
In this educational guide, we will focus on the fundamental techniques for maintaining consistent row edges. You will learn the anatomy of a crochet stitch, how to properly count your stitches to ensure nothing is lost, and the best ways to keep your work straight. This guide is designed for beginners who feel frustrated by shrinking projects and for intermediate crafters looking to refine their finishing techniques. By the end of this resource, you will understand how to identify the “hidden” stitches that often cause edge drama and how to master the turning chain for a clean, polished look every single time.
Understanding Crochet Turning Chains
The turning chain is often the most misunderstood part of crochet. Depending on the stitch you are using, the turning chain serves a very specific purpose: it helps your yarn transition from one row to the next by bringing your hook to the appropriate height. However, the biggest mistake many crocheters make is treating the turning chain as a “real” stitch when it shouldn’t be, or failing to count it when the pattern specifically requires it.
The general rule of thumb is that for short stitches, like the single crochet, the turning chain is typically a “spacer” and doesn’t count as a stitch. For taller stitches, like the double crochet, the chain often counts as your first stitch of the row. If you aren’t sure, always check your pattern notes. If your edges are curling, it is often because you are either working too many or too few chains, or because you are unsure whether that first chain is meant to be occupied by a stitch.
The Anatomy of a Crochet Row
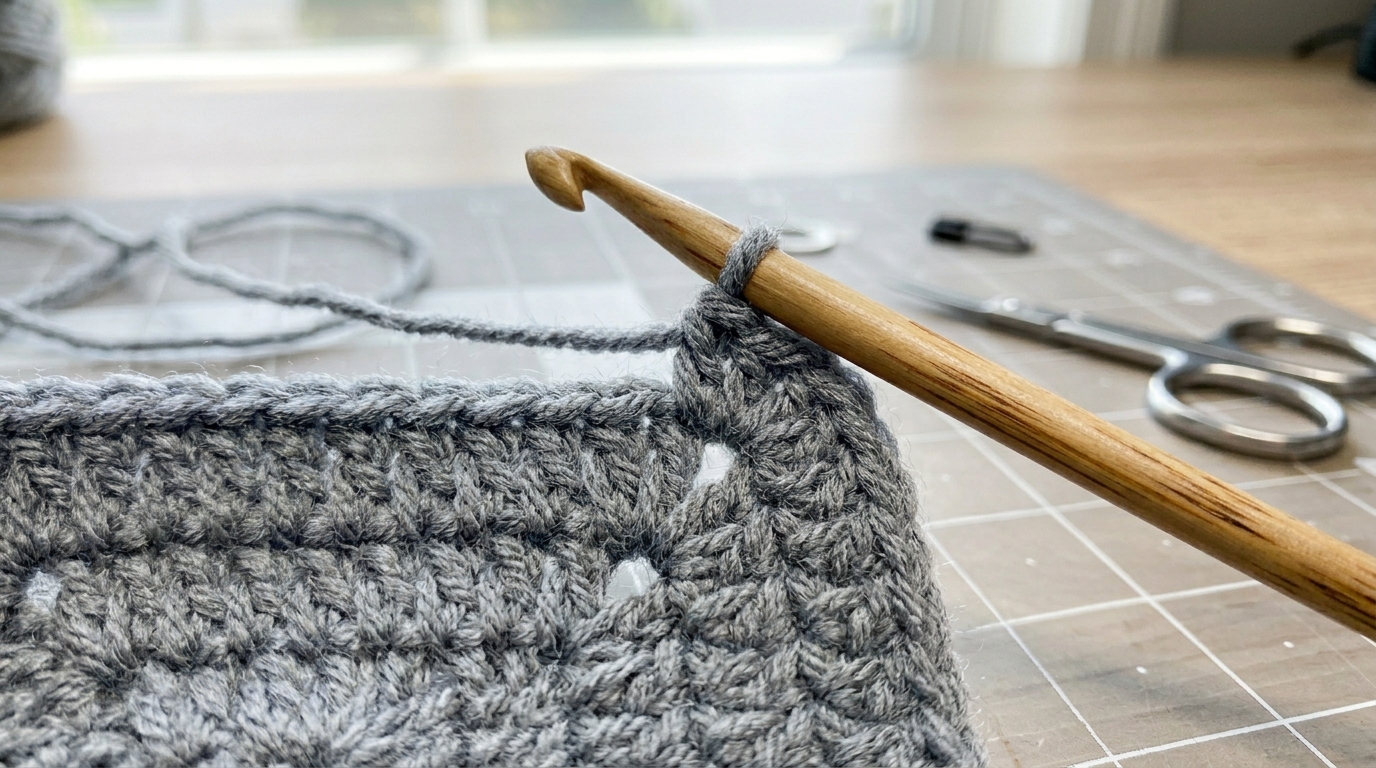
To keep your lines straight, you have to be able to “read” your stitches. When you look at the top of a finished row, you will see a series of “V” shapes. Each “V” is the top of a single stitch. When you work into the next row, you are inserting your hook under both legs of that “V.”
The most common reason for losing stitches is skipping the very last stitch of a row. Because the last stitch can sometimes lean to the side or get pulled tight, it looks like a knot rather than a clear “V.” If you consistently lose stitches, your piece will naturally start to narrow like a triangle. Identifying that final “V” at the end of every row is your number one priority for maintaining straight, clean edges.
Helpful Notes Before You Start
Before you dive into your next project, consider these three foundational tips for edge control:
- Tension is King: If you pull your yarn too tightly at the end of a row, your edges will naturally curve inward. Practice a relaxed grip. Your yarn should flow smoothly off the skein, not fight you.
- Stitch Markers are Your Best Friends: Even if you think you are counting perfectly, the eye can miss a hidden stitch. Place a locking stitch marker in the very first and very last stitch of your row. When you come back to that row, you will know exactly where your work starts and ends.
- Consistency Matters: If you decide to count your turning chain as a stitch, do it for the whole project. If you decide not to, ensure you maintain that decision from row one to the final bind off.
Identifying and Avoiding Lost Stitches
The “vanishing stitch” usually happens at the very end of a row. When you work your last stitch, the fabric often pulls slightly, making the loop of the previous row’s stitch look like it is part of the side edge.
To avoid this, always count your stitches before you turn. If your pattern says you should have 20 stitches, count them. If you only see 19, do not panic! Trace your row backward stitch by stitch. You will likely find the 20th “V” hiding right against the edge, pulled tight by the turning process. Once you find it, work into it, and then proceed with your turning chain. Never assume you have finished the row just because you have reached the end of the line—the stitch count is the only truth that matters.
Mastering the Turning Chain Transition
When working flat rows, the transition between rows determines the structure of your side edge. If you are working in single crochet, follow these steps for a clean edge:
- Work your last stitch of the row.
- Bring your yarn over the hook and pull through to create your turning chain (usually one chain for single crochet).
- Turn your work like you are turning the page of a book.
- The very first stitch of the new row should be worked into the last stitch of the previous row.
- If you are not counting the turning chain as a stitch, skip the chain and work into the first designated stitch immediately.
For double crochet, the process is slightly different because you need more height. You will usually chain three. Because the chain is taller, placing your first double crochet into the base of that chain can sometimes lead to a “gap.” Many confident crocheters prefer to place their first double crochet into the same stitch as the chain, or substitute the chain with a “standing double crochet” if they want an exceptionally seamless look.
Pro Tips for Polished Results
Beyond just counting, there are a few professional habits you can adopt to keep your work looking pristine:
- The “Pull-Back” Technique: If you finish a row and the edge looks wonky, don’t be afraid to pull it back and re-do the last two stitches. It takes five seconds, but it saves your entire project from permanent distortion.
- Consistent Hook Size: If your edges are always loose and holey, try going down a hook size specifically for the first and last stitches. It’s an intermediate hack that helps keep the tension uniform throughout the entire piece.
- Blocking: Many of our edge problems are actually just natural variations in yarn tension that will disappear once you block the finished piece. After you finish your project, gently wet block it, pinning the edges straight. You will be amazed at how much “fixing” a good block can do.
Common Mistakes to Avoid
Even with the best intentions, we all make mistakes. Here are the ones to watch out for:
- Ignoring the Turning Chain: Beginners often accidentally work an extra stitch into the turning chain, which adds a stitch to every row and creates a ruffled, wavy edge. Always confirm if your pattern counts it.
- The “Hidden” Loop: That last stitch is often tucked under the turning chain from the row below. If you don’t pull the edge of your work slightly to see it, you will miss it every time.
- Tension Shifts: If you crochet tightly at the beginning of a row and loosely at the end, your swatch will look like a trapezoid. Try to stay consistent in your “yarn-over” tension.
Variations and Personalization Ideas
If you find that your side edges are still looking a bit rough, you can always finish your project with a decorative border. A simple round of single crochet around the entire perimeter of a blanket or scarf can hide a multitude of imperfections. This is a common strategy in the crochet community—don’t view it as “covering up” a mistake, but rather as adding a polished frame to your artwork.
You might also consider using a “crab stitch” (also known as a reverse single crochet) for a unique, braided-style edge. It is a fantastic way to finish off household items like pillow covers or table runners, adding a sturdy, sophisticated finish that locks those side loops into place.
Care and Next Steps
Once you have mastered the art of the straight edge, you are ready to take on more complex shaping projects or even garments. Remember, your yarn care matters just as much as your stitches. Always wash your handmade items according to the yarn label instructions. For most natural fibers, a cool hand wash and laying flat to dry is best to keep those perfectly straight edges looking their best.
Keep practicing your swatches. It is better to work a 10-stitch by 10-row square to practice your edges than to jump into a huge blanket only to find your edges are wobbly halfway through. Your hands are learning muscle memory; give them the time they need to perfect that rhythm.
FAQ
How do I know if the turning chain counts as a stitch?
Usually, the pattern notes will specify this in the “stitch key” or at the beginning of the instructions. If the pattern says “ch 3, dc in each st across,” the chain 3 typically counts. If it says “ch 3, dc in first st,” the chain 3 acts merely as a riser and does not count as a stitch.
Why does my work look like a triangle instead of a rectangle?
You are likely missing the last stitch of every row. By skipping the final stitch, you are reducing your row count by one each time. Try counting your stitches at the end of every single row until the habit of finding that last stitch becomes automatic.
Should I use a stitch marker for every row?
While you don’t strictly have to, it is incredibly helpful while you are building the skill. Placing a marker in the first and last stitch ensures you won’t accidentally skip them. Use them until you feel confident enough to “see” those stitches without assistance.
Is it normal for my edges to look a little uneven before blocking?
Yes, absolutely! Crochet is a textile, and it has “memory” based on how the yarn was held during the process. Blocking—the act of wetting and shaping the finished item—is the final, vital step that will straighten out those edges and make your stitches look uniform.
What is the most forgiving yarn for practicing straight edges?
Choose a smooth, light-colored acrylic or wool-blend yarn in a medium (worsted) weight. Avoid fuzzy yarns like mohair or dark-colored yarns, as these make it nearly impossible to see your individual stitches. You want to be able to clearly identify the “Vs” at the top of your work.
Conclusion
Mastering the art of straight crochet edges is a journey, not a destination. Whether you are creating a baby blanket, an accessory, or a home decor item, your edges are the frame for your beautiful work. By slowing down, using your stitch markers, and learning to read the anatomy of your stitches, you are elevating your craft from a casual hobby to a skill you can be proud of. It is perfectly okay to have to undo a few stitches or even an entire row to get it right. Every time you pick up that hook, you are getting better, and your stitches are getting stronger. Keep creating, keep counting, and most importantly, keep enjoying the beautiful, relaxing process of every single loop.