
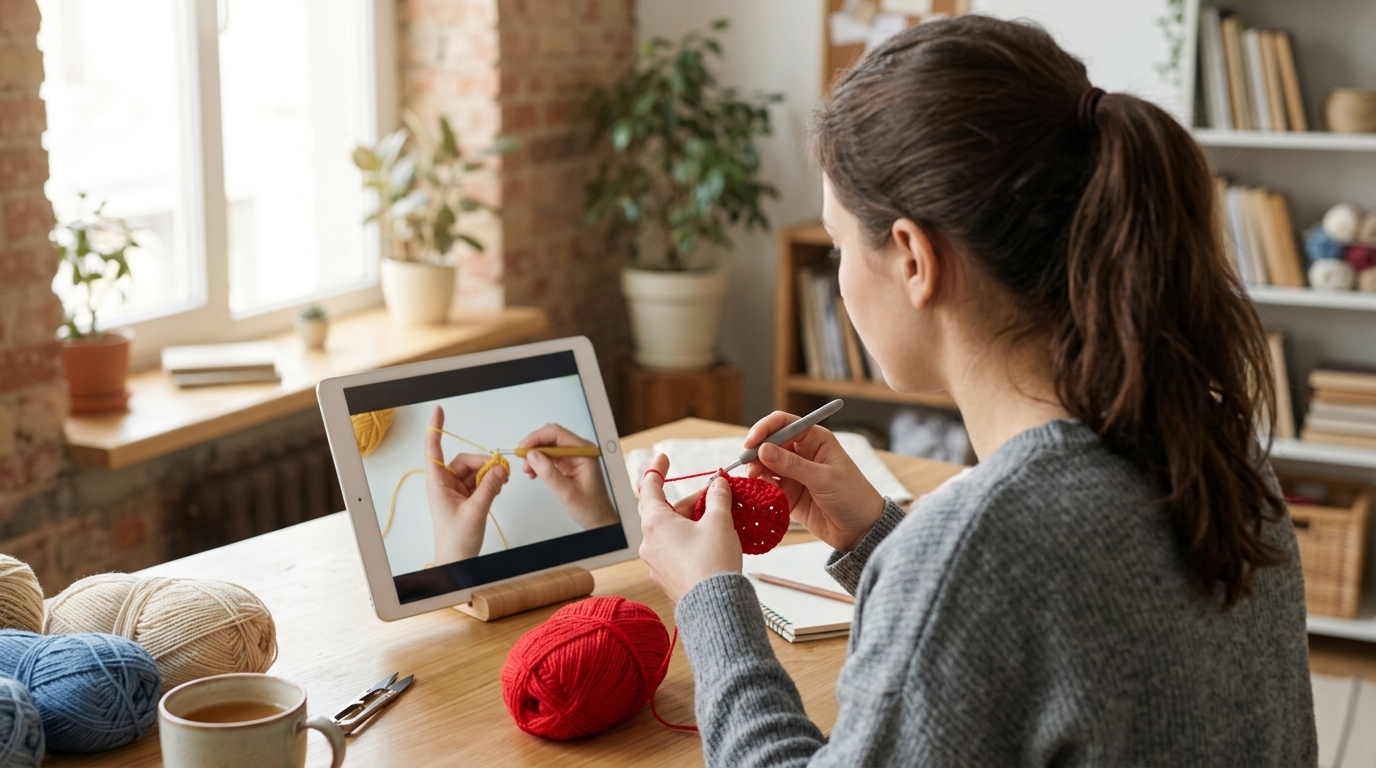
There is something truly magical about the rhythmic motion of a crochet hook sliding through yarn. Whether you are picking up a hook for the very first time to create your very first foundation chain or you have spent years honing your craft to create intricate lace pieces, the journey of learning never really ends. Crochet is more than just a hobby; it is a form of meditation, a way to weave care into handmade gifts, and a beautiful pathway to creative expression.
If you have ever felt overwhelmed by the vast sea of information available online or struggled to translate complex, written symbols into the actual stitches on your hook, you are in the right place. This guide is designed to be your soft landing spot—a place where you can find clear, encouraging, and highly practical lessons to improve your stitching skills quickly. We believe that everyone can master the art of crochet with the right guidance, patience, and a little bit of encouragement. Let’s embark on this journey to make your stitches more consistent, your projects more professional, and your crochet time even more enjoyable.
Quick Overview
This guide is dedicated to providing you with the educational foundation necessary to transform your hobby into a refined craft. You will learn how to troubleshoot common tension issues, understand the nuances of reading patterns, and master the techniques that turn a simple project into a polished piece of art. This content is curated for beginners who feel stuck in the “practice square” phase and intermediate crocheters who want to add that extra layer of professionalism to their work. We will cover the mechanics of stitching, how to interpret written guides effectively, and how to maintain the quality of your work from the first slip knot to the very last woven end.
Understanding the Value of Fundamental Skills
Many crocheters rush into complex patterns before mastering the basics, which often leads to frustration. True “fast-tracking” in crochet doesn’t come from jumping to complicated cables or intricate colorwork; it comes from deeply understanding the tension, anatomy, and structure of your foundational stitches. Even if you have been crocheting for months, taking a step back to refine your “how-to” approach will save you hours of frogging—the affectionate term we use for ripping out stitches—in the long run. By focusing on these core concepts, you set the stage for success in every project you undertake.
Essential Concepts for Better Stitching
Before you start any project, there are three pillars of crochet you should be familiar with: tension, stitch anatomy, and pattern literacy. Understanding these will change the way your finished pieces look and feel.
The Role of Tension
Tension is the secret sauce of every beautiful crochet project. It refers to how tightly or loosely you hold your yarn and hook. If your tension is too tight, your fabric will be stiff and difficult to work into; if it’s too loose, the fabric will look gapped and sloppy. Consistency is more important than being “tight” or “loose.” You can practice by crocheting long rows of single crochet until every stitch looks identical in size.
Anatomy of a Crochet Stitch
Every standard crochet stitch has a top—where you see the “V” shape—and the post, which is the body of the stitch below the “V.” Understanding where to insert your hook is crucial. Most patterns will ask you to work through “both loops,” which means the front and back of the “V.” Occasionally, a pattern might specify “back loop only” or “front loop only,” which creates a unique texture. Becoming comfortable with identifying these loops will make following any pattern much easier.
Decoding Standard U.S. Terminology
In the United States, we use a standard set of abbreviations. Familiarizing yourself with these is like learning a new language. The most common ones include:
- ch: Chain
- sc: Single crochet
- hdc: Half double crochet
- dc: Double crochet
- sl st: Slip stitch
- st(s): Stitch(es)
- yo: Yarn over
Helpful Notes for Your Practice
When practicing these techniques, don’t worry about wasting yarn. Treat your practice time as a sacred space for growth. Use a light-colored, medium-weight acrylic or cotton yarn—it makes seeing your stitches much easier. Avoid black or very dark yarns while you are learning, as they hide the “V” of the stitch and make tracking your progress significantly harder.
Always work in a well-lit area. Daylight is best, but a bright lamp placed directly over your hands can also make a world of difference. Most importantly, remember that no one is born knowing how to crochet. Every perfectly stitched blanket you see on social media started with a pile of tangled yarn and a few uneven rows.
Improving Your Stitch Quality
To elevate your skills, you need to transition from “making stitches” to “understanding construction.”
Mastering the Starting Chain
The humble chain is often the most neglected part of a project. If your chain is too tight, your foundation will curl and pull. Try using a hook that is one size larger for your starting chain than the one you use for the rest of the project. This gives your base a bit of breathing room and creates a nice, stretchy edge.
The Power of the Gauge Swatch
We know, nobody loves making a gauge swatch when they are excited to start a new project. However, gauge is the reason a hat fits a toddler instead of you. A gauge swatch is simply a small square of stitches that tells you how your personal tension interacts with the specific yarn and hook you have chosen. If your swatch is larger than the required measurements, try a smaller hook. If it is smaller, use a larger one.
Perfecting Your Turning Technique
When working in rows, your “turning chain” is what keeps your edges straight. Always count your turning chains as stitches only if the pattern explicitly tells you to. If you are working in single crochet, your turning chain is usually just one stitch and does not count; in double crochet, your “ch 3” often acts as your first stitch. Keeping this consistent will prevent those mysterious “missing stitches” at the end of every row.
The Importance of Stitch Markers
Do not rely on your memory to count stitches at the end of a long row. Use a stitch marker or a small scrap of contrasting yarn in the first and last stitch of every row. This is the single most effective way to ensure your edges remain straight and you don’t accidentally increase or decrease your stitch count.
Common Crochet Roadblocks
Even experienced creators run into trouble from time to time. Spotting these issues early is key to fixing them without starting over.
- The Twisted Chain: When joining a foundation chain to work in the round, double-check that the chain isn’t twisted before you slip stitch to close the ring. A twist in the base will ripple throughout your entire project.
- Invisible Increases/Decreases: Avoid the “hole” that sometimes appears when increasing. By working your stitches slightly differently—like using an “invisible decrease”—you can make your projects look machine-made and professional.
- Weaving Ends: Don’t just clip your yarn ends off once you finish a project. Weave them in securely in multiple directions to ensure your hard work doesn’t unravel over time.
- Ignoring Fiber Content: Remember that cotton does not behave like wool, and acrylic does not drape like alpaca. Match your yarn choice to the function of your project.
Pro Tips for Polished Results
If you want your projects to look like they came from a high-end boutique, attention to detail in the finishing stages is everything.
- Blocking Your Work: This is the most underrated step in crochet. Blocking involves gently wetting your finished piece or steaming it and pinning it into the correct shape while it dries. It relaxes the fibers, makes your stitches stand out, and gives your project a professional, finished appearance.
- Yarn Management: Keep your yarn cakes untangled. Pulling from the center of a skein is usually best, but if you have a cake, a yarn bowl or a heavy mug can prevent your yarn from rolling across the floor and accumulating dust.
- The “Goldilocks” Hold: If you hold your hook like a pencil, try holding it like a knife, or vice versa. There is no right way to hold your hook, only the way that keeps your hands comfortable and pain-free. If you find your hands are cramping, you are likely gripping too tightly. Take a break, stretch your fingers, and try again with a lighter touch.
When to Seek Help
Don’t be afraid to take a break when you feel stuck. Sometimes, the frustration comes from fatigue. If you find yourself dropping stitches or making the same mistake repeatedly, put the project aside for a few hours. When you return with fresh eyes, that “impossible” stitch often suddenly makes perfect sense. Watching a video demonstration on a specific technique can also be incredibly helpful, as seeing the movement of the hook in real-time can clear up confusion that text alone cannot.
FAQ
Why do my crochet edges look uneven?
Uneven edges are usually caused by an inconsistent number of stitches in each row. Always count your stitches at the end of every row, and use a stitch marker at the beginning and end to ensure you aren’t accidentally missing or adding a stitch when turning.
How do I stop my crochet project from curling?
Curling often happens when your starting chain is too tight. Try using a larger hook to make your foundation chain, or consider a “chainless foundation” technique. If your project continues to curl, blocking will help stretch and set the fabric into a flat, smooth shape.
Is crochet harder than knitting?
It is not necessarily harder, just different. Crochet uses one hook and typically requires working with one active stitch at a time, whereas knitting keeps multiple stitches “live” on needles. Many people find crochet easier to learn because if you make a mistake, you can simply pull the yarn to undo it—we call this “frogging”—without the risk of dropping stitches like in knitting.
How do I know which yarn to use for a project?
Start by looking at the yarn label. It will tell you the recommended hook size and the “weight” of the yarn. Beginners should look for “worsted weight” yarn (often labeled as weight category 4), as it is easy to see and handle. Avoid novelty yarns like eyelash or boucle to start, as they make it nearly impossible to see your stitches.
How do I fix a mistake I made three rows back?
You have two options: you can carefully unravel the work back to the mistake—this is the most reliable way to fix it—or, if it’s a small error like an extra stitch, you can sometimes “fudge it” by decreasing in the next row to even out the count. However, for a clean result, unraveling is usually the best approach.
Final Steps for Growth
As you continue your crochet journey, remember that the goal is not perfection, but progress. Every loop you pull through is a step toward greater dexterity and confidence. Don’t be afraid to try patterns that look slightly above your skill level; that is precisely how we improve. Reach out to local crochet groups or online communities when you need help, and always remember to celebrate the small victories—the first perfect row, the first project successfully finished, and the first gift given from the heart. Your hands are creating something beautiful, stitch by stitch. Enjoy the process, save this guide for when you need a refresher, and most importantly, keep your hook moving. Happy crocheting!