
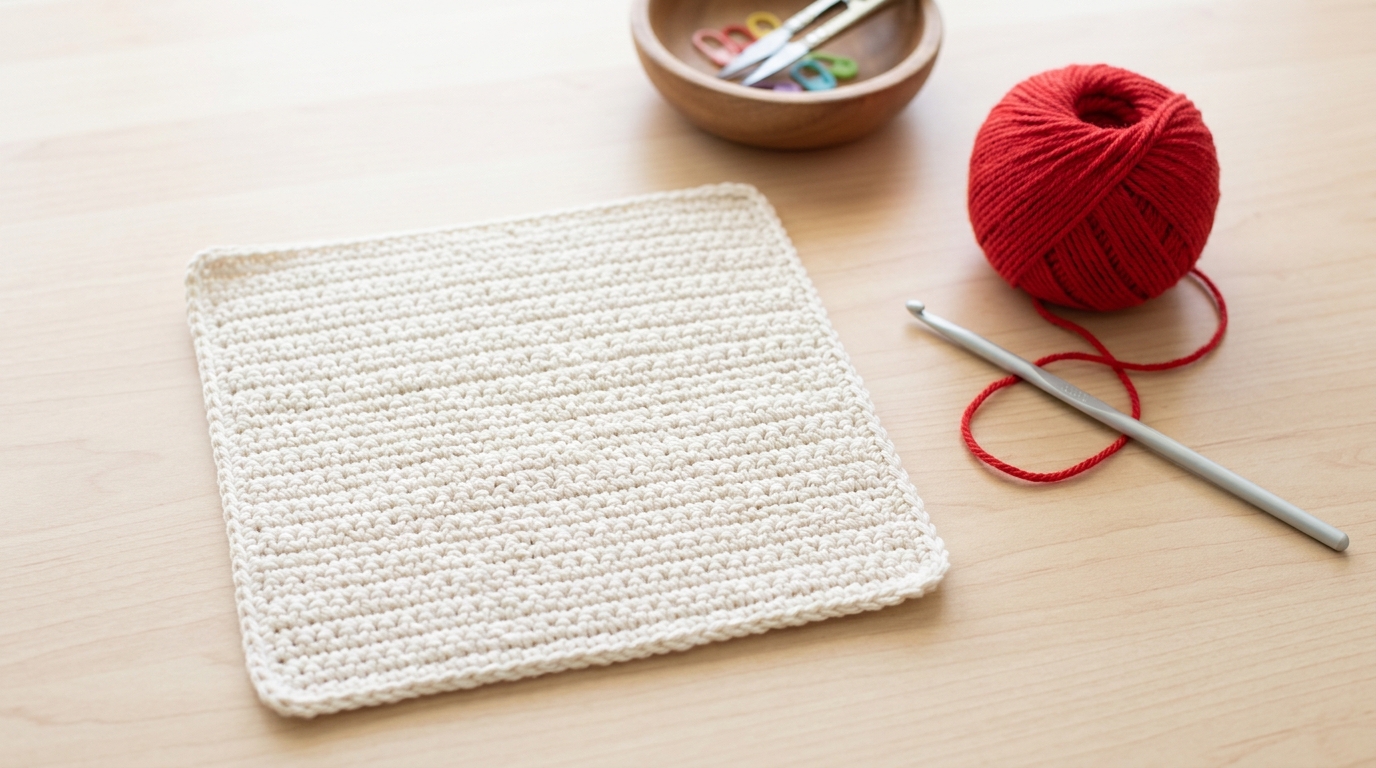
Starting a new creative hobby like crochet is one of the most rewarding journeys you can undertake. There is something truly magical about taking a simple strand of yarn and a single hook and transforming it into a cozy blanket, a stylish accessory, or a heartfelt gift. If you have been feeling intimidated by complex patterns or confusing terminology, please take a deep breath and know that you are exactly where you need to be. Crochet does not have to be complicated to be beautiful. In fact, many of the most classic, professional-looking projects are built upon the simplest foundations.
This guide is designed for the woman who wants to pick up a hook with confidence and walk away with a finished project she is proud to display or share. We are going to focus on foolproof, beginner-friendly patterns that guarantee a great result. By choosing projects with simple shapes and repetitive stitches, you will find your rhythm, improve your tension, and build the foundational skills needed for a lifetime of crafting. You are capable of creating beautiful things, and I am so honored to help you get started on this wonderful, yarn-filled path.
Quick Overview
In this guide, you will learn the secrets to choosing “sure-fire” beginner projects that look polished and professional. We will focus on:
- Skill Level: True beginner to advanced beginner.
- What You Will Learn: How to identify which patterns provide the best learning curve, how to select yarn that makes your stitches look neat, and how to finish your pieces with a professional touch.
- Why This Matters: Many beginners get discouraged by patterns that are deceptively complex or require frustrating assembly. By starting with projects that offer low stress and high satisfaction, you build the confidence to tackle more intricate designs later.
- Who This Is For: This guide is perfect for the complete novice, as well as the intermediate crocheter who needs a “mindless” project for relaxing while watching a movie or traveling.
Essential Materials for Your First Projects
The biggest mistake beginners make is using the wrong tools. For your first few adventures into crochet, keep it simple.
- Yarn: Opt for a medium-weight (worsted weight) yarn. Look for light or solid colors, as dark or variegated yarn makes it very difficult to see your individual stitches. Acrylic blends or cotton-acrylic blends are usually the most forgiving for learners.
- Hooks: Start with a size H/8 (5.0 mm) aluminum or ergonomic crochet hook. This size is large enough to handle easily but creates a fabric that is tight enough for structure.
- Stitch Markers: These little plastic clips are non-negotiable for beginners. They help you keep track of the first and last stitch of every row, preventing the dreaded “decreasing” error where your piece starts to taper off into a triangle.
- Tapestry Needles: You will need these for weaving in your ends. A bent-tip needle is particularly helpful for navigating through finished stitches.
- Measuring Tape: Keeping an eye on your width ensures your project stays consistent.
Understanding Basic Crochet Stitches
You only need to master four fundamental concepts to complete almost any beginner-friendly project:
- The Foundation Chain: This is your start. Keep your chains uniform—not too tight, not too loose.
- Single Crochet (sc): The workhorse of crochet. It creates a dense, sturdy fabric perfect for dishcloths or coasters.
- Half Double Crochet (hdc): Slightly taller than a single crochet, this is the “Goldilocks” stitch—it works up faster but remains neat and even.
- Double Crochet (dc): Used for blankets and scarves, it gives you a lovely drape and creates a faster-growing project.
- Slip Stitch (sl st): Used for joining rounds or creating decorative edges.
Helpful Notes for Success
Before you dive into your first project, remember that your hands need time to adjust. It is completely normal for your first few inches of crochet to look a little uneven. Tension—the way you hold your yarn—is something that develops over time.
Do not worry about being “perfect.” Your very first project is a record of your learning. If you drop a stitch or have a slightly wobbly edge, it just adds character. If you find your wrist hurting, take a break. Crochet is meant to be a relaxing, creative expression, not a test of endurance.
Foolproof Project: The Classic Beginner Cowl
This cowl is the perfect introduction to working in the round. It is stylish, versatile, and because it is worked as a simple tube, there is no complicated shaping involved.
Skill Level: Beginner
Estimated Time: 3-4 hours
Materials: 2 skeins of worsted weight yarn (approximately 300 yards total), a size I/9 (5.5 mm) hook, a stitch marker, and a tapestry needle.
Round 1
Start by making a slip knot and chaining 80 stitches. Be very careful to keep the chain flat and do not twist it! Join the chain into a ring by working a slip stitch into the very first chain you made.
Round 2
Chain 2 (this counts as your first stitch). Work one double crochet into every single chain stitch all the way around. When you reach the beginning, join with a slip stitch to the top of your initial chain-2. Place a stitch marker at the end of the round to keep your place.
Rounds 3 Through 20
Chain 2. Work one double crochet into each stitch around the entire loop. Join with a slip stitch to the top of your first stitch. Repeat this until your cowl is as tall as you like. Most people find 8 to 10 inches is the perfect height.
Finishing
Fasten off, leaving a 6-inch tail of yarn. Use your tapestry needle to weave the loose ends into the back of your work. This creates a secure, clean look. That’s it! You have just completed your first wearable project.
Step-by-Step Guide to Troubleshooting
Even with the best instructions, you may run into a few common hurdles. Here is how to navigate them:
If your piece is getting wider: You might be accidentally adding stitches at the end of your rows. This happens if you mistake the turning chain for a stitch. Always count your stitches at the end of every row—if you started with 20, you should end with 20.
If your piece is getting narrower: You are likely skipping the very last stitch of the row. This is a very common beginner mistake. Using a stitch marker in the first and last stitch of every row will solve this instantly.
If your edges look wavy: Your tension might be fluctuating. Try to pull the yarn through the loop at the same distance every time. If your hands feel tight, stop, massage your fingers, and try again with a looser grip.
Common Mistakes to Avoid
The secret to a polished look isn’t skill—it’s preparation. Avoid these pitfalls to elevate your work:
- The “Twisted Start”: When joining a long chain in the round, lay it flat on a table before you make your first connection. A twist is almost impossible to fix once you start crocheting.
- The Wrong Hook: If your fabric is stiff and brittle, your hook is too small. If your fabric is holey and limp, your hook is likely too big. Check your yarn label for the “suggested” hook size; it’s a great starting point.
- Weaving Ends Poorly: Never just tie a knot and snip the yarn. It will come undone after the first wash. Instead, weave the yarn end back and forth through the stitches in at least three different directions for a secure hold.
Pro Tips for a Better Result
To transform your projects from “handmade” to “well-crafted,” follow these simple refinements:
- The Art of Blocking: This is the most important step for professional results. Once your item is finished, dampen it with a spray bottle or a quick soak in water. Lay it flat on a towel, pinning the edges to the shape you want, and let it dry completely. This relaxes the stitches and makes everything look uniform.
- Rotate Your Yarn: If you are using a variegated yarn, work on a smaller project first to see how the colors pool. Sometimes, it’s best to save the fancy yarn for later and stick to solid colors while you are mastering your stitch tension.
- Consistent Lighting: Always crochet in a well-lit area. Using a focused lamp can help you see your work, which significantly reduces eye strain and makes catching dropped stitches easier.
Personalization Ideas
Once you have mastered the basic cowls and rectangle blankets, you can start customizing them:
- Stripe It: Introduce a second color halfway through your project for a modern, color-blocked look.
- Change the Texture: Instead of a double crochet, try the “moss stitch” (which alternates single crochet and chains) for a fabric that feels more like woven cloth and has a beautiful, squishy texture.
- Add Embellishments: Once your cowl is finished, try adding a large button or perhaps a faux-leather tag to the edge. These small additions can make a utilitarian piece feel like a designer item.
Care and Next Steps
To keep your handmade items looking fresh, always check the yarn label. Most modern acrylics are machine washable, which makes them perfect for frequently used items. If you have used wool, hand washing in cool water with a gentle detergent is a must. Lay flat to dry, and your items will last for years.
Now that you have your first project under your belt, what’s next? I recommend trying a classic dishcloth. It uses the same skills you just practiced but gives you a chance to work with different stitch patterns like the “shell” or “waffle” stitch. Each small project builds the muscle memory necessary for larger, more complex designs.
Frequently Asked Questions
What should I do if I run out of yarn in the middle of a project?
Don’t panic! Simply join a new skein of yarn at the start of a stitch. Hold the two ends together for about three or four stitches, then let the old tail drop. Later, weave in both loose ends securely.
Why does my project look different from the picture?
Crochet is a craft of individual tension. If your piece is larger or smaller, it’s simply your personal style. If you want it to match exactly, check your “gauge”—the number of stitches per inch—and adjust your hook size up or down accordingly.
Which is better: acrylic or wool yarn for beginners?
For beginners, I highly recommend a high-quality acrylic or an acrylic-cotton blend. They are consistent, affordable, and easy to clean, which takes the pressure off while you are still learning to control your tension.
How do I know if I’m holding my hook correctly?
There is no single “right” way. Some people hold it like a pencil, others like a knife. Try both. If your hand doesn’t hurt and the yarn flows smoothly, your grip is correct for you.
How can I make my edges look perfectly straight?
The secret is the turning chain. Ensure you are counting your stitches at the end of every row, and don’t miss that final stitch tucked into the turning chain of the previous row. Focusing on the last stitch of every row is the key to a professional, straight edge.
Conclusion
You have everything you need to start this wonderful journey. The projects we’ve discussed—simple, repetitive, and deeply rewarding—are meant to be your entry point into a community of makers throughout the United States and beyond. Remember, every master crocheter once struggled with their first slip knot and their first wobbly row. Your progress is personal, and the joy of the process is far more important than the speed of the output.
I encourage you to set aside time this week to pick up your supplies and enjoy the quiet, rhythmic act of creating. Whether you are crafting a gift for a loved one or a cozy accessory for yourself, you are participating in a timeless tradition of warmth and creativity. Keep your hook, be kind to yourself, and celebrate every small victory. You are doing a wonderful job, and I cannot wait to see what you create next!