
Mastering the Foundations of Crochet
There is something truly magical about taking a single strand of yarn and, with nothing more than a small hook and a bit of patience, transforming it into a cozy blanket, a delicate garment, or a whimsical stuffed animal. If you have been looking for an entry point into the world of fiber arts, you have arrived at the perfect place. Crochet is more than just a hobby; it is a rhythmic, creative, and deeply therapeutic practice that allows you to slow down and create something tangible with your own two hands.
Whether you were inspired by a beautiful piece of home decor you saw online or you dream of crafting handmade gifts for your loved ones, learning the fundamental stitches is your very first step toward creative freedom. It is completely normal to feel a little clumsy at first—every expert crocheter once struggled with their very first foundation chain! This guide is designed to be your gentle companion, stripping away the complexity so you can focus on the simple, rewarding joy of the craft. We will walk through the essential techniques that form the backbone of almost every crochet pattern you will encounter in your journey.
Quick Overview
This guide is specifically tailored for those who are just beginning their crochet journey or for intermediate crafters who want to refine their technique and ensure their foundation is rock-solid. You will learn the anatomy of a crochet stitch, how to maintain consistent tension, and the four essential stitches that make up the vast majority of crochet patterns used in the United States. By the end of this guide, you will understand the language of patterns, how to keep your edges straight, and how to transition from simple swatches to your very first true masterpiece.
Tools of the Trade
Before we start looping yarn, it is important to understand the basic toolkit. You do not need a massive professional collection to begin, but having the right starting points makes all the difference:
- Crochet Hooks: For beginners, a medium-sized hook (size H/8 or 5.0mm) is ideal. Bamboo or ergonomic rubber-grip hooks are wonderful for beginners as they provide a bit of “grip” and are comfortable for long practice sessions.
- Yarn: Opt for a smooth, light-colored worsted weight (Category 4) yarn. Light colors make it much easier to see your stitches and identify where to insert the hook, which is the most common hurdle for new learners.
- Stitch Markers: These are essential for keeping track of your rounds and marking the first stitch of a row so you don’t accidentally skip it.
- Tapestry Needle: A large-eye blunt metal or plastic needle is vital for weaving in those final yarn ends to keep your work secure and professional-looking.
Core Concepts and Essential Stitches
In American crochet, we use a specific set of terminology. Understanding these terms is like learning a new, beautiful language. Every piece of crochet begins with a slip knot and a chain. From there, we move into the “big four” stitches that you will use in almost every project.
- Slip Knot: This is the anchor for your yarn on the hook.
- Chain (ch): The foundation of most flat crochet projects. It creates the base row.
- Single Crochet (sc): The most compact, dense stitch. It is perfect for amigurumi and projects that need a solid fabric.
- Half Double Crochet (hdc): Slightly taller than a single crochet, this stitch creates a lovely, soft drape that works well for scarves and blankets.
- Double Crochet (dc): A taller, faster-working stitch that creates a bit of open texture. It is a staple for clothing and larger home decor items.
- Slip Stitch (sl st): This is used for joining rounds, moving across a row without adding height, or finishing off an edge.
Helpful Notes Before You Start
Your greatest ally in crochet is your tension—the way you hold your yarn and hook. Try to keep the yarn flow consistent; if you pull too tight, your fabric will be stiff and your hook will be difficult to insert. If you leave it too loose, your work will be full of gaps. Practice “holding” your yarn in a way that feels natural to you. Some people prefer to wrap the yarn around their index finger to control the tension, while others weave it through their fingers. There is no “right” way, only the way that helps you maintain a consistent, comfortable rhythm.
Guiding the First Stitches
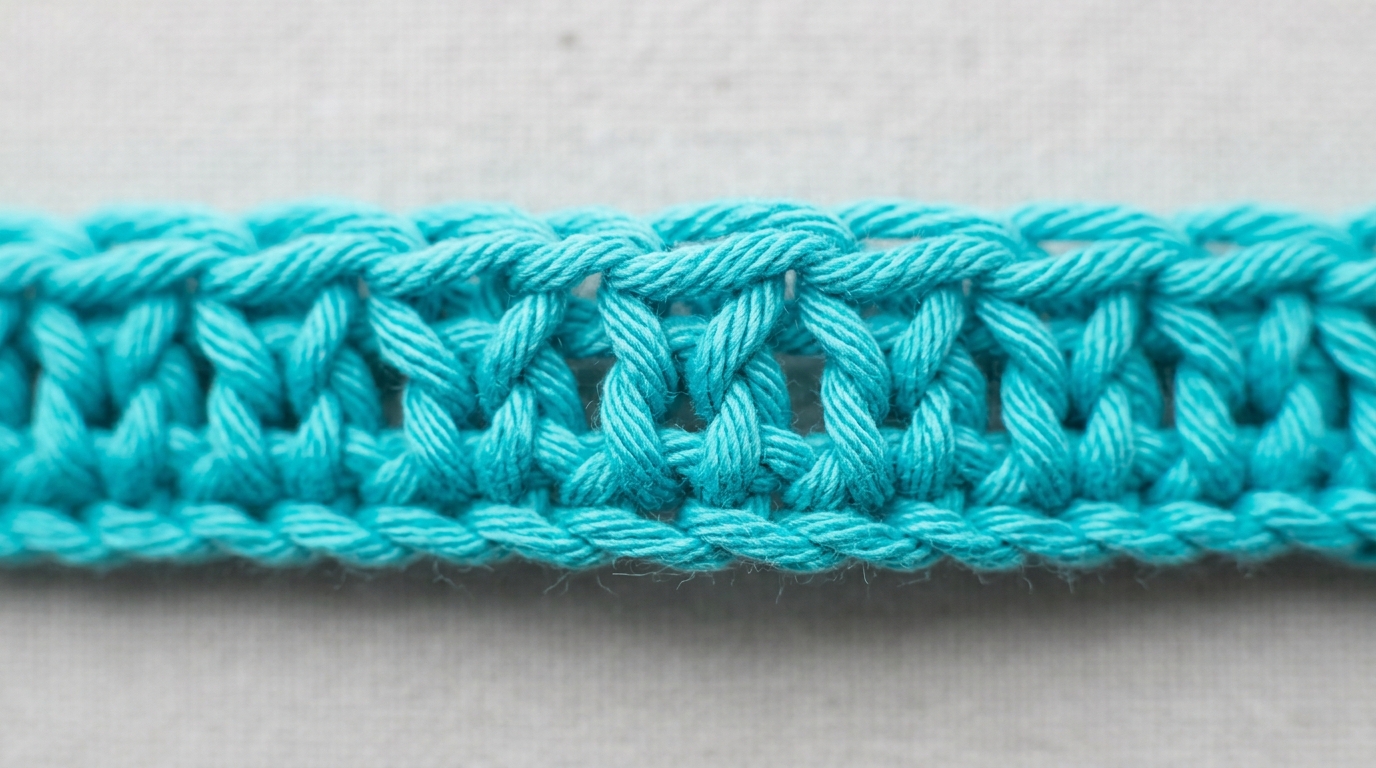
To truly master the craft, visualization is key. Think of your crochet stitches as a series of “V” shapes. When you look at the top of your work, you will see a braided appearance consisting of two loops—a front loop and a back loop. Most beginner patterns will ask you to insert your hook “under both loops,” which means passing your hook through that full “V.”
How to Create a Foundation Chain
Start by making a slip knot and placing it on your hook. Hold the hook in your dominant hand. With your other hand, hold the tension of the working yarn. To chain, yarn over the hook (from back to front) and pull it through the loop currently on your hook. Repeat this. Practice until your chains are uniform in size. If some links are huge and some are tiny, take a deep breath and gently pull your yarn out to try again.
Mastering the Single Crochet
Once you have a chain, turn it over and look for the “back bumps” of the chain. Insert your hook into the second chain from the hook. Yarn over, pull up a loop (you now have two loops on your hook), yarn over again, and pull through both loops. You have completed your first single crochet!
Understanding Height and Turning
When you reach the end of a row, you must “turn” your work to go back. However, you cannot just turn; you need a “turning chain” to match the height of your stitches. For a single crochet row, you usually chain one before turning. For a double crochet, you typically chain three. This extra chain acts as the “first stitch” of the next row, preventing your edges from sloping downward.
Step-by-Step Learning Progression
To move from beginner to confident creator, follow this natural progression of learning:
- The Swatch Phase: Do not rush into a sweater. Spend an hour making a 6×6 inch square using single crochet. This helps your muscles get used to the movement.
- The Stitch Migration: Once your single crochet square is consistent, try a few rows of half double crochet, then move to double crochet. Notice how the height of your work changes with the stitch type.
- Counting Your Joy: One of the most common reasons beginners feel frustrated is the “vanishing stitch.” Always count your stitches at the end of every row. If you started with 20 stitches, you must end with 20. If you have 19, you probably missed the very last stitch of the row.
- The Edging Trial: Once you are comfortable, practice finishing a square with a row of slip stitches. This will teach you how to move your hook cleanly across an edge without adding extra bulk.
Common Mistakes to Avoid
Even seasoned crafters make mistakes, but knowing where to watch for them keeps your projects looking polished. One of the classic “oops” moments is the “twisted start.” If your foundation chain twists while you are working your first row into it, the entire project will be skewed. Take a second to lay your chain flat on a table before you start working into it.
Another frequent issue is “gauge inconsistency.” If you are working on a project that needs to be a specific size—like a hat or a sweater—you must respect the gauge (the number of stitches per inch). If your practice swatches are coming out too small, you are likely crocheting too tightly. Try moving up to a slightly larger hook size. If your work is too loose and holey, try a smaller hook.
Pro Tips for Polished Results
- The “Invisible” Join: When you finish a round, instead of just tying a knot, use a tapestry needle to pull your yarn tail through the loops of the adjacent stitch. It makes your work look like it came from a boutique.
- Let the Fabric Breath: After you finish a project, even a simple scarf, “blocking” can change your life. Gently mist your finished piece with water and pin it to its shape on a towel. Once it dries, the stitches will look even, professional, and soft.
- Yarn Management: Keep your yarn cakes or skeins in a decorative bowl or a dedicated yarn bag. This keeps them clean and prevents the “yarn barf” (a giant tangle) that can happen if your yarn rolls across the floor.
Variations and Personalization
Once you have mastered the basics, the world is your oyster. A basic double crochet blanket can be transformed simply by changing colors every few rows (the “stripe effect”). You can also experiment with “texture” by working only into the back loop of the stitch, which creates a visible ridge detail that looks sophisticated on hats and cowls. If you are gifting, consider using seasonal palettes—soft pastels for a baby blanket or rich, deep tones for an autumn-inspired wrap. Personalization is what makes crochet truly special; no two handmade items are ever exactly alike.
Care and Next Steps
To keep your handmade treasures beautiful, always check the yarn label. Most modern acrylics are machine washable on a gentle cycle, while wools generally prefer a delicate hand wash. Always store your crochet items folded rather than on a hanger, as heavy blankets and garments can stretch out over time if hung.
For your next step, search for a “beginner-friendly cowl pattern.” A cowl is essentially just a rectangle of crochet joined into a loop. It is the perfect project to practice your stitches because it doesn’t require complex shaping, and you get a beautiful, wearable outcome very quickly.
FAQ
How do I know which hook size to use for a project?
Every yarn label comes with a “suggested hook size” printed on it. This is your best starting point. If you want a more open, lacy look, choose a larger hook than recommended. If you want a denser, warmer fabric, choose a smaller hook.
Why do my edges keep getting crooked or wavy?
This is almost always due to missing the first or last stitch of a row. Use a stitch marker in the very first and very last stitch of every row until you are confident in identifying them by sight.
What is the difference between U.S. and U.K. stitch names?
They are often named differently but use the same physical movements. For example, a U.S. “single crochet” is called a “double crochet” in U.K. terminology. Always confirm your pattern is written in U.S. terms before you begin.
How do I join a new ball of yarn without a knot?
The most secure way is to work the last few stitches of your current yarn and your new yarn together for an inch or two. Alternatively, learn the “Russian Join,” which creates a seamless, knotless connection between two strands of yarn.
Why does my crochet project feel so stiff?
It is likely that you are crocheting with a death-grip on your hook. Try to loosen your tension. If that doesn’t work, ensure you are using the correct hook size—if your hook is too small for the yarn weight, the fabric will inevitably be stiff.
Conclusion
You have just taken the first, most important steps in a lifelong journey of creativity. Remember that every master was once a beginner. If a row doesn’t look quite right or your stitches seem uneven, don’t be discouraged—that is simply the process of honing your unique “crochet voice.” Crochet is meant to be a relaxing, joyful experience, not a source of stress. Keep your hooks close, celebrate your progress, and enjoy the beautiful rhythm of creating beauty, one loop at a time. Whatever you decide to make next, know that you have the skills and the heart to make it something truly special. Happy hooking!