
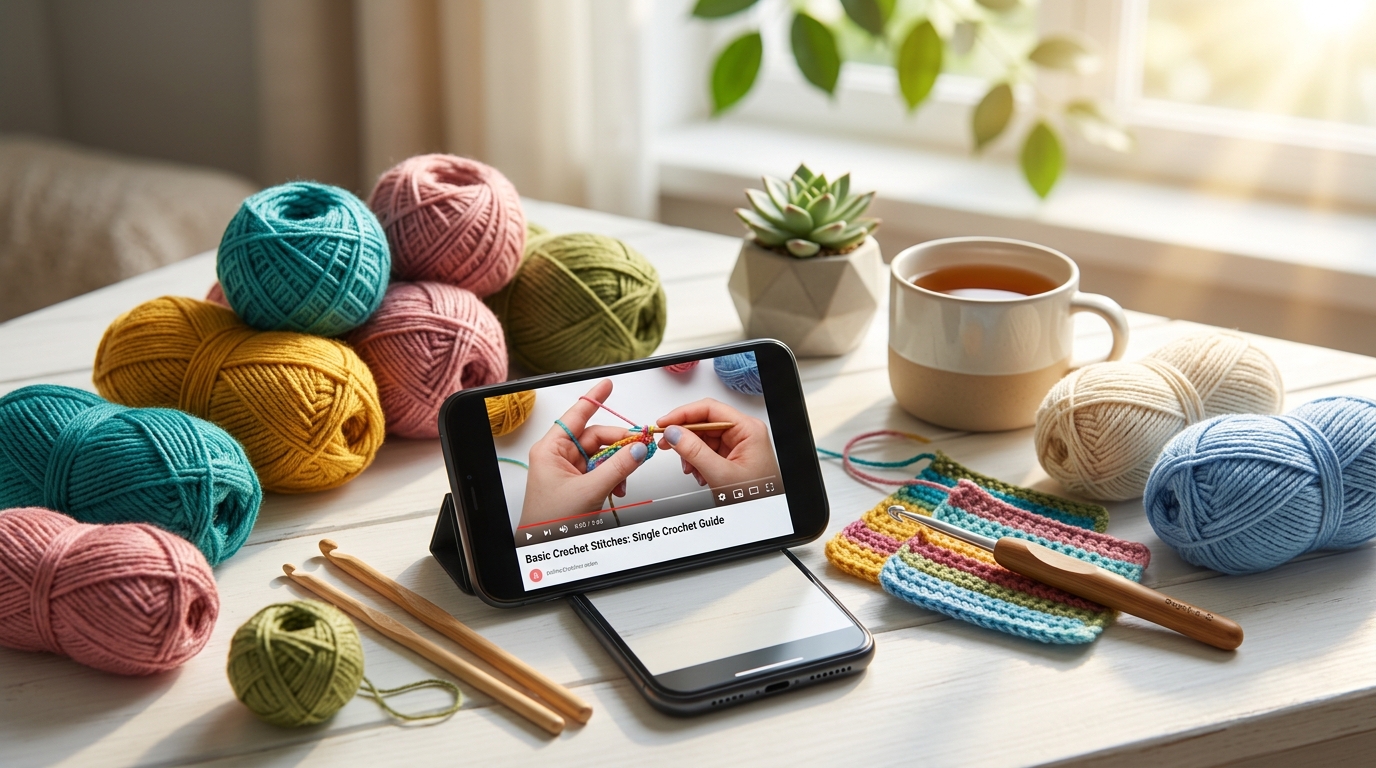
There is something profoundly peaceful about the rhythm of a crochet hook dancing through yarn. Whether you are seeking a creative outlet to unwind after a long day or hoping to create beautiful, handmade heirlooms for your home and loved ones, crochet is a hobby that offers endless rewards. Many people assume that learning this craft requires expensive courses or specialized subscriptions, but the truth is that some of the very best instruction is available for free, right at your fingertips.
In this guide, we are diving into the best ways to learn the art of crochet without spending a dime. You don’t need to invest in a costly curriculum to master the chain stitch, the double crochet, or the complexities of amigurumi. With a bit of curiosity and the right resources, you can go from holding a hook for the first time to creating professional-looking garments and home decor. Let’s explore how you can embark on this rewarding journey while keeping your budget intact.
Quick Overview of Your Learning Path
This guide is designed for the absolute beginner who is ready to pick up their first hook, as well as the intermediate crocheter looking to refine their technique for free. You will learn:
- Where to find the most reliable, high-quality video and written tutorials.
- The essential terminology every U.S. crocheter should know.
- How to evaluate free resources to ensure they match your learning style.
- Practical tips for teaching yourself effectively at home.
This information is intended to give you the confidence to start your crochet journey today. By utilizing community-supported repositories and expert-led educational content, you can master every stitch required to build a lifetime of beautiful projects.
Understanding Where to Look for Knowledge
The internet is a vast library, but for a beginner, it can feel a bit overwhelming. When you are looking for free lessons, focus on platforms that provide step-by-step visuals. Crochet is a tactile and visual craft; seeing the motion of the hook and the way the yarn flows is often more helpful than reading a diagram alone.
Educational YouTube channels managed by professional instructors are often the best starting point. Many experienced creators post “Introduction to Crochet” series that break down the very first steps—things like how to hold your yarn, how to make a slip knot, and how to maintain consistent tension. Look for creators who film in clear, natural lighting with the camera angle positioned over their shoulder, as this replicates the perspective you see when you look down at your own hands.
Essential Crochet Terms and Stitches
Before you dive into a project, it is vital to learn the “language” of crochet. All standard patterns in the United States follow specific abbreviations. If a resource uses terms like “double crochet” and another uses “treble crochet” without explaining them, you may find yourself confused.
- Foundation Chain: The starting row of loops that serves as the base for your work.
- Slip Knot: The very first loop you place on your hook.
- Single Crochet (sc): The most basic, sturdy stitch used for dense fabrics.
- Half Double Crochet (hdc): A stitch that sits between the height of a single and a double crochet.
- Double Crochet (dc): A tall, versatile stitch that works up quickly, perfect for blankets and sweaters.
- Slip Stitch (sl st): Typically used to join rounds or to move across the fabric without adding height.
- Gauge: A crucial concept involving the number of stitches and rows per inch. It determines if your finished piece will be the size you expect.
Guidelines for Choosing Your First Free Resources
Not all tutorials are created equal. When you are searching for free content, look for the following signs of a high-quality, trustworthy resource:
- Ad-Free or Low-Distraction Options: Some websites integrate patterns into blogs where the instructions are easy to read without being interrupted by pop-ups.
- Clear Abbreviations Keys: A good resource will always define terms like “ch” (chain) or “st” (stitch) at the beginning of the guide.
- A “Comments” Section: The best educational sites often have a community of users who ask questions. Reading these questions can often help you solve a problem you didn’t even realize you had.
- Project Variety: Start with tutorials that offer a clear path, such as starting with a simple square coaster before moving on to a complex lace shawl.
How to Teach Yourself Effectively
Learning to crochet is a physical skill that requires “muscle memory.” Don’t be discouraged if your first few stitches look a bit uneven; that is a normal part of the process.
Begin by dedicating just 15 to 20 minutes a day to practice. Trying to learn every stitch in a single afternoon will lead to frustration and hand fatigue. Instead, spend your first few sessions focusing solely on your tension—how tightly or loosely you hold the yarn. Use a light-colored, medium-weight acrylic yarn for your practice sessions. It is much easier to see your stitches and identify your errors when using a neutral, bright color like cream or light gray.
Common Mistakes to Avoid
Even with the best free tutorials, beginners often run into a few common pitfalls. Recognizing these early will save you a great deal of time and un-raveling:
- The “Vanishing” Stitch: Beginners often struggle to keep their stitch counts consistent. It is common to accidentally skip the last stitch of a row, which causes your work to narrow as you go. Use a stitch marker in the first and last stitch of every row to ensure you don’t lose your place.
- Mixing Up Terminology: Always verify if your tutorial is using U.S. terminology. U.K. terms are often very similar but refer to the stitches by different names (for example, a U.S. single crochet is a U.K. double crochet). Stick to U.S.-based resources to keep your learning consistent.
- Using the Wrong Hook Size: Your yarn label will almost always provide a recommended hook size. If you ignore this, your fabric will either be too stiff or too holey. Start exactly where the label recommends.
- Ignoring the Turning Chain: Beginners often forget that the “turning chain” at the start of a row counts as a stitch, or conversely, that it does not. Read your chosen tutorial’s notes carefully to understand how the designer handles row transitions.
Pro Tips for a Polished Professional Finish
Once you have mastered the basic stitches, you will want your projects to look as professional as possible. Here is how you can polish your work:
- Master the Weave: The secret to a beautiful finished project is how you handle your yarn tails. Instead of just snipping the end, use a tapestry needle to weave the tail back and forth through the stitches on the back side of your work. This ensures your project won’t unravel over time.
- Blocking: If you are making a garment or a blanket, blocking is a game-changer. This involves gently pinning your finished piece to a foam mat, misting it with water, and letting it dry. It evens out your stitches and gives your project a finished, professional drape.
- Maintain Consistent Tension: If your stitches look uneven, try experimenting with how you hold the yarn in your non-dominant hand. Most crocheters “tension” the yarn by weaving it through their fingers. Find a way that feels comfortable and natural, but consistent.
Variations and Personalization
One of the greatest joys of crochet is the ability to customize. Once you have learned a basic pattern from a free source, don’t feel like you have to follow it exactly forever.
- Color Blocking: Take a simple scarf pattern and turn it into a statement piece by changing colors every few rows.
- Textural Changes: Swap a generic yarn for something with more interest, like a variegated yarn or one with a slight shimmer, to elevate a simple design.
- Size Adjustments: Learn how to increase or decrease your starting chain to make items larger or smaller. Most patterns explain these increments, allowing you to turn a pillow cover into a full-sized blanket with ease.
FAQ
Is it really possible to learn to crochet for free?
Yes, absolutely. Between high-quality video tutorials, free patterns hosted by enthusiasts, and educational blogs, you have access to everything you need to become an expert without spending money.
What is the best yarn for a beginner?
Look for a “worsted weight” (number 4) acrylic yarn. It’s affordable, comes in every color imaginable, and is incredibly forgiving if you make a mistake and need to pull your stitches out.
How do I know if I’m holding my hook correctly?
There is no “right” way to hold a crochet hook! There are two main styles: the “knife hold” (like you are holding a dinner knife) and the “pencil hold” (like you are holding a pen). Both are perfectly valid—choose whichever feels most natural for your wrist and hand.
Why do my edges look crooked?
Crooked edges usually happen because you are either missing stitches at the end of your rows or accidentally adding extra ones. Always count your stitches at the end of every row until you are confident in your ability to spot them.
How long does it take to learn?
Most beginners can learn the basic single and double crochet stitches within a few hours of focused practice. From there, it is all about building speed and confidence through repetition.
Conclusion
Learning to crochet is a journey of patience, creativity, and joy. By leveraging the wealth of free information available online, you can master this beautiful craft at your own pace, in the cozy comfort of your own home. Remember that every master was once a beginner who simply refused to put their hook down.
Whether you are dreaming of creating a handmade blanket for a loved one, a cute plushie for a gift, or a stylish accessory for yourself, you now have the tools and the knowledge to start. Take it one stitch at a time, be kind to yourself when you make mistakes, and most importantly, enjoy the therapeutic rhythm of creating something with your own hands. Welcome to the vibrant, welcoming world of crochet—your new favorite hobby is waiting for you!