
Introduction
Welcome to the wonderful world of crochet! If you have ever looked at a beautifully textured blanket, a delicate lace shawl, or a cute little stuffed animal and thought, “I wish I could make that,” you are in the perfect place. Crocheting is one of the most rewarding hobbies you can pick up; it is relaxing, creative, productive, and deeply satisfying. There is something truly magical about taking a single strand of yarn and, with just a simple hook and your own two hands, transforming it into something functional and beautiful.
As a beginner, you might feel a little overwhelmed by the sheer number of hooks, yarn weights, and mysterious-looking abbreviations found in patterns. Please, take a deep breath and let go of any doubt. Every expert crocheter you see creating magnificent pieces today started exactly where you are right now—fumbling with a knot of yarn and learning how to hold a hook. This guide is designed to be your cozy companion as you start your journey. We will walk through the absolute essentials, strip away the intimidation, and give you the confidence to complete your very first project. You aren’t just learning a craft; you are joining a community of makers, and I am so delighted to help you get started.
Quick Overview
This guide is tailored specifically for the absolute beginner. You will learn the foundational concepts of crochet, how to choose your first supplies, and the step-by-step techniques required to create a simple, classic project—a textured washcloth. This project is the gold standard for beginners because it uses basic stitches in a repetitive way, allowing you to build muscle memory while creating something you can actually use in your home. By the time you reach the end of this guide, you will understand how to read a pattern, how to manage your yarn tension, and how to finish your work with pride.
Materials and Tools Needed
One of the best things about crochet is that it requires very little investment to get started. You don’t need an entire craft room; you just need a few key items.
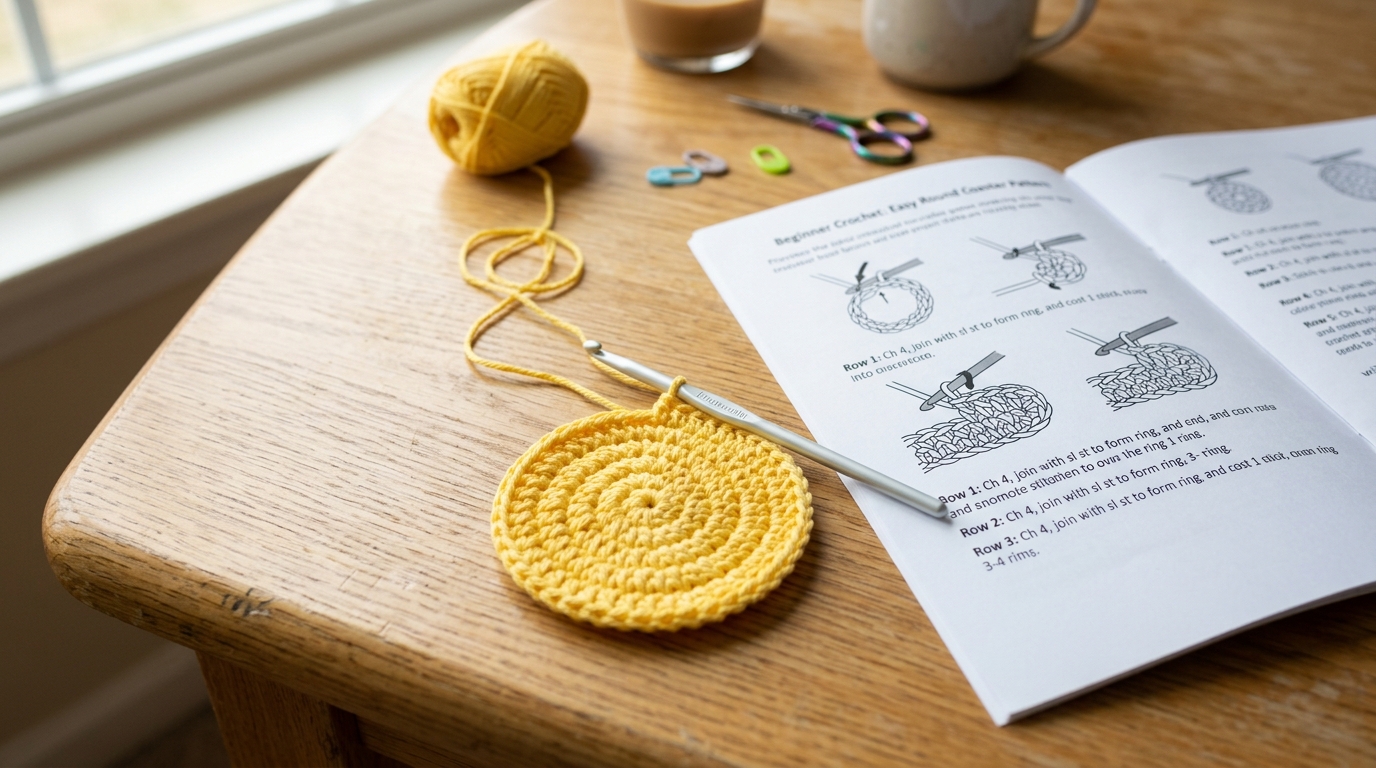
- Yarn: For your first project, choose a medium-weight (also known as Worsted weight or size 4) cotton yarn. Cotton is firmer than acrylic and holds its shape well, which makes it much easier to see your stitches and correct mistakes. Look for a solid, light-colored yarn (like cream, sage green, or soft yellow), as it is much easier to see your loops against a light color.
- Crochet Hook: A size H/8 (5.0 mm) hook is the perfect all-around size for Worsted weight yarn. Aluminum hooks are sturdy and help the yarn glide easily, making them a great choice for beginners.
- Stitch Markers: These little plastic clips are lifesavers. They help you keep track of where a row starts or ends, which is crucial when you are first learning to count stitches.
- Yarn Needle: You will need a blunt-ended needle with a large eye to “weave in your ends” once the project is finished.
- Scissors: Any pair of household scissors will do.
Crochet Terms and Stitches
Before we dive into the pattern, let’s get comfortable with the vocabulary you will see in almost every pattern you encounter.
- Chain (ch): The foundation of most projects. You create this by wrapping your yarn over the hook and pulling it through a loop.
- Single Crochet (sc): The most common, fundamental stitch. It results in a tight, dense fabric.
- Slip Stitch (sl st): Used to join rounds or move across a row without creating height.
- Turn: At the end of a row, taking your work and rotating it so the hook is ready to work back across the stitches you just made.
- Gauge: This refers to the number of stitches and rows per inch. While you don’t need to be a professional at gauge yet, it is the secret to making sure your project turns out the right size.
Helpful Notes Before You Start
Crochet should be a joyful experience, not a stressful one. Here are a few tips to set your mind at ease. First, focus on your “tension.” Tension is how tightly or loosely you hold the yarn. If you find your hook difficult to push through the loops, you are probably crocheting too tightly. Try to relax your shoulders, take a deep breath, and keep your hands loose. It is perfectly normal for your first row to look a bit uneven; tension control is a skill that develops slowly over time. If you make a mistake, don’t worry—unlike knitting, you can simply pull the yarn out (called “frogging”) and start that row over. It is all part of the learning process!
The Beginner’s First Project: The Simple Spa Washcloth
This project is a classic for a reason. It is small, fast to complete, and results in a practical, beautiful item.
The Foundation Chain
Start with a slip knot on your hook. Chain 26. This starting chain should be loose; if you pull it too tight, your washcloth will have a curved “crescent moon” shape instead of a square.
Row 1: The Foundation
In the second chain from the hook, insert your hook, yarn over, and pull up a loop. Yarn over again and pull through both loops on the hook. This is your first single crochet stitch! Make one single crochet in every remaining chain across. You should have 25 stitches.
Row 2 to Row 25
Chain 1 and turn your work. The chain 1 does not count as a stitch. Now, make a single crochet into the very first stitch (the space at the base of your chain). Continue to make one single crochet in each stitch across the row. When you reach the end, you should have 25 stitches. Repeat this row until your work measures roughly square, or roughly 25 rows, or until you are satisfied with the size.
Fastening Off
Once you reach your desired size, perform one final slip stitch, cut your yarn about 6 inches from the hook, and pull the end through the loop on your hook to tighten the knot.
Finishing
Using your yarn needle, weave that tail of yarn back and forth through the base of the stitches on the back side of the washcloth. Trim any excess, and you are done!
Step-by-Step Explanation of the Process
Think of your crochet work as a series of small, rhythmic steps. When we start a row, we “chain” to get the hook up to the correct height. When we “turn,” we are simply preparing for a return trip. If you look closely at your work, you will see that each stitch forms a little “V” shape at the top. When we make the next row, we insert our hook under both legs of that “V.” Understanding this structure is the key to creating a clean, professional-looking edge. If your project looks messy at first, check that you are consistently going under both loops of the “V” instead of just grabbing the front or the back loop.
Common Mistakes to Avoid
Even the most experienced artisans make mistakes, but beginners often trip up on a few specific areas.
- The Disappearing Stitch: Beginners often unknowingly skip the very last stitch of a row, which causes the piece to gradually shrink in width. Use a stitch marker in that last stitch to ensure you don’t miss it.
- Counting Errors: It sounds simple, but counting your stitches at the end of every row is the best way to ensure your rectangle stays a rectangle.
- Unclear Abbreviations: Always double-check if your pattern uses US or UK terms. They sound similar but denote different stitch heights, which can ruin a project’s proportions.
- Wrong Tension: If your piece is stiff as a board, you are pulling the yarn too tightly. If it has large, unsightly holes, your tension is too loose. Practice is the only solution here—your hands will eventually find the perfect rhythm.
Pro Tips for a Better Result
The secret to a polished, “store-bought” look is all in the details. First, always block your finished work. This simply means getting the item slightly damp and laying it flat to dry in the correct shape, pinning the edges if necessary. This evens out all of your stitches and makes the piece look professional. Second, when you are joining new yarn, try to incorporate the “invisible join” technique once you are more comfortable; it hides your color changes perfectly. Finally, don’t be afraid to keep a “practice square.” If you are learning a new, complicated stitch, don’t try it on a large blanket immediately. Make a small practice square first to master the technique.
Variations and Personalization Ideas
Once you have mastered the simple washcloth, your creative possibilities are endless. You can make stripes by changing your yarn color every two rows. You can experiment with different borders, such as doing a “crab stitch” (a reversed single crochet) around the edge for a decorative finish. You can create a set of three washcloths in different shades of the same color family to create a beautiful, handmade gift set for a birthday or housewarming. The beauty of this craft is that there is no “wrong” way to be creative—once you know how to make a basic stitch, you can make everything from a simple coaster to a beautiful afghan.
Care and Next Steps
To care for your cotton washcloth, simply toss it in the wash on a gentle cycle and tumble dry on low. Cotton holds up beautifully to repeated use and washing. As for your next steps, I recommend trying a classic granny square. It uses the same basic skills you just learned but introduces the concept of working into “spaces” rather than individual stitches. It is a rite of passage for every new crocheter, and it will give you the confidence to start your first large-scale project, like a scarf or a throw blanket.
FAQ
How do I hold my crochet hook correctly?
There is no single “correct” way, but most people use either the pencil grip (holding the hook like a writing pen) or the knife grip (holding it like a dinner knife). Try both and see which feels more natural and causes less strain on your wrist.
Why does my work keep getting smaller?
This usually happens because you are accidentally skipping stitches at the ends of your rows. Use a stitch marker to mark the first and last stitch of every row until you are confident in your counting.
What is the most important skill for a beginner?
Patience. Learning to manage yarn tension and getting comfortable with the way the hook interacts with the yarn takes time. Your first few projects might look a bit rustic, and that is completely okay—it is part of the charm of handmade items!
Can I learn to crochet if I am left-handed?
Absolutely! Many of the world’s best crocheters are left-handed. The mechanics are identical; you will simply find that most video tutorials are mirrored for you. It might help to look for specific “left-handed crochet” tutorials on YouTube to see the motions from your perspective.
How often should I practice?
Even 15 minutes a day is more effective than a three-hour session once a week. Because crochet is a physical movement, your hands and brain need consistent, short bursts of practice to build “muscle memory.”
Conclusion
You have taken the first step toward a lifetime of creativity. Remember that every beautiful, complex crochet piece you see in shops or magazines is just a sequence of these simple, fundamental stitches you’ve learned today. Don’t compare your first washcloth to someone else’s tenth blanket; enjoy the process, embrace your progress, and take pride in the fact that you are creating something with your own two hands. Keep your hook close, keep your yarn stash growing, and most importantly, have fun with every loop. You are now a crocheter—welcome to this lovely, cozy world!