
Introduction
Welcome to the wonderful world of crochet! If you have been admiring cozy, handmade blankets, delicate lace, or adorable plushies from afar, you are standing at the very threshold of creating those treasures yourself. Starting a new hobby can feel a little intimidating, but I promise you that the journey is as rewarding as the final result. Every breathtaking afghan, stylish cardigan, and thoughtful handmade gift you see on your social media feeds began exactly where you are right now: with a piece of yarn and a single, simple loop.
The slip knot is the “hello” of the crochet universe. It is the very first step to securing your yarn to your hook so you can start creating your chains and stitches. Without this small, humble knot, our projects wouldn’t have a foundation to stand on. Think of it as the anchor for your creative process. It is easy, quick to master, and once you have practiced it a few times, it will become second nature—something you’ll do before you even realize you’ve started. In this guide, we are going to walk through the slip knot together, ensuring you feel confident, relaxed, and ready to pick up your hook and begin your first project. Grab a cup of tea, find a comfortable spot, and let’s get started on your creative journey.
Quick Overview
In this guide, you will learn the most essential technique in the crochet toolkit: the slip knot. While it may seem minor, knowing how to create a secure, adjustable, and neat slip knot will save you time and frustration as you progress to more complex patterns.
Who is this guide for? It is designed for the absolute beginner who has never held a crochet hook, as well as for intermediate crocheters who might want to refine their technique or troubleshoot why their starting loop always feels too tight or too loose.
Why this topic matters? Starting with proper tension and a clean foundation prevents your projects from having a “twisting” effect or a bulky starting edge. By learning this fundamental skill correctly, you are setting yourself up for success in every single project you tackle in the future.
Tools You Need to Get Started
You don’t need a massive collection of supplies to learn how to make a slip knot. In fact, you only need two things to get the hang of it, though a little extra patience is always a good asset to have!
The most important tool is your yarn. If you are a beginner, I highly recommend using a smooth, light-colored yarn in a “medium” or “worsted weight” (often labeled as a number 4 on the yarn label). A smooth texture makes it much easier to see individual loops and knots compared to fuzzy or dark-colored yarns.
Next, you will need a crochet hook. For a medium-weight yarn, a size H/8 (5.0 mm) hook is a classic choice. It is large enough to handle easily but small enough to create neat, defined stitches. If you have a kit, look for the hook with that marking.
Finally, find a flat, well-lit surface, or simply sit in your favorite cozy chair. The most important “tool” is a relaxed hand; if you find your knuckles turning white, take a deep breath and loosen your grip. Crochet should be a joy, not a workout!
Understanding the Slip Knot Concept
Before we jump into the steps, let’s talk about what the slip knot actually is. In the world of crochet, the slip knot is a special type of adjustable loop. Unlike a permanent knot that you might use to tie a package, a slip knot is designed to slide. When you pull the yarn ends, the loop tightens; when you pull the loop itself, it opens.
This adjustability is vital because your crochet hook needs to be able to slide into this loop and move freely. If the knot is too tight, your hook will get stuck, and if you can’t slide the yarn, you won’t be able to form your foundation chain properly. Understanding this “sliding” nature of the knot helps you realize why we don’t tie it tight against the hook. We want a snug connection, but never a compressed one.
Helpful Notes Before You Start
- Tension is everything: Your slip knot should fit comfortably on your hook. If you have to fight to pull the hook out of the loop, the knot is too tight. You want it to glide effortlessly.
- Don’t overthink the knot: It’s a very simple movement once your fingers learn the path. Don’t worry if your first few knots look a bit wonky—even the most experienced crocheters had to practice this a few times when they first started.
- Yarn Tails: When you make a slip knot, you will have a “working” end (the part attached to the ball of yarn) and a “tail” (the short loose end). Keep your tail long enough—about 4 to 6 inches—so you don’t have to worry about the knot coming undone while you are working your first row.
Step-by-Step Guide: Creating Your First Slip Knot
Let’s go through this step-by-step. You can do this at your own pace.
The Loop Method (The Beginner’s Choice)
- Lay your yarn down: Place your piece of yarn flat on a table in front of you.
- Create an “X”: Take the end of the yarn (the tail) and bring it over the top of the working yarn (the part connected to the ball) so that it forms a loop shaped like a pretzel or an “X”.
- Reach into the loop: Take your fingers and reach through the center of that loop to grab the working yarn (the part leading to the ball).
- Pull it up: Gently pull that piece of working yarn up through the loop you created.
- Secure it: Pull on the tail and the working yarn end simultaneously to tighten the knot. Congratulations! You have a slip knot.
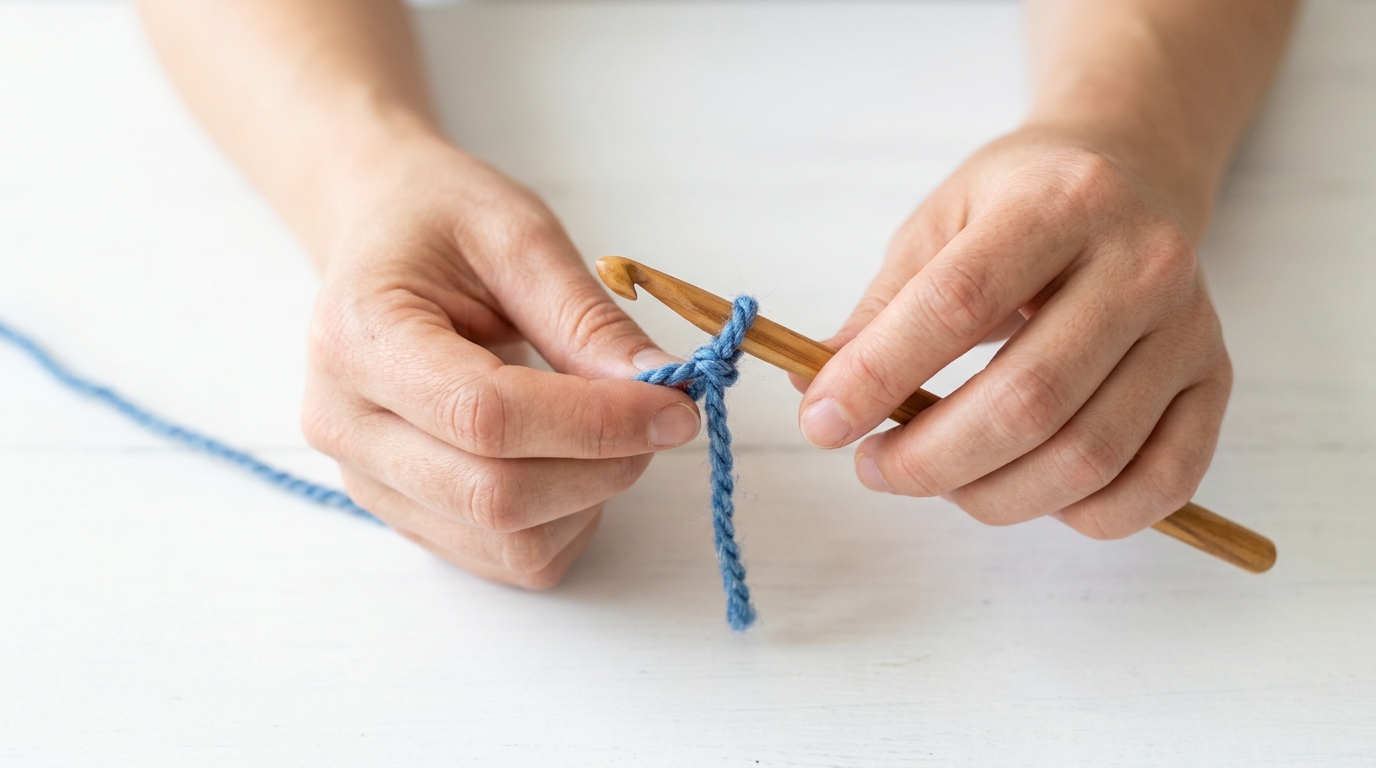
- Attach the hook: Slip your crochet hook into the loop you just made and pull the working end to tighten it gently so the loop sits against the hook shaft.
The “Twist and Pull” Method (The Fast Way)
- Hold the yarn: Hold your yarn in your hand as if you are about to pick up a hook.
- Make a twist: Hold the working yarn in your palm with your fingers. Use your other hand to twist the yarn into a clockwise loop. The working yarn should be on top of the tail end.
- Hook the yarn: Hold the loop open with your fingers and use your crochet hook to catch the working strand that is behind the loop.
- Pull through: Bring the hook down into the loop and pull that strand through.
- Tighten: Tug on the tail to bring the loop snug against the hook.
What This Means for Beginners
For a beginner, the most important takeaway is that you are building the foundation of your future practice. If your slip knot is “too tight,” you will notice that the first chain you make might look smaller than the rest, or it will be hard to insert your hook into it later.
If your slip knot is “too loose,” that loop might slide around too much and make your first stitch baggy. Aim for “just right”—it should hug the hook firmly enough that it doesn’t flop around, but loose enough that you can turn your wrist without the yarn dragging against the metal or bamboo. Think of it like a firm handshake—polite and steady, not a death grip.
How to Check Your Work
After you create your slip knot and place it on your hook, take a moment to “test” it. If you pull the working end, the loop should shrink. If you pull the tail, the knot should adjust. If you feel like the knot is digging into the yarn, don’t be afraid to take it out and try it again. It takes five seconds to undo and restart, and that’s a very normal part of the crochet process!
Common Mistakes to Avoid
Even something as simple as the slip knot has a few common pitfalls that beginners encounter. Here is how to keep your foundation perfect.
The “Death Grip”
The most common mistake is pulling both ends of the yarn as hard as you can after you form the knot. This creates a tiny, rock-hard knot that stays on the hook too long and makes the starting chain difficult to work with. Remember: gentle, rhythmic movements are better than strong, forceful ones.
The Twisted Starting Chain
Sometimes, if the knot isn’t secure, the loop can twist or flip as you start your chains. This makes your starting edge look uneven. Always keep your tension consistent from the very first loop to the very last chain.
Using the Wrong Yarn
Avoid starting your practice on slippery, thin, or hairy yarns (like mohair). These are beautiful but very difficult for beginners because the slip knot can unravel easily or the yarn splits. Stick to sturdy cotton or acrylic blends for your first attempts.
Pro Tips for a Better Result
- Use your tail as a gauge: When you are learning, keep your tail about 6 inches long. This gives you plenty of “handle” to hold onto, which helps stabilize the yarn while you are getting used to the movements.
- Practice in sets: Don’t just make one slip knot and move on. Make ten in a row. It sounds repetitive, but by the tenth one, your muscle memory will have locked in the movement, and you won’t even have to look at your hands anymore.
- Don’t fear the “frog”: “Frogging” is a crochet term for pulling out your stitches (because you “ribbit, ribbit” them out). If your knot feels off, frog it! There is no shame in starting over; it is actually a sign that you care about the quality of your work.
Variations and Personalization Ideas
While the technique for the slip knot stays the same, you can vary your approach depending on the project. For example, if you are making amigurumi or delicate lace, you might want to start with a slightly smaller gauge (tighter) knot to keep the stitches very compact. Conversely, if you are making a chunky, heavy blanket, your slip knot will naturally be larger and more relaxed.
As you get more comfortable, you might find you prefer the “twist and pull” method for thin yarn and the “loop method” for bulky yarn. There is no right or wrong way to make the knot—only the way that results in a secure, neat start for your specific project.
Your Next Steps in Crochet
Once you have mastered the slip knot, the world of crochet opens up. Your next logical step is to learn the “chain stitch.” The chain stitch is the building block of almost every flat project, whether you are making a simple dishcloth, a scarf, or a baby blanket.
Once you get the hang of linking those chains together, try to practice single crochet. By combining your new, perfect slip knot with consistent chains and single crochets, you will soon find yourself making progress on your very first DIY gift. Remember to save your practice swatches! They are a wonderful reminder of how far you’ve come as your skills grow.
FAQ
Does the slip knot count as the first stitch in a crochet pattern?
Usually, no. In most professional crochet patterns, the slip knot is the anchor, but the foundation chains follow it. The pattern will explicitly say “chain X stitches.” Always check your specific pattern notes, but generally, do not count the slip knot as a stitch.
Can I just tie a regular knot to start my project?
While it is physically possible to start with a regular, non-adjustable knot, I wouldn’t recommend it. A regular knot doesn’t allow you to adjust the size of the loop to fit your hook properly. An adjustable slip knot ensures your foundation chain remains consistent with the rest of your project.
My slip knot keeps coming undone while I work. What am I doing wrong?
This is a very common beginner issue. It usually happens because your working yarn is not being held with enough tension, or the tail end is too short. Try keeping a slightly longer tail (about 6 inches) and ensure you have a comfortable hold on your working yarn as you start your first chain.
How do I remove a slip knot if I need to start over?
It is very simple! Pull your hook out of the loop and then pull the yarn end (the tail) away from the knot. The knot will instantly pull apart without damaging your yarn. No scissors required!
Which way should the yarn be facing when I start?
There is no “rule” on this, but most people find it easiest to have the “V” shape of the yarn facing toward them. As long as you are comfortable and your hand position feels natural, don’t worry about the positioning too much. Your own unique way of holding your hook and yarn will develop over time.
Conclusion
You have just taken the first, most important step on a creative journey that will bring warmth, comfort, and joy to your life. The slip knot might seem like a small detail, but by focusing on mastering it today, you have built a foundation of patience and precision that will serve you throughout all your future crochet adventures.
Whether you are dreaming of making heirloom-quality blankets, sweet baby gifts, or fashionable accessories, remember that every master was once a beginner who just decided to keep going. Practice your technique a few more times, take a deep breath, and don’t be afraid to make mistakes—they are simply proof that you are learning. You have everything you need to succeed, and I am so excited to see where your hook takes you next. Happy crocheting!