Yes, you can crochet with mohair yarn, and while it is famously thin and delicate, the record for success lies in using a larger hook (like a 5 mm hook) and maintaining a loose tension to create a lightweight, “cloud-like” texture.
Many crocheters avoid mohair because of its “sticky” fibers and the fear of frogging (unraveling) mistakes, but with the right technique, it is the most rewarding fiber for creating professional-quality garments. Whether you are a beginner or a seasoned artist, mastering the half double crochet stitch with this fiber will unlock a new world of “made-to-measure” fashion.
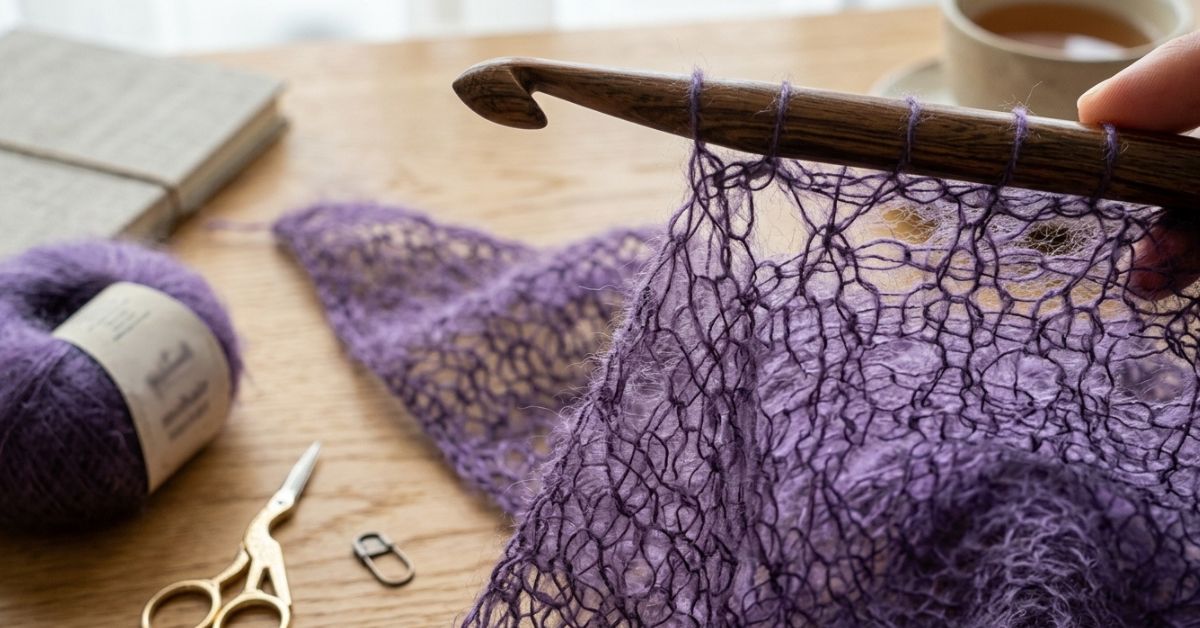
Essential Materials for Your Mohair Project
To achieve the best results, gather these items before starting:
- Kid Mohair Silk Yarn (approximately 2.5 balls for a size small)
- 5 mm Crochet Hook (crucial for maintaining a loose, airy stitch)
- Measuring Tape (for a custom made-to-measure fit)
- Stitch Markers (essential for counting rows in fuzzy yarn)
- Tapestry Needle (for weaving in ends)
- Scissors
Why Mohair is the Ultimate Fiber Challenge
Mohair is derived from the hair of the Angora goat and is known for its high luster and “halo”—that signature fuzzy glow. However, crocheting with mohair requires a different mindset than working with chunky wool. Because the yarn is so thin, the key is not to fight the fiber but to work with its natural drape.
When you start your foundation chain, do not pull tight. A tight mohair stitch is nearly impossible to see, making it very difficult to find where to insert your hook for the next row. By using a 5 mm hook with thin yarn, you are intentionally creating a “rustic” look where the gaps between stitches are filled by the yarn’s fuzzy halo.
Mastering the Half Double Crochet (HDC) Technique
For a classic mohair jumper, the half double crochet is the superior stitch. It provides more height than a single crochet but more “body” than a double crochet.
- Facing the Chain: One of the biggest hurdles is seeing your stitches. Always face your chain upward. You should look for the two loops at the very top.
- The Turning Chain: When moving to a new row, use a chain two as your turning chain. This ensures the edges of your jumper stay straight and don’t bunch up.
- Counting Stitches: Because mohair is so “hairy,” it is easy to accidentally drop a stitch at the end of a row. Count your stitches every other row to ensure you maintain your width (for example, a consistent count of 80 stitches).
The Secret to “Frogging” Without Frustration
“Frogging” is the term for ripping out your work (rip-it, rip-it). With mohair yarn, the fibers tend to lock together like Velcro. If you make a mistake, the best strategy is to pull the yarn very slowly. If you feel a snag, use your tapestry needle to gently tease the fibers apart rather than yanking the yarn. This is why taking your time during the first few rows is vital.
Building Your Jumper: Top-Down Construction
Constructing a mohair garment is often done using a top-down approach. By creating two identical panels (front and back), you can easily customize the neckline and sleeve width.
For the neckline, use stitch markers to mark exactly where you want the head opening to be. A common ratio is leaving the middle 40 stitches open while sewing 20 stitches on each side for the shoulders. When joining panels, use a tapestry needle and a mattress stitch to create an invisible seam that won’t disrupt the fluffy texture of the yarn.
Creating the Perfect Sleeves
Sleeves are attached directly to the body of the jumper. To keep the look consistent, match the color stripes of the body to the sleeves. For a standard fit, you might aim for roughly 52 stitches around the armhole. Working in the round allows the mohair to drape naturally around the arm without heavy seams.
Finishing Touches: Weaving in the Halo
The final step is the most satisfying. Because of the “sticky” nature of the fiber, weaving in ends is actually easier with mohair than with smooth cotton. The yarn naturally clings to itself, meaning your ends are less likely to pop out over time. Simply weave the yarn in multiple directions—up, down, and diagonally—to lock it in place.