
Introduction
Welcome to the wonderful, rhythmic world of crochet! If you have ever looked at a beautifully textured blanket, a cozy sweater, or an adorable handmade toy and thought, “I wish I could make that,” you are in the exact right place. Learning to crochet is one of the most rewarding creative outlets you can choose. It is a hobby that combines math, art, and relaxation into a single, meditative craft. Among the vast library of stitches available, none is as fundamental or as versatile as the single crochet stitch (abbreviated as “sc” in U.S. patterns).
Think of the single crochet as the building block of your entire crochet journey. It creates a dense, sturdy, and uniform fabric that is perfect for everything from warm winter accessories to structural amigurumi dolls. While it might feel a little awkward to manage the hook and yarn at first, I promise you that with a little patience and a bit of practice, your hands will soon find a natural, comfortable flow. This guide is designed to be your gentle companion, walking you through every movement. We will take it slow, focus on the details, and help you build the confidence you need to turn a ball of yarn into something truly special.
Quick Overview
This guide is curated specifically for those who are just picking up a hook for the first time, as well as intermediate crafters looking to refine their technique or sharpen their basics. You will learn:
- The anatomy of a crochet stitch.
- How to create a proper foundation chain.
- The step-by-step mechanics of the single crochet stitch.
- How to turn your work to create even, neat rows.
- Professional tips to ensure your edges remain straight and your tension stays consistent.
This guide focuses on the fundamentals—the “why” and “how” behind the stitch—so that you can approach any pattern with the knowledge that you have mastered the most important technique in the craft.
Materials and Tools Needed
One of the greatest joys of crochet is that it requires very little clutter. To get started, you only need a few simple tools:
- Yarn: For your first practice sessions, I highly recommend choosing a smooth, light-colored worsted weight yarn (often labeled as a number 4 weight). A wool-acrylic blend or a solid-colored cotton is excellent because you can clearly see the “V” shapes of your stitches, which makes counting much easier.
- Crochet Hook: If you are using a worsted weight yarn, a size H/8 (5.0 mm) hook is the gold standard. It is large enough to be easy to hold but small enough to produce a nice, tight fabric.
- Stitch Markers: These are small, plastic clips that help you track the beginning and end of your rows. They are a beginner’s best friend.
- Scissors and a Yarn Needle: You will need these for securing your work once you are finished.
Crochet Terms and Key Concepts
Before we move into the mechanics, let’s get comfortable with the vocabulary you will see in almost every pattern you encounter:
- The Foundation Chain: This is the starting row of loops that forms the base of your project.
- The Working Loop: The loop that is currently on your hook.
- Yarn Over (YO): This sounds fancy, but it simply means wrapping the yarn over your hook from back to front.
- Stitch (st): The individual unit of your work.
- Turning: Flipping your work over at the end of a row to begin working back in the other direction.
- Gauge: The number of stitches per inch. While we won’t worry about strict gauge today, understanding that the tightness of your stitches changes the size of your project is key for future clothes and accessories.
Helpful Notes Before You Start
Crochet is very forgiving, but your success depends heavily on your comfort level. First, find a place with good lighting. Do not try to learn in a dimly lit living room; your eyes will get tired, and you won’t be able to see the details of the stitches. Second, pay attention to your tension. If you find your hands cramping, you are likely holding your yarn or hook too tightly. Take a deep breath, set your work down for a moment, and wiggle your fingers. Tension is something that develops with “muscle memory”—the more rows you finish, the more relaxed your grip will become.
Understanding the Single Crochet Technique
The beauty of the single crochet stitch lies in its simplicity. You are essentially pulling a loop through a space and then pulling another loop through both remaining hoops on your hook to “lock” it into place.
The Foundation Chain
Start by making a slip knot and placing it on your hook. To make a chain, yarn over and pull the yarn through the loop on your hook. Repeat this until you have a chain of about 15 or 20. Don’t pull these too tight! If your chain is too tight, it will be very difficult to insert your hook into the stitches for the next row.
Inserting the Hook
To begin the first row of single crochets, skip the very first chain closest to your hook. You will be working into the second chain from the hook. Insert your hook into the center of that “V” of the second chain.
The Single Crochet Motion
Once your hook is inside that chain space:
- Yarn Over: Wrap your yarn around the hook.
- Pull Through: Catch the yarn with the hook and pull it back through the chain space. You should now have two loops on your hook.
- Yarn Over Again: Wrap the yarn around the hook one more time.
- Complete the Stitch: Pull this new loop through both of the loops currently on your hook.
You have just completed one single crochet!
Step-by-Step Guide to Row Completion
After you have completed your first single crochet, repeat the process in every chain across the row. When you reach the end of your foundation chain, you have completed your first successful row.
Turning Your Work
When you reach the end of a row, you need to turn your work to go back. To do this, simply chain one—this is a “turning chain”—and flip your piece over like you are turning the page of a book. The turning chain gives you the necessary height to start the next row without pulling on your stitches.
Working into Stitches
For all subsequent rows, you won’t be working into a “chain” but rather into the top of the single crochet stitches you made in the previous row. Look at the top of your previous stitches; you will see two strands of yarn forming a “V.” Insert your hook under both strands of that “V,” yarn over, pull through (two loops on hook), yarn over, and pull through both loops.
Common Mistakes to Avoid
Even the most experienced crocheters make mistakes, so don’t be discouraged! Here is what to keep an eye on:
- The “Twisted” Chain: If your starting chain looks like a spiral, don’t worry—just straighten it out before you finish your first row of stitches.
- Skipping the Last Stitch: A very common mistake! Beginners often mistake the turning chain for a real stitch, or they accidentally skip the final stitch of a row, which causes the piece to become slanted or triangular. Use a stitch marker in that final stitch to remind yourself it is there.
- Varying Tension: If your edges look wavy, your tension is likely changing as you work. Practice makes this uniform over time.
- Wrong Hook Size: If your piece feels stiff like a rug, try a larger hook. If it feels like a loose, messy net, try a smaller hook.
Pro Tips for a Better Result
- The “V” Anatomy: Always remember to insert your hook under both top loops of the “V” unless a specific pattern tells you otherwise. Going under only one loop will create a decorative ridge, which is pretty, but it will make your fabric weaker.
- Counting is Caring: In the beginning, count your stitches at the end of every row after you turn. If you started with 20 stitches, you should have 20 at the end of every row. This prevents the “accidental triangle” effect.
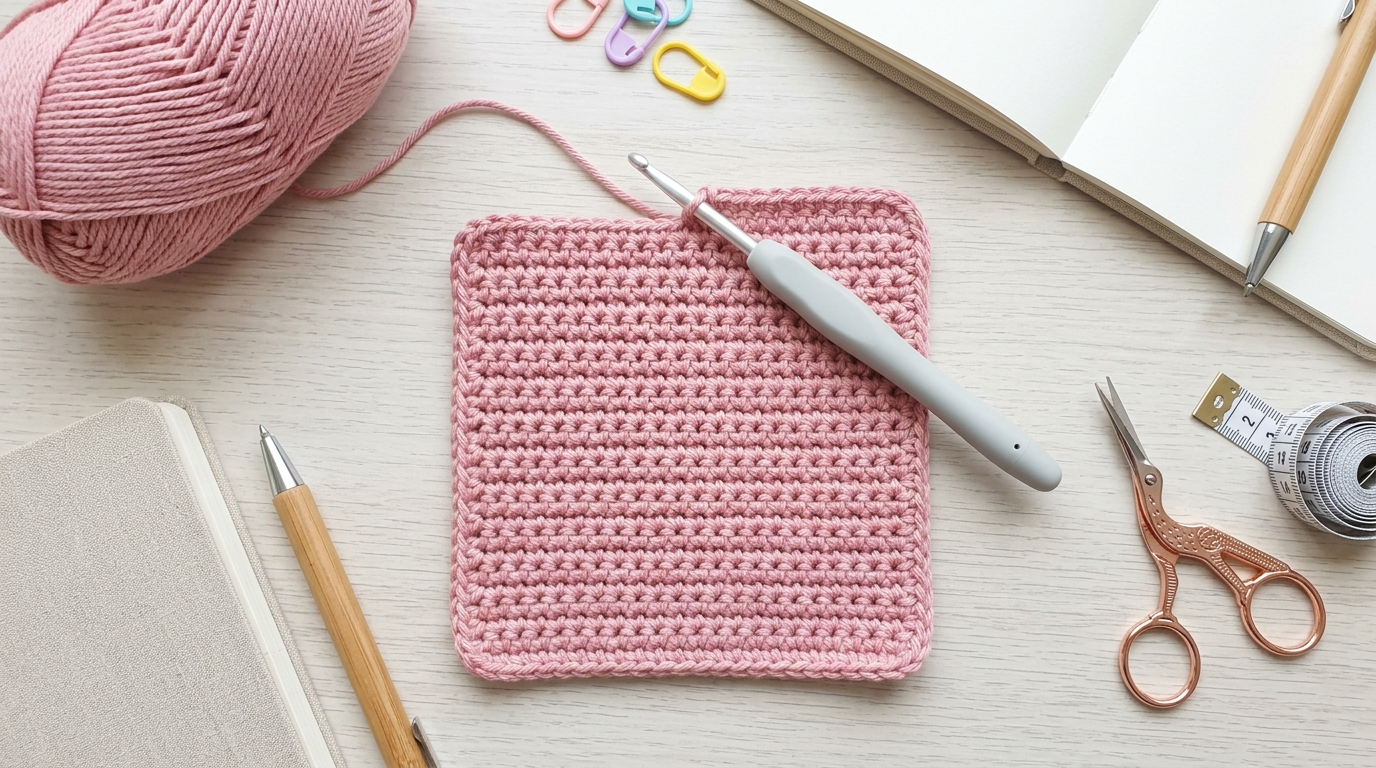
- Blocking: Once you finish a square of single crochet, you might notice the edges aren’t perfectly straight. Taking the time to “block” your project—gently pinning it into shape and lightly steaming it—works absolute wonders for professional-looking edges.
Variations and Personalization Ideas
Once you have mastered the standard single crochet, you can experiment to change the look of your fabric without learning a new stitch:
- Back Loop Only (BLO): By inserting your hook into only the back loop of the “V,” you create a beautiful ribbed effect. This is fantastic for cuffs on sweaters or home decor like table runners.
- Working in the Round: Instead of turning rows, you can work your single crochet in a continuous circle. You will need a stitch marker to mark the first stitch of every round so you don’t lose your place. This is the primary technique used for making stuffed amigurumi animals.
- Color Changes: Want to add stripes? Carry your second color of yarn along the back or tie it in at the end of a row. Changing colors is half the fun of learning the craft.
Care, Storage, and Next Steps
Once your practice piece is finished, fasten it off by cutting the yarn (leave a 6-inch tail) and pulling the tail through the final loop on your hook, then pull tight to knot it. Use your yarn needle to “weave in your ends” by running the yarn back and forth through the back side of your stitches.
To care for your future projects, wash them according to the yarn label (usually cool water, gentle cycle) and lay them flat to dry. Avoid hanging heavy crochet items, as they can lose their shape over time. As for your next steps, once you feel confident with single crochet, you are ready to tackle the half-double crochet or double crochet, which are just as fun and open up massive possibilities for patterns!
FAQ
Why does my crochet piece look like it’s getting wider or narrower?
This usually happens because you are either adding an extra stitch at the end of the row (increasing) or accidentally skipping the last stitch (decreasing). Always count your stitches at the end of every row to ensure consistency.
Can I use any yarn for my first time?
While you can technically use any yarn, some are much harder to see than others. Avoid black yarn, textured yarn, or “plush” chenille yarn until you feel comfortable seeing the anatomy of the stitches. Stick to smooth, medium-colored acrylic or cotton for the first few weeks.
How do I stop my wrists from hurting?
Wrist pain is often a sign of “death-gripping” the hook. Try holding your hook like a pencil instead of a knife, or vice versa, to see if a change in grip helps. Also, remember to take five-minute breaks every half hour to stretch your hands.
What is the difference between single crochet in the US vs the UK?
This is a classic point of confusion! In the U.K., the stitch we call a “single crochet” in the U.S. is actually called a “double crochet.” Always check the designer’s notes to see which terminology they are using. If a pattern uses “hsc” or asks for a “turning chain of 3,” you are likely looking at a different region’s terminology.
How do I join a new ball of yarn when I run out?
The simplest way is to finish your last stitch of the old yarn until you have two loops on your hook. Instead of finishing the stitch with the old yarn, yarn over with the new yarn and pull it through to complete the stitch. You can then weave in your ends later.
Conclusion
You’ve reached the end of the technical portion, but in many ways, your journey in crochet is only just beginning. Learning the single crochet stitch is like learning to ride a bike—it feels tricky while you are focusing on your feet, but suddenly, it becomes second nature. Don’t worry about making the perfect square or a beautiful gift right away. The most important thing is that you keep your hands busy and enjoy the process of turning a simple string into a piece of fabric you created with your own two hands.
Take your pieces of “messy” practice rows and save them. A few months from now, when you’ve mastered complex patterns, looking back at your first row of single crochets will remind you exactly how far you have come. Crochet is a gift to yourself—it is a way to slow down, practice patience, and decorate your life with handmade warmth. So, pick up that hook, find your comfortable rhythm, and just keep stitching!