
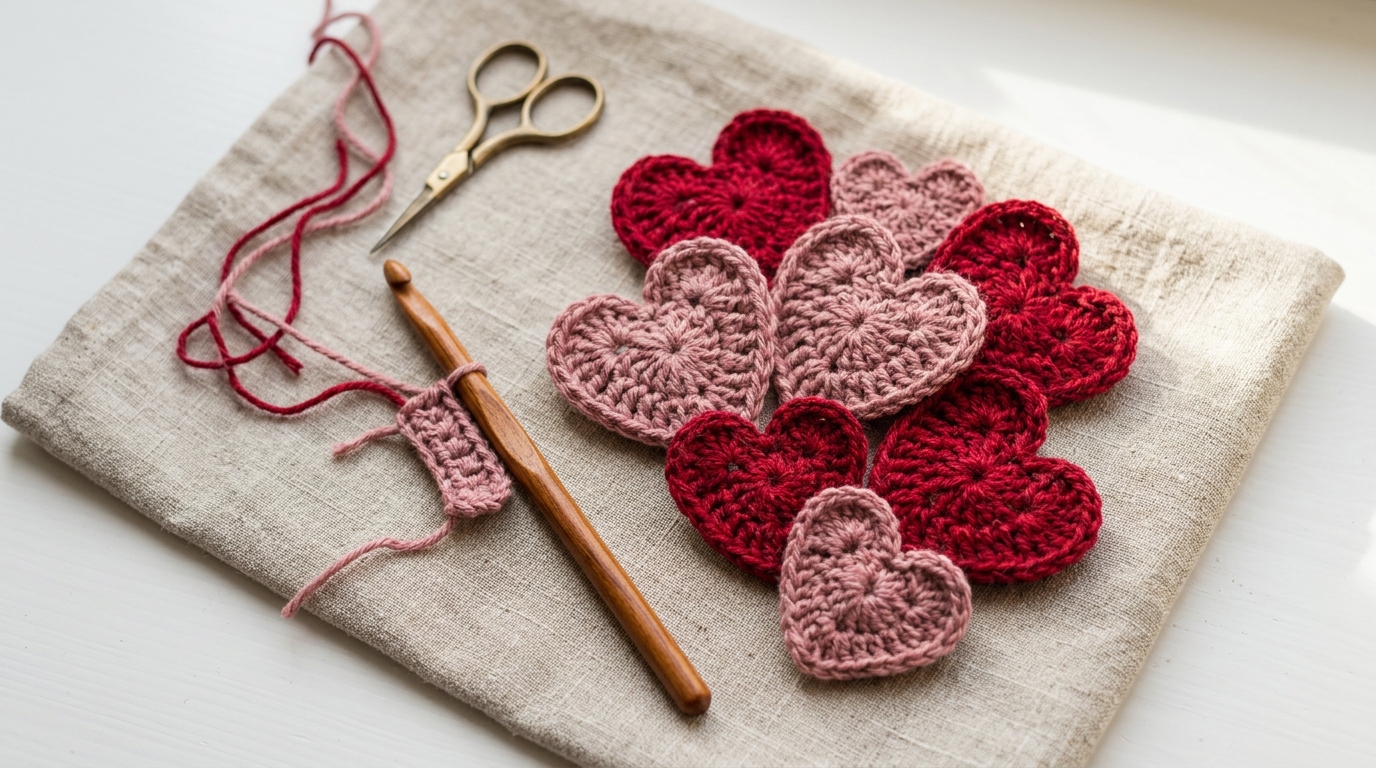
Adding a Heartfelt Touch to Your Crochet Journey
There is something undeniably magical about the shape of a heart. It is a universal symbol of love, care, and handmade affection. Whether you are looking to create a small token of appreciation for a dear friend, a sweet addition to a baby blanket, or a romantic touch for your home decor, the humble crochet heart is the perfect project. In the world of crochet, hearts are more than just a pattern; they are a rite of passage for beginners and a delightful palette for experienced crafters to experiment with texture, color, and size.
I remember my very first crochet heart. It wasn’t perfect—the edges were a bit wonky and my tension was tighter than a drum—but the feeling of pride when I finished it was monumental. That is the beauty of this project; it is approachable, quick to complete, and incredibly rewarding. In this guide, I will walk you through everything you need to create your own beautiful crochet hearts. Whether you are a total beginner picking up a crochet hook for the first time or an intermediate maker looking for new ways to embellish your projects, you have come to the right place. Grab your favorite skein of yarn and a cozy spot on your sofa—let’s create something lovely together.
Quick Overview
This guide is designed for anyone who wants to master the classic, versatile heart motif. Here is what you can expect:
- Skill Level: Beginner-friendly. No advanced techniques are required, making this an ideal project for those just starting out.
- Estimated Time: 10–15 minutes per heart, perfect for a quick creative break.
- Finished Size: Customizable based on the yarn weight and hook size you choose.
- Best Use: These hearts are incredibly versatile. Use them as gift tags, garland bunting, appliqué for sweaters, or even scatter them as table confetti for special occasions.
- Why You’ll Love It: They are highly scrap-friendly, meaning they are the perfect destination for those leftover bits of yarn hiding in your stash.
Materials Needed
One of the great things about this pattern is how little you need to get started. You likely already have everything on hand:
- Yarn: Any weight works! Worsted weight (Size 4) is excellent for beginners, while sport or fingering weight is lovely for more delicate, dainty hearts. Cotton yarn holds the shape beautifully, while acrylic is soft and forgiving.
- Crochet Hook: Choose a size that matches your yarn label’s recommendation. If you are a loose crocheter, feel free to drop down one hook size to ensure the heart stays firm and keeps its shape.
- Yarn Needle: Essential for weaving in your ends securely.
- Scissors: Any pair that is sharp enough to cut through your chosen yarn.
- Stitch Marker: Optional, but helpful if you want to keep track of your starting point or a specific pivot stitch.
Understanding Basic Crochet Stitches
Before we dive into the pattern, let’s get comfortable with the vocabulary. We will be using common U.S. crochet terms. If you are new to the craft, here is a quick refresher:
- Chain (ch): The foundation of most crochet projects.
- Single Crochet (sc): A compact, sturdy stitch that gives your project structure.
- Half Double Crochet (hdc): Slightly taller than a single crochet, perfect for creating smooth transitions in curves.
- Double Crochet (dc): A taller stitch that works up quickly, ideal for the “lobes” of the heart.
- Treble Crochet (tr): Often used to add height as you move away from the center of the heart.
- Slip Stitch (sl st): The foundation of a clean edge or joining two points together.
Helpful Notes Before You Start
Crocheting a heart is all about managing tension to maintain that lovely, curved silhouette. Here are a few tips to ensure your results are consistent:
- Tension Matters: Because hearts have a lot of curves, it is important to keep your tension even. If you notice your heart looking a bit “gappy” or loose, try using a slightly smaller hook.
- The “Magic” of Yarn Choice: If you are making these for a baby mobile, choose a soft bamboo or organic cotton. If you are making a garland for Valentine’s Day, a sturdy acrylic or wool blend will hold its shape perfectly when hung.
- Weaving In Ends: Because the heart shape is continuous, securing your ends is vital. I always recommend weaving your tail in several different directions once finished, rather than just trimming it close to the knot.
The Classic Crochet Heart Pattern
This pattern is worked in one continuous round. It is surprisingly simple once you realize how the stitches create the height and the slope of the heart.
- Foundation: Start with a magic ring (or ch 4 and sl st to the first chain to form a ring).
- Round 1: Ch 2 (counts as the center space). Into the ring, work: 3 tr, 4 dc, 1 tr (this is the bottom point of your heart), 4 dc, 3 tr.
- Finishing the Round: Ch 2, sl st into the center of the magic ring. Pull the tail of your magic ring tight to close the center hole.
- Fastening Off: Cut your yarn, leaving a 6-inch tail. Pull the tail through the final loop and use your yarn needle to thread it through the back of the work to secure it.
Step-by-Step Breakdown
If you are a visual learner, think of it this way: the chain 2 at the start is your anchor. The treble crochets provide the height needed for the top “lobes” of the heart, while the double crochets bridge the gap toward the central point. The single treble crochet at the very bottom acts as the narrow tip of the heart.
When you finish that final chain 2 and slip stitch back into the center, the heart will naturally want to “buckle” or curve inward. That is exactly what you want! If it lays perfectly flat like a coaster, your stitches might be a bit too tall. A little bit of “cup” or curve adds to the charm of the heart shape.
Common Mistakes to Avoid
Even experienced crocheters run into little snags. Here is how to keep your heart looking heart-shaped:
- The Magic Ring Struggle: If you find the magic ring frustrating, don’t worry! Starting with a simple chain-4 circle is a perfectly valid alternative. It produces the same end result.
- Ignoring the Point: If your heart looks like a circle, you likely didn’t pull the center tight enough or your stitches are too consistent in height. Remember that the “point” of the heart needs that single long stitch (the treble crochet) to create a sharp contrast to the rounded lobes.
- Tight Starting Chains: If you choose the chain-4 method, make sure your starting chain isn’t too tight. A tight chain can cause the center of your heart to pucker unpleasantly.
- Twisted Stitches: If you are working in rounds, make sure your project isn’t twisting. Since this is a small motif, holding the piece flat on a table while you work can help keep your hands steady.
Pro Tips for a Better Result
You want your hearts to look professional and intentional. Here are a few ways to elevate your finished items:
- Blocking: Yes, even for tiny hearts, blocking makes a world of difference! Lightly spray your finished hearts with water, pin them to a foam mat in a perfect heart shape, and leave them to dry. It sets the stitches and ensures every single heart in your batch is identical.
- Steam Blocking: If you are using acrylic yarn, a gentle hover with a steam iron (without touching the iron to the yarn!) will relax the fibers and give the heart a crisp, store-bought look.
- Varying Hues: Don’t be afraid to mix and match colors. A heart made with a variegated yarn can look like a beautiful, rustic piece of art, while solid, bright colors look more modern and graphic.
Personalization Ideas
The beauty of such a small project is that you can adapt it to any theme:
- The Gift Tag Heart: Use a slightly thicker, heavier yarn like a cotton cord. Once finished, poke a jump ring through the top of one lobe and attach it to a wrapped gift using twine. It’s a gift wrap addition that your recipient will want to keep forever.
- The Garland: Crochet 10-15 hearts in complementary colors. Use a long chain of color-coordinated yarn to string them together through one of the top sc stitches of each heart. Drape this across a mantel or a bedroom mirror for instant romance.
- The Hair Accessory: Attach a small heart to a sturdy hair clip or bobby pin using a bit of fabric adhesive or by sewing it on with thread. It’s a sweet, subtle way to add handmade style to your wardrobe.
Care, Storage, and Next Steps
To keep your hearts looking fresh, treat them gently. For cotton hearts, a hand wash in cool water with a touch of mild detergent is best. Lay them flat to dry on a clean towel. Avoid the dryer, as the high heat can damage the shape and texture of the stitches.
If you are storing them, keep them in a small fabric pouch or a clear envelope. This prevents them from getting dusty and keeps them ready for your next project.
Once you have mastered the basic heart, where should you head next? Why not try adding a simple border of single crochets in a contrasting color to the edge of the heart? Or, try holding two strands of lace-weight yarn together to create a “chunky” heart with a beautiful, fuzzy, textured look. The possibilities are endless once you have the foundation down.
FAQ
How do I make the heart larger?
To increase the size easily, simply use a thicker yarn (like a bulky or super-bulky weight) and a larger hook. If you need a specific pattern for a larger heart, you can work additional rows of stitches around the foundation round, working increases at the lobes and a decrease at the bottom point.
Why does my heart look more like a triangle?
This usually happens if your tension is very tight, preventing the stitches from “flowy” naturally into a curve. Try using a hook size at least 0.5mm larger than what the yarn label recommends. The extra room allows the stitches to bloom and curve.
Can I join these together to make a blanket?
Absolutely! Crochet hearts are a popular motif for “scrap blankets.” You can crochet dozens of hearts, block them to be the same size, and then join them using a flat slip-stitch seam or by sewing them together with a darning needle.
What is the easiest way to weave in the ends?
Since the heart has a center that is pulled tight, try to weave your yarn tail through the “back” of the stitches. Avoid the front side so the stitches remain smooth. Weave in one direction, then change direction to “lock” the yarn in place so it won’t come undone.
Are these hearts safe for baby items?
Yes, provided you weave in all ends securely and do not use embellishments like beads or buttons that could become loose. Ensure your yarn choice is soft, washable, and ideally made from natural fibers like cotton, which do not fray as easily as some synthetics.
Final Thoughts
You have reached the end of this guide, but your creative journey with this sweet motif has only just begun. Crocheting is a special kind of meditation; it is the act of turning a simple string into a shape that carries meaning. Every time you pick up your hook, you are adding to a lifetime of beautiful, handmade memories.
Don’t feel discouraged if your first heart isn’t exactly how you imagined it. The beauty of this craft is that it is infinitely forgiving. If you don’t like how one turns out, you can simply pull it apart—known as “frogging” in the crochet world—and start again. That is part of the fun! I hope this guide has given you the confidence to start, the knowledge to refine your technique, and the inspiration to turn these little hearts into something truly special. Happy hooking!