
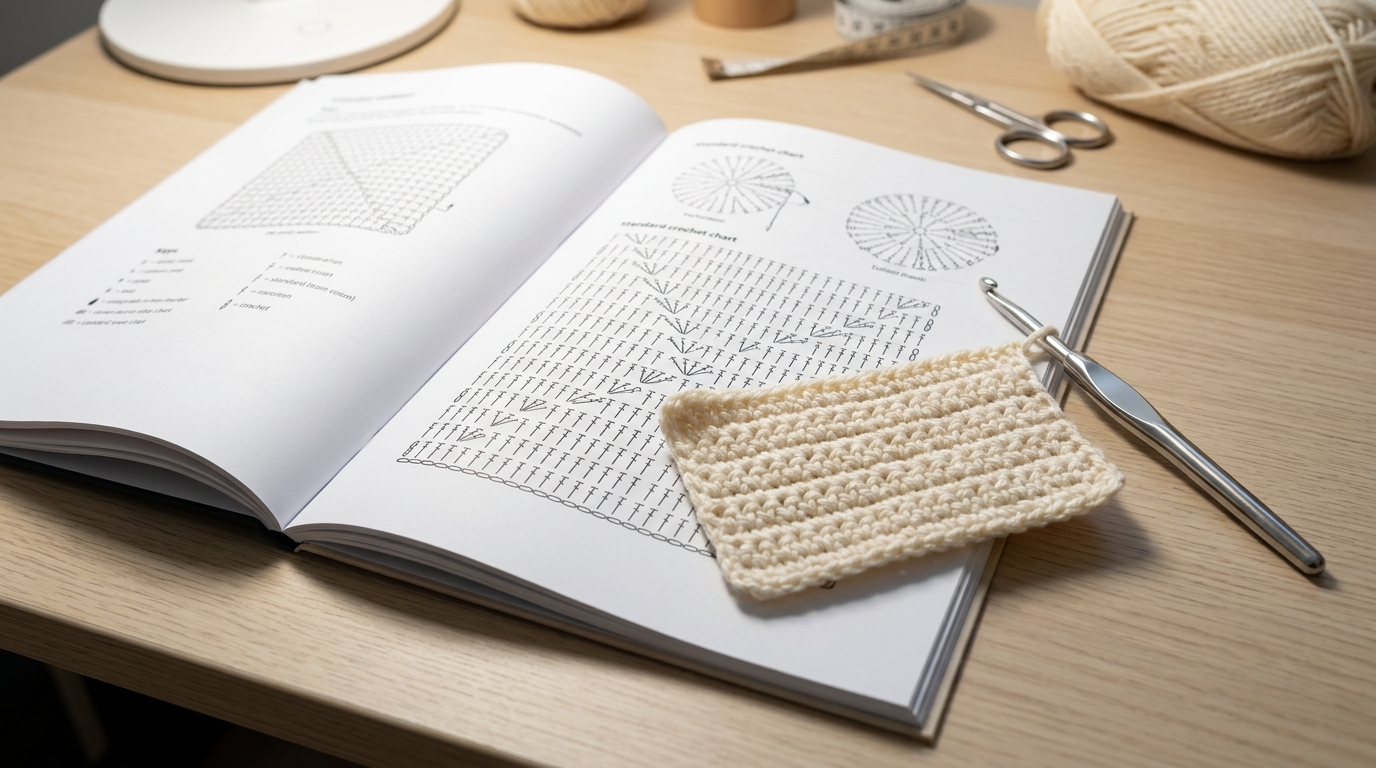
Introduction
There is something truly magical about the moment you pick up a crochet hook and a ball of yarn for the first time. Whether you are dreaming of creating a cozy, heirloom-quality blanket or simply want to master the art of handmade accessories, learning to read crochet patterns is the key that unlocks a world of creativity. If you have ever felt intimidated by a string of cryptic abbreviations or wondered why your finished project looked a little different than the photograph in the pattern book, you are certainly not alone. Every expert designer started exactly where you are today: with a hook, some yarn, and a desire to learn.
Understanding the standard symbols and instructions used in crochet is much like learning a new language. At first, it might feel like a series of disjointed codes, but with a little guidance, it soon becomes a beautiful rhythm that flows through your hands. In this guide, we are going to demystify the structure of crochet pattern writing, from the essential abbreviations to the logic behind row-by-row instructions. By grounding yourself in these fundamentals, you will not only gain the confidence to follow any pattern you find, but you will also learn how to troubleshoot your work and achieve that flawless, professional finish that makes handmade items so special. Let’s sit back, relax, and turn those mysterious symbols into your next beautiful creation.
Quick Overview
This guide is designed for both absolute beginners who are just starting to decode their first simple pattern and intermediate makers who want to refine their process and understand the “why” behind the instructions. We will focus on the standard American English terminology used in most patterns today. By the end of this resource, you will understand how to:
- Identify and interpret standard crochet abbreviations.
- Navigate the structure of a pattern, including gauge, materials, and notes.
- Distinguish between working in rows versus working in rounds.
- Apply best practices for stitch counts and edge control to ensure your work looks neat and intentional.
Tools of the Trade
Before diving into the notation, it is helpful to ensure you have the right mindset and the basic tools at your side. While you don’t need an abundance of expensive equipment, having your “crochet toolkit” ready makes the learning process significantly smoother. You should always have:
- A set of crochet hooks: Having a range of sizes allows you to match the gauge specified in your pattern.
- A collection of stitch markers: These are essential for keeping track of your beginning rounds, increases, or decreases.
- A yarn needle: This is non-negotiable for weaving in your ends securely, which is the secret to a professional-looking finish.
- A measuring tape and a small notebook: Keeping track of your rows is much easier when you write them down as you go.
Decoding Crochet Abbreviations and Terminology
Most crochet patterns are written in a shorthand that serves as a universal language for makers. Once you memorize these common abbreviations, you will find that you can read virtually any pattern, from a simple dishcloth to an intricate sweater. In the United States, we use standard terminology that differs slightly from international conventions, so always check the “Stitch Abbreviations” section of your specific pattern to be sure.
Common terms you will encounter include:
- ch: Chain
- sc: Single crochet
- hdc: Half double crochet
- dc: Double crochet
- sl st: Slip stitch
- st(s): Stitch(es)
- inc: Increase (working two stitches into the same space)
- dec: Decrease (combining two stitches into one to reduce size)
- YO: Yarn over
- FO: Fasten off
Learning these allows you to scan a pattern and understand the “anatomy” of the project before you even pick up your yarn. When you see “ch 20, dc in 4th chain from hook,” you are already visualizing the foundation of your work.
Understanding Pattern Structure and Notes
Every quality crochet pattern begins with a section often called “Pattern Notes” or “Important Information.” Never skip this section! This is where the designer provides the “map” for your project. Look for these essential elements:
- Gauge: This is the most important part of professional pattern design. It tells you how many stitches and rows make up a specific area (usually a 4×4 inch square). If your gauge is “off,” your finished item might end up being too large or too small.
- Yarn Weight and Hook Size: The pattern will specify the recommended yarn weight (such as worsted, sport, or bulky) and the hook size that was used to achieve the original result.
- Special Stitches: If the pattern uses something unique—like a popcorn stitch or a cluster—it will be defined here. Always read these definitions carefully before starting.
Navigating Rows and Rounds
There are two primary ways that crochet projects are built: in rows (flat) or in rounds (circular).
Working in Rows
When working in rows, you travel back and forth. You will often see “ch 1 and turn” or “ch 3 and turn.” The chain at the beginning of the row acts as a “turning chain,” which brings your yarn up to the appropriate height for the stitches in the next row. Beginners often struggle with straight edges here, but the trick is to always count your stitches at the end of every row to ensure you haven’t accidentally increased or decreased your work.
Working in Rounds
Working in rounds is common for hats, bags, and amigurumi. Some projects are worked in a continuous spiral (no joining), while others require you to “join with a slip stitch” at the end of each round and chain up to start the next. Reading the pattern carefully for phrases like “do not join” will prevent you from accidentally creating a seam where there shouldn’t be one.
Consistency and Tension
Tension is perhaps the most difficult skill to master, yet it is the most important for a “flawless” look. Tension refers to how tightly or loosely you hold your yarn. If your tension is too loose, your work will be full of gaps, which is rarely desired. If your tension is too tight, it will be physically difficult to insert your hook into the next stitch.
A helpful tip: Try to maintain the same grip on your yarn throughout the entire project. If you are having a stressful day, you might find that you crochet more tightly than usual. Take a break, stretch your hands, and come back when you feel relaxed. Consistency is the secret ingredient to a fabric that looks uniform and intentional rather than uneven.
Common Mistakes to Avoid
Even experienced crocheters make mistakes. Here are a few to watch out for:
- Ignoring the Turning Chain: Beginners often fail to count the turning chain as a stitch. This leads to the work growing wider or narrower as you progress. Read your pattern notes to see if the turning chain counts as a stitch or not.
- Losing Count: It is easy to get distracted while working. Using a stitch marker at the beginning of a round or at the end of a row ensures you stay on track, especially in long, repetitive sections.
- Twisted Chains: When joining a long foundation chain into a circle, lay it flat on a table to ensure it is not twisted like a mobius strip before you make that first slip stitch.
- The “Yarn Over” Trap: Always double-check that you are correctly pulling the yarn over the hook. Inconsistent yarn-over movements can lead to “lopsided” stitches that make the final fabric look bumpy.
Pro Tips for Polished Results
To take your crochet from “homemade” to “handmade professional,” focus on the finishing.
- Weaving in Ends: Do not just tie a knot and cut your yarn. Use a sturdy yarn needle to weave your ends in through several stitches in different directions. This ensures your hard work doesn’t unravel after the first wash.
- Blocking: This is the most underrated step. By dampening your finished piece and pinning it into the correct shape while it dries, you can even out your stitches and improve the overall drape of the project. It is truly transformative.
- Choosing the Right Yarn: Start with lighter, solid-colored yarn for your first few projects. Neon, variegated, or fuzzy yarns can make it nearly impossible to see your stitch definition, which makes learning the symbols much harder.
Personalization and Creativity
One of the joys of crochet is that once you understand the standard instructions, you can begin to customize patterns. You can change the colors to match your home decor, substitute an acrylic yarn for a soft wool, or extend the length of a piece to suit your body type. Just remember: if you change the weight of the yarn, you must also consider changing your hook size and potentially adjusting the number of stitches you are working. Always work a small “swatch” first to see how the fabric feels and looks before committing your time to an entire project.
Care and Next Steps
Once your project is finished, you want it to last as long as possible. Always check the yarn label for washing instructions. Most handmade crochet items prefer a gentle hand wash in lukewarm water with a mild soap. Avoid wringing the project, as this can stretch the fibers; instead, lay it flat on a clean towel to dry.
For your next steps, I encourage you to pick a small, achievable project—perhaps a coaster, a headband, or a small pouch. By applying the concepts we’ve covered today, you will find that you can tackle a wider variety of patterns. Keep your notebook handy, keep a positive attitude, and remember that every “mistake” is actually just a lesson helping you become a more skilled maker.
FAQ
How do I know if my tension is correct?
Check your gauge! If your swatch is larger than the required dimensions, your tension is too loose. If it is smaller, your tension is too tight. Adjust your hook size—go down a size if your work is too loose, or up a size if it is too tight—until your gauge square matches the pattern.
Why do my edges look wavy or uneven?
This usually happens because you are adding or missing a stitch at the end of your rows. Always count your stitches at the end of each row and use a stitch marker in the first and last stitch if you find you are losing your place.
Is there a difference between US and UK crochet terms?
Yes, they can be very confusing! For example, a “single crochet” in the US is known as a “double crochet” in the UK. Always check the “key” or “abbreviations” page of your pattern. If the pattern mentions a “dc” but doesn’t define it, check the author’s nationality or the pattern source to determine which terminology system is being used.
What is the easiest way to join a new ball of yarn?
The most secure way is to work the last few stitches of the old color (or ball) using the new yarn. Leave a tail of about 4-6 inches on both the old and new yarn, and weave them into the back of your work securely once the project is finished.
How often should I check my stitch count?
For beginners, I recommend checking after every single row or round. It sounds tedious, but it is much faster to rip back one row of work than it is to reach the end of a blanket only to realize your stitch count was wrong twenty rows ago!
Conclusion
Mastering the language of crochet symbols and instructions is a journey rather than a destination. By taking the time to understand the structure of a pattern, focusing on your tension, and embracing the importance of gauge, you are setting yourself up for success. You now have the tools to pick up almost any pattern with confidence and transform simple strands of yarn into something meaningful and beautiful. Whether you are creating a gift for a loved one or a cozy addition to your home, remember to enjoy the process as much as the result. Keep your hooks busy, and happy stitching!