
Introduction
There is something truly magical about taking a single strand of yarn and transforming it into a piece of art that reflects your personal style. Whether you are curled up in your favorite armchair on a rainy afternoon or looking to create the perfect handmade gift for a loved one, the journey of crochet is one filled with creativity and relaxation. For many of us, our relationship with crochet begins with a simple chain and a single hook, but as we grow in our practice, we start to crave more professional, sophisticated results. Have you ever wondered why some handmade items look store-bought and polished while others have a slightly “homemade” appearance? The secret often lies not just in your stitches, but in the unique layouts and the way you read and implement professional charts.
In this guide, we are going to peel back the curtain on how to elevate your crafting through better visual literacy. We will explore how to interpret those intricate diagrams that can sometimes feel intimidating and how to use unique design layouts to add structure and elegance to your projects. Whether you are a beginner just starting to understand the logic of stitch placement or an intermediate maker looking to refine your finishing techniques, this article is designed to be your cozy companion. Let’s embrace the process of learning, slowing down, and elevating our crochet game together, one stitch at a time.
Quick Overview
This guide is intended for anyone who feels ready to move beyond the basics and start creating pieces with a more professional finish. You will learn the foundational logic of professional crochet charts, why they are often superior to written instructions for complex patterns, and how to utilize “unique layouts”—such as modular construction or non-traditional stitch placement—to give your work a bespoke, designer look. This isn’t just about following directions; it’s about understanding the “why” behind the design so you can eventually customize your projects with confidence. By the end of this article, you will feel more comfortable looking at a map of symbols and turning it into a beautiful, wearable, or decorative reality.
Understanding Crochet Symbols and Language
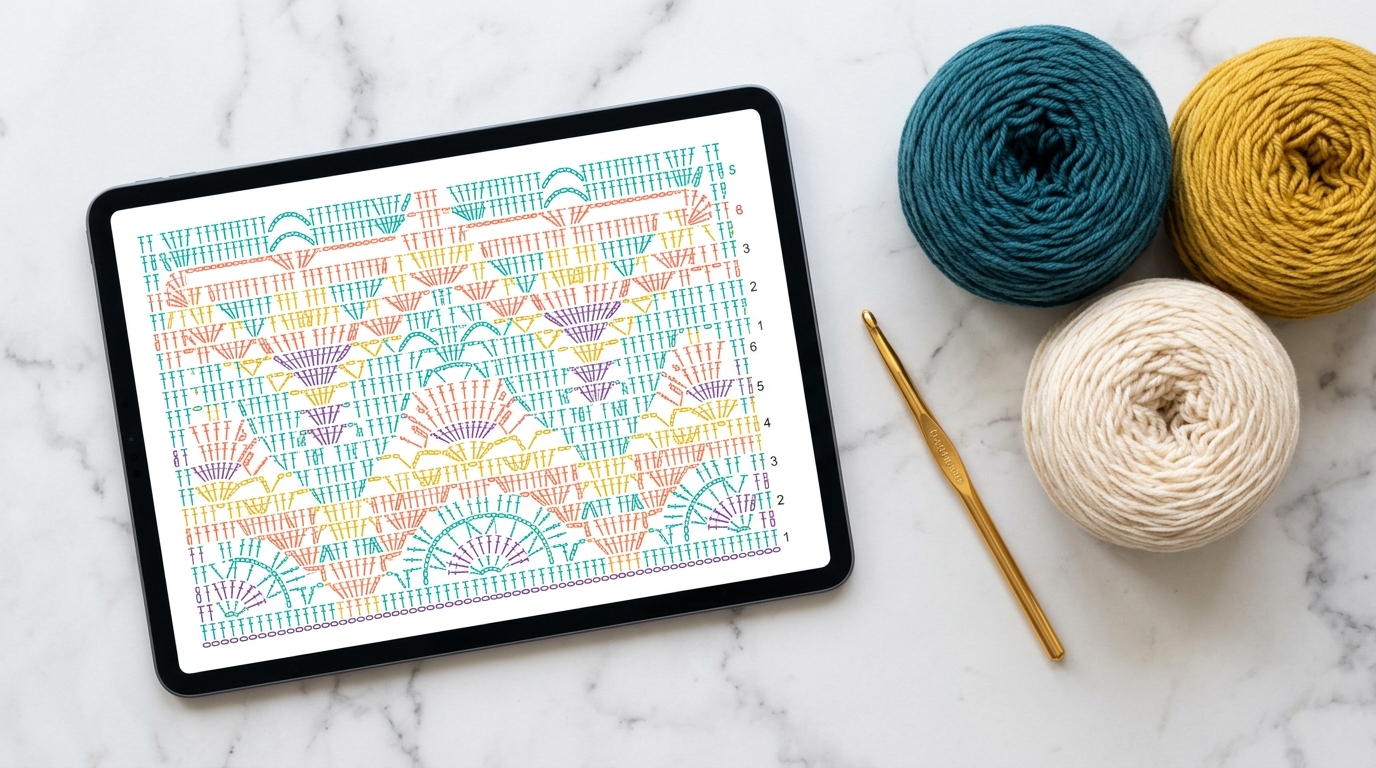
If you are accustomed to reading only written patterns, the transition to visual charts can feel like learning a new language. However, once you grasp the basics, a chart becomes a universal map that works across all languages. Crochet symbols are designed to represent the anatomy of a stitch. For example, a small circle represents a chain, while a simple “T” or a cross mark often denotes a single or double crochet.
The Anatomy of a Chart
When you look at a professional chart, always start by identifying the “Right Side” and the “Wrong Side.” Many modern patterns include a legend or a guide that explains exactly what each symbol represents. If you are a beginner, look for charts that depict clear, step-by-step increases or decreases. These are the building blocks of shaping clothing and accessories. Remember that charts are usually read from the bottom up, following the direction of the row or round.
Why Visualizing Matters
Reading a chart helps you see the “fabric” before you even pick up your hook. When you see how stitches cluster together, you can better understand how to create texture, such as bobbles or post stitches, without getting lost in wordy instructions. This visual clarity reduces errors and helps you catch mistakes before they become deeply embedded in your work.
Helpful Notes Before You Start
Before diving into complex layouts, there are a few practical considerations that will save you time and frustration. The most important factor in any professional-looking project is your “gauge.” While many beginners skip the gauge swatch, intermediate makers know that even a slight variance in tension can change the final size of a garment by several inches. Always check your gauge using the yarn and hook recommended in your pattern.
The Role of Tension
Consistency is your best friend. Even if your tension is slightly looser or tighter than the “standard,” as long as it remains consistent throughout the entire, piece, your project will look professional. Avoid switching your brand of hook mid-project, as different hooks can have subtly different tapers and heads, which can change the way your yarn sits in the stitch.
Working with Unique Layouts
When we talk about unique layouts—such as hexagonal cardigans, joining-as-you-go motifs, or vertical-to-horizontal seam constructions—the key is marking your work. Never trust your memory! Use stitch markers to identify corners, armhole openings, or the start of a repeat. If a pattern uses a complex layout, try to draw a simple sketch of the finished assembly shape on a piece of paper. Seeing the “map” of the pieces can demystify even the most complicated construction.
The Art of Structural Crochet Design
Once you move past basic rectangles and squares, you enter the world of structural crochet. This involves thinking in three dimensions. Whether you are designing or following a professional pattern, consider how the fabric drapes.
Designing with Negative Space
One of the most professional touches you can add to home decor or accessories is the use of intentional negative space. This is often achieved through “mesh” stitches or “lace” layouts. Instead of solid, dense fabric, try alternating rows of double crochet with rows of chains. This creates a beautifully airy, high-end look that is trending in modern home aesthetics.
Seamless Construction
For clothing, seamless construction is the “gold standard.” This often involves techniques like “joining as you go,” where motifs are crocheted into one another at the final round. This saves hours of sewing ends, lowers the risk of visible seams, and gives professional garments their characteristic flow and drape. When looking at a chart for seamless designs, pay extra attention to the “join” symbol, which usually looks like a small, bolded slip stitch.
Step-by-Step Guide to Reading Professional Charts
To begin your journey into professional charting, follow these manageable steps to ensure you don’t feel overwhelmed.
- Locate the Legend: Never skip the symbol key. Even experienced designers use slightly different symbols for unique stitches.
- Follow the Flow: Identify where the row starts. Most professional patterns use arrows to show if you are working a right-to-left or left-to-right path.
- Count Your Repeats: Most charts will isolate one “repeat” of a pattern with brackets. Circle this area on a printout of the chart. Focus only on this section until you have the rhythm of the lace or cable memorized.
- Use a Highlighter: Using a highlighter on a paper chart is a game-changer. Mark off the row you just completed. This simple physical act prevents the “where was I?” panic that often leads to frogging (ripping out your work).
- Cross-Reference: If you get stuck, look at the row below. If the chart shows a double crochet sitting on top of a double crochet, you know exactly where to place your hook.
Common Mistakes to Avoid
Even seasoned crafters make mistakes, but the difference is knowing how to spot them early.
- Misinterpreting Turning Chains: Many beginners treat the turning chain as a stitch, while others do not. If your edges are wavy, you are likely inconsistent with this. Always check the pattern notes at the beginning to see if the chain counts as a stitch.
- Ignoring the “Weave”: The most professional finish is essentially invisible. Do not just cut your yarn and knot it. Learn to weave your ends into the body of the work, vertically and horizontally, to ensure they don’t pop out after a few washes.
- Poor Gauge Habits: Never assume your hook size is “correct.” If a pattern calls for a 5mm hook, but your stitch looks gappy and loose, drop down to a 4.5mm. Professional crochet isn’t about following the label on the yarn ball; it’s about how that yarn behaves in your specific hands.
- Forcing a Pattern: If the chart doesn’t match the written instructions, stop. Sometimes, typos happen. Use your knowledge of basic, standard stitch shapes to figure out if the instruction is meant to be a simple increase or a different type of cluster.
Pro Tips for a Polished Result
If you want your projects to look like they came from a boutique, consider these final details:
- Blocking is Non-Negotiable: Wet blocking (soaking your project and pinning it to shape) is the single most important step for professional results. It evens out stitches, relaxes the fiber, and transforms wrinkled or uneven crochet into a smooth, drapeable fabric.
- Finishing Edges: A simple single crochet border or a “crab stitch” (reverse single crochet) can hide uneven turning chains and give a piece a crisp, clean frame.
- Color Transitions: When changing colors, attach the new color in an inconspicuous spot, such as the bottom or side of a piece, rather than the front-facing center.
- Yarn Choice for Structure: If a pattern is meant to have a lot of “drape” (like a shawl), choose a fiber with luxury qualities like merino, alpaca, or silk. If it needs structure (like a bag or home basket), look for cotton or recycled cord.
Variations and Personalization Ideas
The beauty of understanding a chart is that you aren’t limited by the pattern’s original vision. Once you understand the “math” behind the layout, you can easily adapt projects.
- Size Up or Down: If you have a beautiful lace stitch chart, you can turn a baby blanket into a full-sized throw just by increasing your starting chain in multiples of the stitch pattern.
- Texture Swaps: If a chart calls for a single crochet but you want more “pop,” you can replace those stitches with half-double crochets. Just remember that this will change the height of your row, so you may need to adjust your decreases or increases accordingly.
- The “Modular” Approach: Take a chart for a small, simple motif and join them in different layouts. You can create a chevron look, a diamond pattern, or even a random “art-modern” placement depending on how you sew the units together.
Care and Next Steps
Once your project is complete, handle it with care to ensure it lasts for years. Always check the label of your yarn for care instructions. Most natural fibers prefer a gentle soak in cool water with a tiny amount of wool-safe wash, followed by air drying flat on a towel. Avoid hanging your crochet items when they are wet, as the weight of the water can cause the stitches to stretch and deform.
Where should you go from here? Practice reading charts by picking up a pattern that uses a diagram you find intimidating. Challenge yourself to use one new technique—perhaps a new type of join or an advanced border—on your next project. Every time you push beyond your comfort zone, your skills will grow. Remember, crochet is a lifelong journey. There is no rush to reach “expert” status; the joy is found in the creation itself.
FAQ
How do I know if I should use a chart or written instructions?
Many modern patterns provide both. Use the written instructions to understand the flow, but refer to the chart to visualize the stitch placement. If you are a visual learner, you will likely find that the chart eventually becomes your primary tool, as it clarifies stitch counts much faster than text.
Is it normal for my work to look different from the photo in the pattern?
Absolutely! Different yarn brands, hook materials (wood vs. metal vs. plastic), and even your own personal tension can lead to a slightly different look. Don’t be discouraged; variations are what make your handmade work unique and personal.
Why is my crochet fabric curving when it should be flat?
This is a classic sign of an incorrect increase or decrease count. If your work is ruffling, you have too many stitches; if it is curling inward like a bowl, you have too few. Use your stitch markers to keep track of your counts at the end of each row or round.
What is the most important tool for a professional finish?
While a hook is essential, a small, blunt-tip tapestry needle is your secret weapon. Using the right needle for weaving in ends is the difference between a tidy finish and a bulky, messy knot. Keep a variety of sizes in your notions bag.
Can I mix and match patterns?
Once you understand the basic geometry of your crochet charts, yes! You can take the motif from one pattern and use it to create the border of another. This is essentially how many designers create their own original works. Start small by modifying borders before moving on to structural changes.
Conclusion
Elevating your crochet is a beautiful process of patience and curiosity. By learning to decode professional charts and embracing the logic behind unique layouts, you are transforming your craft from a hobby into a true art form. Remember that even the most talented designers once struggled with their tension, misread a common stitch, or had to rip out a row to get it just right. What sets a dedicated crafter apart is the willingness to slow down, pay attention to the details, and enjoy the rhythm of the hook.
I hope this guide has given you the confidence to look at your next project with fresh eyes. Whether you are creating a cozy accessory, a delicate baby gift, or a piece of home decor, take pride in every loop and every cross. Your hands are creating something that will hold warmth, love, and your unique creative spirit. Keep practicing, stay gentle with yourself, and most importantly, enjoy every single moment of the process. Your next masterpiece is just a chain away.