
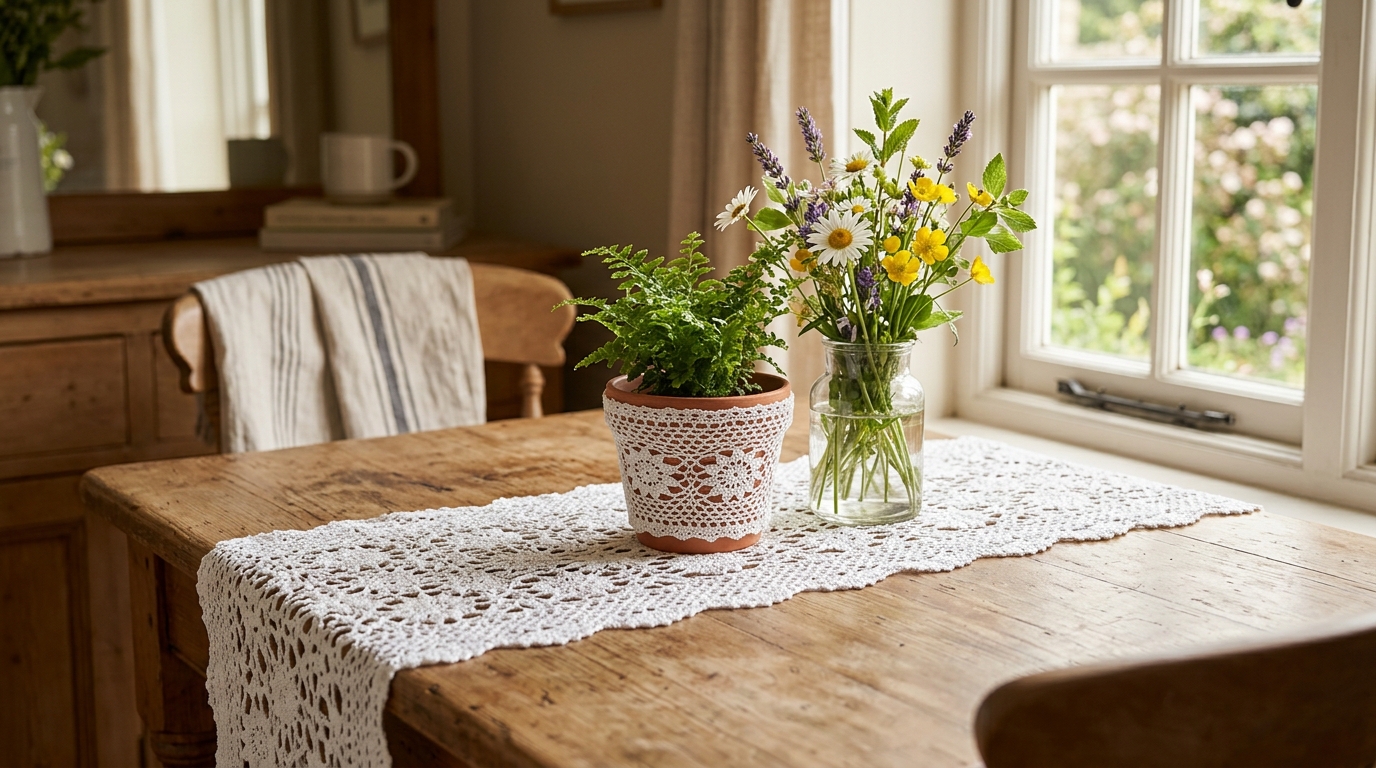
There is something truly magical about turning a simple ball of yarn into a beautiful, tangible object with your own two hands. Whether you are seeking a meditative creative outlet, looking to add a touch of handmade warmth to your living room, or hoping to stitch thoughtful, heartfelt gifts for the people you love, crochet offers a world of endless possibilities. The beauty of this craft lies in its versatility; with just a single hook and some loops of yarn, you can create anything from heirloom-quality baby blankets to modern, chic home decor pieces that truly reflect your personal style.
If you are new to the world of crochet, it is perfectly natural to feel a little overwhelmed by all the patterns and tutorials out there. Please take a deep breath and know that every talented crocheter you see today started exactly where you are right now—with a tangle of yarn and a bit of curiosity. This guide is designed to be your gentle companion, providing you with both inspiration and the practical knowledge you need to start creating pretty, functional, and lovely items that bring joy to your everyday life. We will focus on simple techniques that yield high-end results, ensuring that your journey is as pleasant and rewarding as the final product itself.
Quick Overview
This guide is perfect for both absolute beginners who have just learned to hold a hook and intermediate crocheters looking for inspiration for quick, manageable projects. You will learn the mechanics behind creating “pretty” crochet projects—which often rely on texture, color choice, and clean finishing—rather than overly complex stitch work. By the end of this article, you will have a clear understanding of how to select the right materials for delicate-looking items, how to master basic stitches to create elegant effects, and how to elevate your finished work to look store-bought but with that unmistakable handmade soul.
Materials and Tools for Lovely Projects
The “secret” to making your crochet projects look professional and beautiful often comes down to your material choices. For gifts and home decor, I always recommend starting with high-quality fibers.
- Yarn Weight: For delicate or “pretty” projects, look for “Fine” (Weight 2) or “Light/DK” (Weight 3) yarns. While Worsted weight (Weight 4) is great for blankets, finer yarns give finished accessories and decor a lighter, more intricate appearance.
- Hook Size: Always check your yarn label for the recommended hook size. If you want a tighter, sturdier fabric (like for a basket or a coaster), go down one size from the recommendation. For soft, drapey items, go up one size.
- Stitch Markers: These are your best friends. They help keep track of your rounds and rows, preventing the frustration of having to count stitches over and over again.
- Tapestry Needles: Invest in a set of bent-tip needles. They make weaving in your ends much easier, which is the most important step for a polished, professional finish.
- Good Scissors: A sharp pair of embroidery scissors will ensure your ends are trimmed cleanly, without fraying.
Key Concepts for a Polished Professional Look
Before you dive into your first project, there are three concepts that will instantly elevate your work from “homemade” to “handmade with love.”
- Tension: This is the tightness or looseness of your stitches. If your tension is too tight, your project will be stiff; too loose, and it will lose its shape. The key is consistency. Practice holding your yarn in a way that feels comfortable—whether it is woven through your fingers or wrapped around your hand—and focus on keeping that tension steady.
- The “Right” Side: In many patterns, you will see instructions for the “Right Side” (RS) and the “Wrong Side” (WS). The RS is the side that faces out. Even if a stitch looks identical on both sides, try to stay consistent so that the texture remains uniform throughout your piece.
- Finishing: Never underestimate the power of a proper finish. A project is not truly done until you have woven in your ends securely and, if necessary, blocked your work to give it a crisp, professional shape.
Pretty Crochet Pattern: The “Petal Soft” Decorative Coaster
These coasters are the perfect introduction to creating lovely home decor. They are worked in the round, look beautiful in a variety of colors, and make stunning, quick gifts for friends or family.
Skill Level: Beginner-Friendly
Time: 30–45 minutes per coaster
Finished Size: Approx. 4.5 inches in diameter
Materials Needed
- Small amount of Cotton DK weight yarn (Cotton is best for coasters as it is absorbent and holds its shape well).
- Size G (4.0mm) crochet hook.
- Stitch marker.
- Tapestry needle.
Pattern Abbreviations (U.S. Terms)
- Ch: Chain
- Sc: Single crochet
- Dc: Double crochet
- Sl st: Slip stitch
- St(s): Stitch(es)
The Pattern
Round 1: Start with a magic ring. Ch 1, work 12 dc into the ring. Join with a sl st to the first dc. (12 sts)
Round 2: Ch 2 (counts as hdc), hdc in the same st. Work 2 hdc in each st around. Join with a sl st. (24 sts)
Round 3: Ch 1, sc in the next st, ch 2, skip 1 st, repeat from to around. Join with a sl st to the first sc. (12 chain-spaces)
Round 4: In each ch-2 space, work (sc, 3 dc, sc). Sl st into the sc between the shells. Repeat around. Fasten off.
Finishing
Using your tapestry needle, weave in your starting and ending tails on the back of the coaster. To give these a really professional finish, use a steam iron (on a low setting) to lightly steam-block them. This will make the “petals” of the shell stitches lay perfectly flat.
Step-by-Step Guide to Project Success
When you are just starting out, the process can feel like a sequence of hurdles. Here is how to navigate them with grace:
- Preparation: Read through the entire pattern once before you pick up your hook. Visualizing where you are going helps prevent common mistakes.
- Foundation: Start your magic ring or chain slowly. If your chain is too tight, your entire first round will pull inward. If you struggle with this, try using a slightly larger hook just for your starting chain.
- The “Slow” Stitch: Don’t rush your stitch formation. Ensure every loop is pulled through to the same height. This is the secret to a professional-looking, even finish.
- Counting: Count your stitches at the end of every round. It might feel tedious, but it is much easier to fix a mistake by pulling back one round than by frogging (unraveling) your entire project later.
- Finishing Touches: Treat yourself to a nice label or a bit of eco-friendly packaging if you are gifting these. It adds that feminine, thoughtful touch that makes handmade gifts so special.
Common Mistakes to Avoid
Every crocheter has been there! Here is how to avoid some of the most common pitfalls:
- The Twisted Chain: When working in the round, it is incredibly easy to twist your starting chain when you join it. Lay your work flat on a table before joining to ensure the “V”s of the stitches are all facing the same direction.
- The “Rising” Chain Confusion: In many patterns, a “ch 3” at the start of a round counts as a double crochet. Read the note at the beginning of your pattern to see if your turning chain counts as a stitch. If you ignore this, your stitch counts will never match the pattern.
- Ignoring Gauge: If you are making something that needs to fit—like a hat or a garment—never skip the gauge swatch. If your gauge is off, your item will either be too small or too large, regardless of how perfectly you followed the instructions.
- Weaving Ends Poorly: If you just snip your yarn ends near the knot, they will eventually come undone. Always weave your ends through the stitches in at least two different directions to lock them in place.
Pro Tips for a Better Result
Taking your crochet from “good” to “gorgeous” is all about the details.
- Blocking is Essential: For home decor like coasters, placemats, or wall hangings, blocking—the process of lightly wetting or steaming your piece and pinning it into the desired shape—is the professional secret to a “finished” look. It evens out your stitches and gives your work a crisp, structured appearance.
- Color Transitions: If you are changing colors, try to do it on the last “pull through” of the final stitch of the previous row. This makes the color switch seamless and invisible.
- The “Twist” Test: If you are working with a plied yarn, sometimes your yarn splits. Using a hook with a slightly more rounded head can help prevent splitting, allowing your hook to glide through the loops more easily.
- Record Your Progress: Keep a small notebook or a notes app dedicated to your projects. Record the brand of yarn, the colorway, and the hook size you used. Six months from now, if you want to make another one, you will be so glad you didn’t have to guess.
Personalization Ideas for Your Projects
The beauty of homemade gifts is that they are entirely customizable. Here are a few ways to make your projects unique:
- Color Palettes: For a vintage-inspired look, stick to soft pastels or warm neutrals. For modern, bold decor, try high-contrast palettes like navy and cream or emerald and gold.
- Embellishments: Don’t be afraid to add a little flair! You can attach wooden beads, small silk ribbons, or even a tiny wooden “handmade” charm to your finished items to give them that boutique feel.
- Yarn Texture: If you are making a gift, consider mixing yarn textures. A simple cotton coaster becomes instantly more luxurious if you hold a strand of metallic thread along with it for a subtle shimmer.
- Seasonal Swapping: Consider making a set of four coasters in different colors representing each season. This makes for a wonderful, thoughtful gift that the recipient can rotate throughout the year.
Care and Storage for Your Handmade Treasures
To keep your hard work looking beautiful for years to come, proper care is a must.
- Washing: Most natural fibers, especially cotton, prefer a gentle hand wash in cool water with a mild detergent. Avoid harsh chemicals or bleach, which can damage the fibers over time.
- Drying: Never wring out your crochet projects, as this can stretch them out of shape. Instead, roll the item in a clean, white towel to gently press out excess water, then lay it flat on a mesh drying rack to dry naturally.
- Storage: Keep your crochet items away from direct sunlight, which can fade colors over time. If you are storing items for a long period, avoid plastic bags, which can trap moisture. A breathable fabric bag or a clean cardboard box is far superior.
FAQ
How do I know if my tension is too tight?
If you find it difficult to insert your hook into your stitches, or if your finished fabric feels hard and stiff rather than fluid and soft, your tension is likely too tight. Try relaxing your shoulders and holding your yarn more loosely, or experiment with a slightly larger hook size.
Why do my edges look uneven?
Uneven edges are usually caused by missing the first or last stitch of a row. Always use a stitch marker in the first and last stitch of every row to ensure you are catching the right base for your next row.
Can I mix different brands of yarn in one project?
You absolutely can! Just ensure that the “yarn weight” (the thickness) is the same for all brands you are using. Check the labels to make sure the recommended hook size is similar, and you should have no trouble at all.
Is it necessary to weave in ends immediately?
While it is tempting to leave ends for later, I highly recommend weaving them in as you go. It prevents your project from looking messy and saves you from a massive, multi-hour “weaving session” once your project is finished.
Where can I find more patterns for home decor?
There are wonderful resources online, but look for patterns that offer clear step-by-step photos. Websites that focus on beginner-friendly education are often the best places to find patterns that are both achievable and beautiful.
Conclusion
Crochet is more than just a technique; it is a way to slow down, express your creativity, and share your heart with others. Whether you are crafting a simple coaster to brighten up your desk or diving into a larger project for a loved one, remember that the “flaws” are what make your work uniquely yours. Be patient with yourself, enjoy the rhythm of the hook, and take pride in the fact that you are creating something beautiful out of nothing but string and imagination. Every stitch you make is an expression of your dedication and your care. Keep exploring, keep practicing, and most importantly, keep enjoying the process of making. Your next favorite project is only a few stitches away.