
Introduction
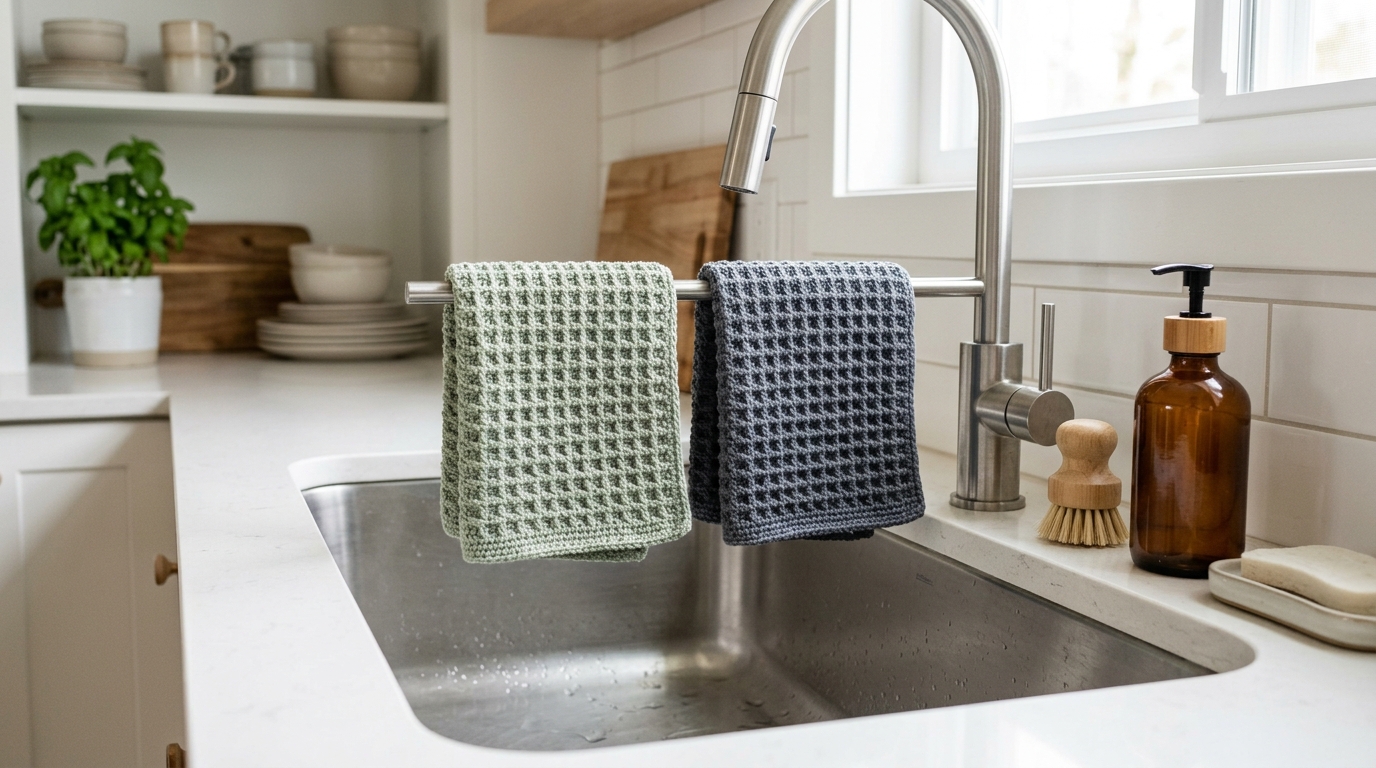
There is something deeply satisfying about creating something with your own two hands that you can use every single day. If you are looking for the perfect project to dip your toes into the world of crochet, or if you simply need a quick, productive break from a larger, more complex blanket or garment, the humble dishcloth is your best friend. Designing and making your own kitchen washcloths is not only a fantastic way to practice new stitches, but it also brings a touch of handmade warmth to your home.
When you choose to crochet your own kitchen items, you are trading mass-produced synthetics for natural, durable fibers that actually perform better. These projects are the ultimate “instant gratification” crochet item—they work up quickly, they are incredibly forgiving for beginners, and they provide a constant sense of accomplishment. Whether you are creating a set to gift to a dear friend for a housewarming present or simply refreshing your own kitchen drawer with soft, absorbent textures, this tutorial will walk you through the process from start to finish. We will focus on stitches that add the perfect amount of scrubbiness for cleaning while remaining soft enough for your hands. Let’s prepare our hooks and yarn and get started on this cozy, practical journey together.
Quick Overview
This project is tailored specifically for those who love the charm of handmade home goods.
- Skill Level: Beginner-friendly. If you know how to make a slip knot, a chain, and a basic stitch, you are ready.
- Estimated Time: 45 to 60 minutes per cloth.
- Finished Size: Approximately 8 inches by 8 inches (adjustable).
- Best Use: Kitchen dishcloths, face washcloths, or spa-inspired gift sets.
- Why You Will Love It: It is a low-stress project that allows you to master stitch tension, practice even edges, and learn how to finish off your work neatly. These washcloths are washable, reusable, and infinitely customizable.
Materials and Tools Needed
To ensure your dishcloths are durable and absorbent, your choice of materials matters.
- Yarn: 100% Cotton, worsted weight (Category 4). Cotton is essential here. It does not stretch like wool or acrylic, it absorbs water beautifully, and it stands up well to repeated washings in hot water. Avoid blends with acrylic or nylon, as they tend to be less absorbent.
- Crochet Hook: Size H/8 (5.0 mm). This is a standard size that pairs perfectly with worsted weight cotton to create a fabric that is tight enough to be durable but loose enough to be flexible.
- Yarn Needle: A blunt-tipped tapestry needle for weaving in those final ends securely.
- Scissors: Any sharp pair will do.
- Optional: A stitch marker to help you keep track of the first and last stitch of each row, which is a lifesaver for beginners trying to keep their edges straight.
Crochet Terms and Key Concepts
Before we dive into the pattern, let’s go over the standard U.S. terminology you will encounter. Getting comfortable with these terms will serve you well for every future project you tackle.
- Chain (ch): The foundation of most crochet projects. You will loop the yarn over and pull it through the loop on your hook.
- Single Crochet (sc): A short, dense stitch that creates a tight, sturdy fabric. It is the workhorse of kitchen crochet.
- Half Double Crochet (hdc): A stitch that sits between the single and double crochet in height. It creates a drape that is soft yet substantial.
- Double Crochet (dc): A taller stitch that works up quickly and creates a slightly more open, flexible fabric.
- Turn: At the end of every row, you will flip your work like the page of a book to prepare for the next row.
- Fasten off: Cutting your yarn and pulling the tail through the final loop to secure your work.
- Weave in ends: Using your yarn needle to hide the yarn tails back into the fabric so they do not unravel.
Helpful Notes Before You Start
Crocheting for the home requires a slightly different approach than making garments. Because these items will be subjected to scrubbing, rinsing, and wringing, the most important factor is tension.
If your stitches are too loose, the washcloth will stretch out of shape within a few days of use. If your stitches are too tight, the fabric will feel like a stiff board. Aim for a “middle-of-the-road” tension. If you find your work is curling, you are likely crocheting too tightly. Relax your shoulders, take a breath, and let the hook do the work. Additionally, always remember that cotton yarn has no “give.” It is less forgiving than wool, so accuracy in your stitch count is the best way to keep your edges beautifully straight.
The Durable Kitchen Washcloth Pattern
This pattern uses a combination of stitches to create a “textured rib” effect, which is excellent for scrubbing without scratching.
Foundation: Chain 31. (The math here is a simple odd number, so if you want a larger cloth, simply add chains in multiples of 2).
Row 1
Starting in the second chain from the hook, work one single crochet in each chain across. You should have 30 stitches total. Chain 1 and turn.
Row 2
In this row, we will create the texture. Work a half double crochet in the first stitch. Now, alternate between a slip stitch and a half double crochet across the row. When you slip stitch, keep it slightly loose. End with a half double crochet in the final stitch. Chain 1 and turn.
Row 3
Repeat Row 1. By working single crochets into the slip stitches and half double crochets of the row below, you are “locking” the texture in place and creating a sturdy, dense fabric.
Rows 4 through 30
Repeat Rows 2 and 3 sequentially. This pattern creates a beautiful, subtle bumpy texture that is much grippier than a flat cloth.
The Border
Once you have reached your desired square size, do not fasten off. Chain 1, and work one round of single crochet evenly around the entire perimeter of the washcloth. Make sure to work 3 single crochets into each corner to help the edges lay flat and prevent bowing. When you reach the start, slip stitch into the first single crochet to join.
Finishing
Fasten off your yarn, leaving a 4-inch tail. Use your yarn needle to weave that tail back and forth through the back of the stitches at least three times. This ensures it stays secure even after many cycles in the washing machine. Repeat with the starting tail.
Step-by-Step Explanation of the Texture
The magic of this pattern lies in the alternation of the half double crochet and the slip stitch. Beginners often worry that a slip stitch will be too small to work into on the following row, but by pairing it with a simple single crochet row in between, we create a “landing pad” for your hook. When you look at your work after Row 2, you may notice the slip stitches look a bit tight. That is perfectly normal! Just ensure that when you work into them on Row 3, you insert your hook under both loops of the stitch, and you will find it quite easy to manage. The result is a professional-looking, ribbed texture that looks much more complicated than it actually is.
Common Mistakes to Avoid
Even experienced crocheters stumble occasionally, so keep these common pitfalls in mind:
- The “Vanishing” Stitch: The most common mistake beginners make is skipping the very last stitch of a row, which causes the washcloth to shrink in width as you progress. Use a stitch marker in the last stitch of each row to ensure you never miss that final edge.
- Twisted Starting Chain: When you join your first row, ensure the chain is lying flat and not twisted. If it is twisted, your entire project will have a permanent, awkward spiral.
- The “Oversized” Loop: If you find your edges are bumpy or uneven, it is usually because the turning chain is being counted as a stitch. For this pattern, the turning chain does not count as a stitch; simply work into the first stitch of the row and stop before the turning chain.
- Washing Machine Mishaps: Never skip weaving in your ends. Even if you think a knot will hold, the agitation of a washing machine will eventually pull it loose. A proper weave-in should be at least an inch long.
Pro Tips for a Better Result
- Blocking: While dishcloths don’t always require formal blocking, soaking your finished cloth in cold water, squeezing it dry, and laying it flat to dry overnight will “set” the stitches and make them look significantly more uniform.
- Build a Set: Use variegated yarn for one cloth, a solid color for the second, and a color-blocked version for the third. This makes for a stunning, high-end gift set that looks like it came from a boutique.
- Use the Right Fiber: Always check the label. If the yarn label says “100% Cotton” and feels smooth, you are good to go. Avoid “yarn blends” that contain wool, as they will shrink in hot water.
- Consistency is Key: If you have to put your project down, try to finish the row you are on first. This prevents tension changes that can occur when you pick up a half-finished row after a few days.
Variations and Personalization Ideas
You can easily adapt this basic pattern to suit different needs. For a “heavy-duty” scrubbing cloth, use a thicker “dishie” style cotton and work exclusively in half double crochets in the back loop only. This creates a ribbed, raised texture that is excellent for tough pots and pans. Conversely, for a gentle facial washcloth, use a finer cotton yarn and a smaller hook to create a softer, more delicate fabric that feels lovely on the skin. You might also experiment with adding a hanging loop; simply chain 10 at the, corner of the final round and slip stitch it back into the base of the corner to create a functional loop for your kitchen hook.
Care and Storage
Your handmade dishcloths are designed to last, but they do enjoy a little extra care. When they become soiled, toss them in the washing machine on a warm or hot cycle. To keep them looking fresh, consider skipping the fabric softener; fabric softener leaves a thin film on the cotton fibers, which actually makes the cloth less absorbent over time. For the best results, tumble dry on low or, better yet, hang them to dry on a rack. If they happen to stiffen over time, a quick soak in a bowl of warm water with a splash of white vinegar will restore their original softness.
FAQ
How do I keep my edges straight?
The secret to straight edges is to count your stitches at the end of every single row. If you started with 30, ensure you have 30 before you turn. Using a stitch marker in the first and last stitch is the most reliable way to maintain a perfect rectangle.
Can I use acrylic yarn for these?
It is strongly recommended that you stick to 100% cotton. Acrylic is plastic-based and does not absorb water; instead, it will simply push the water around the counter, which isn’t very helpful for a dishcloth!
Why does my cloth look like a trapezoid?
This usually happens because the tension at the beginning of the row is different from the tension at the end. Try to maintain a relaxed grip on your yarn, and don’t pull too tightly when you reach the end of the row.
How do I change colors?
To change colors, complete your last stitch until there are two loops left on the hook. Drop the old color, pull the new color through, and continue with the new yarn. Leave a few inches of tail to weave in later.
How many dishcloths can I get from one ball of yarn?
A standard 2.5-ounce ball of cotton worsted yarn will typically yield two to three 8-inch square dishcloths, depending on your stitch tension and the specific pattern.
Conclusion
Creating your own kitchen essentials is a wonderful way to bring creativity into your daily routine. There is a deep, quiet joy in using an item you’ve crafted yourself, knowing it was made with patience and care. As you gain confidence with these basic stitches, remember that every successful row builds the skills you need for even more ambitious projects in the future. Don’t worry about perfection; your dishcloths are meant to be used, scrubbed with, and loved. Each stitch is a mark of your progress, and every finished project adds a little more handmade beauty to your home. Take your time, enjoy the rhythm of the yarn, and most importantly, have fun with your craft. Happy crocheting!